





Why We Rush to Repot
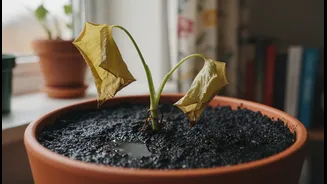
It’s a familiar sight for any plant parent: a once-vibrant plant now has yellowing leaves, a droopy posture, and just looks defeated. Your intentions are good—you see a struggling plant and think a larger pot with fresh soil will provide the nutrients
and space it needs to recover. This reaction makes sense, as a root-bound plant will indeed show signs of stress. However, these same symptoms—wilting, yellowing, and stunted growth—are also classic signs of a much more common and serious issue hiding below the surface: root rot. Acting too quickly without a proper diagnosis is where many well-meaning plant owners go wrong.
The Real Culprit: Root Rot
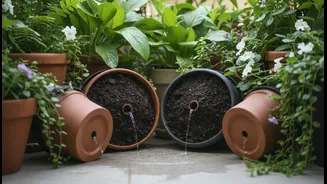
Root rot is exactly what it sounds like—the decay of a plant's roots. It's almost always caused by overwatering or soil that doesn't drain properly. Plant roots need oxygen to survive, but when soil is constantly saturated, there are no air pockets left, and the roots essentially suffocate. This low-oxygen, damp environment is the perfect breeding ground for fungi and bacteria that feast on the weakened roots. The roots turn from healthy, firm, and white to brown, black, and mushy. Once they start to rot, they can no longer absorb water or nutrients, which is why the plant appears to be dying of thirst even when the soil is wet. Repotting into another dense, water-retentive soil mix only moves the problem to a new pot, where the cycle of suffocation and decay will continue.
Step 1: A Gentle Root Inspection
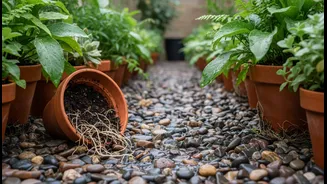
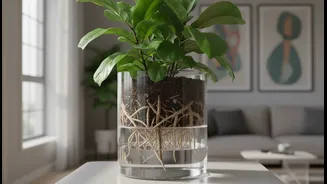
Before you do anything else, you must confirm if root rot is the issue. Gently slide the plant out of its pot to get a clear look at the root system. A healthy plant will have firm, white or light-tan roots. If you’re dealing with root rot, you’ll see dark, soft, and mushy roots that may even fall apart when touched. You might also notice a distinct sour or swampy smell coming from the soil, which is a tell-tale sign of decay. If you see a mix of healthy and rotten roots, there's a good chance you can save your plant. If the entire root system is mush, it may be too late, but it's often worth a try.
Step 2: The Right Way to Rescue and Repot
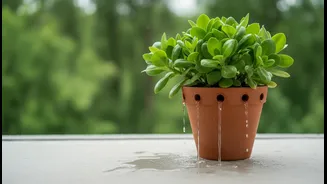
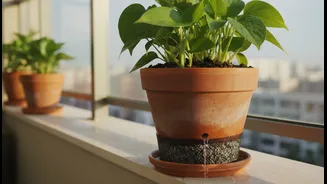
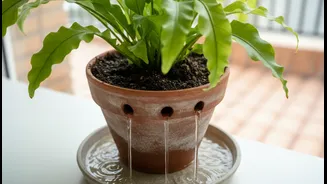
If you've confirmed root rot, it's time for a rescue mission. First, gently rinse the old, waterlogged soil from the roots under lukewarm water. Using a clean, sterilized pair of scissors or pruning shears, carefully trim away all the brown, mushy parts of the roots until only healthy, firm tissue remains. Be thorough, as any remaining rot can spread. Next, select a new pot that is only slightly larger than the remaining healthy root ball and, most importantly, has excellent drainage holes. Do not reuse the old soil. Repot the plant in a fresh, well-aerating potting mix. A good mix for most houseplants combines standard potting soil with amendments like perlite, pumice, or orchid bark to create air pockets and ensure excess water drains away quickly.
Step 3: Post-Rescue Recovery
After the trauma of surgery and repotting, your plant needs careful attention to recover. Resist the urge to give it a thorough soaking right away. Many experts suggest waiting a few days before watering to allow the cut roots to heal. When you do water, do so lightly and allow the soil to dry out significantly between waterings. Place the plant in a spot with bright, indirect light, which gives it the energy to grow new roots without the stress of direct sun. Finally, hold off on fertilizing for at least a few months. Fertilizer can burn delicate, recovering roots, and encouraging new leaf growth before the root system is re-established can cause further stress.