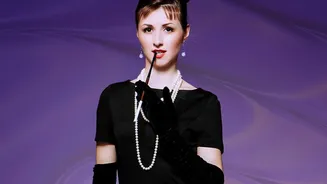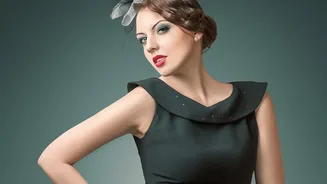



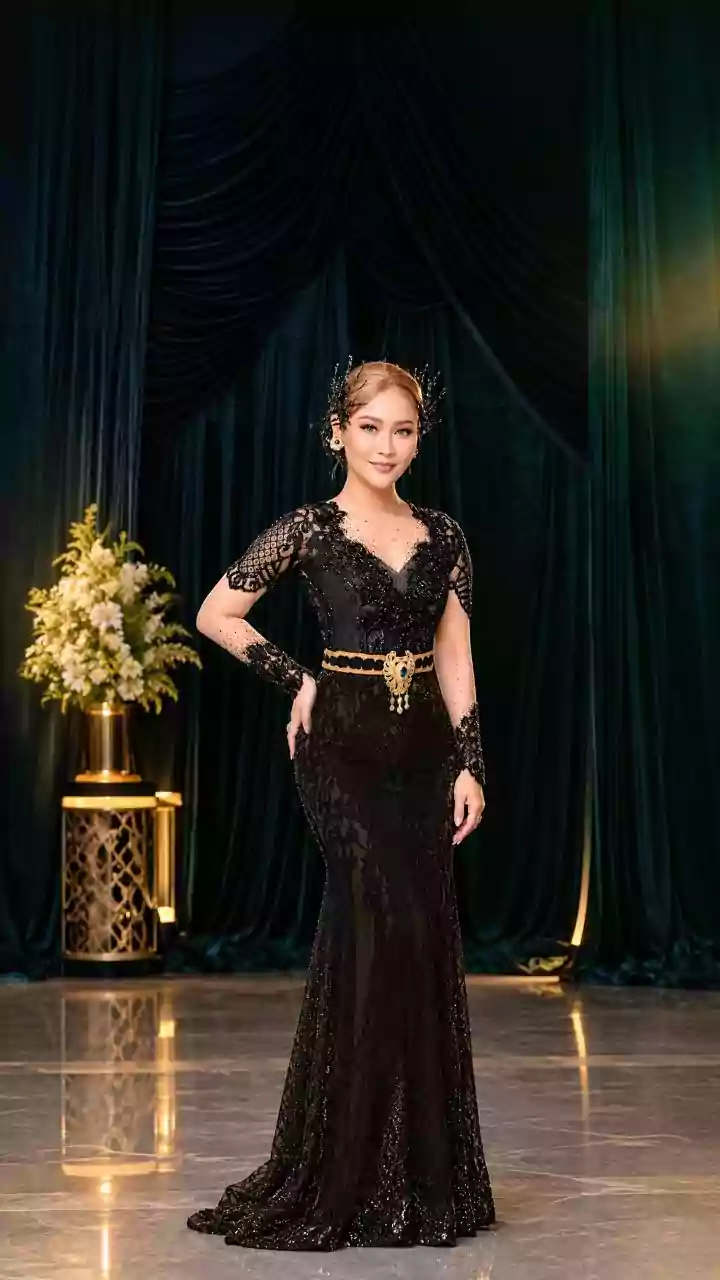


The glamour of Old Hollywood and the chic practicality of the 1940s are just a few bobby pins away. Classic rolled updos offer a timeless elegance that can elevate any look, but they can seem intimidating. This guide demystifies the process.
The Allure of the Roll
From the practical
Gibson tuck of the early 20th century to the iconic victory rolls of the 1940s, rolled updos have a rich history. Named for the aerobatic manoeuvres of fighter planes, victory rolls became a symbol of fashionable patriotism during World War II, a way for women to keep their hair safely away from factory machinery while looking stylish. Today, these styles have lost none of their charm, appearing on red carpets and at special events, offering a touch of vintage sophistication that is both beautiful and surprisingly achievable at home.
Gather Your Essential Tools
Before you start, gathering the right tools will make all the difference. You don't need a professional kit, but a few key items are non-negotiable for creating a lasting style. You will need a rat-tail comb for precise parting and teasing, a soft bristle brush for smoothing, plenty of bobby pins that match your hair colour, and a strong-hold hairspray. Depending on the style, you might also find setting lotions or mousses helpful for adding grit, and pomade for taming frizz. Some stylists also recommend hair rats or foam rollers to provide structure for more voluminous rolls.
The Foundation: Hair Preparation
The secret to a successful vintage updo is texture. Styles hold best in hair that isn't freshly washed, as the natural oils provide some grip. If you must start with clean hair, create texture by using a mousse, salt spray, or dry shampoo before you begin. For styles like victory rolls, creating a curl set can also be incredibly helpful. Using a curling iron or hot rollers to create curls beforehand will give your hair a 'map' to follow, making it easier to shape into the desired rolls.
Beginner's Luck: The Gibson Tuck
The Gibson tuck is one of the easiest and most elegant rolled styles, perfect for beginners. Start by gathering your hair into a low, loose ponytail. Create a 'pocket' by parting the hair with your fingers just above the hair tie. Then, simply flip the end of your ponytail up and tuck it into this pocket, continuing to roll it inward until the entire ponytail is neatly contained. Secure the roll firmly against your head using bobby pins, hiding them within the tuck. Use as many pins as you need to feel secure. A final spritz of hairspray will keep everything in place for a chic, timeless look.
The Main Event: Victory Rolls
Victory rolls are the quintessential 1940s look. Start by sectioning off the hair at the front of your head where you want the rolls to sit. Take one section and backcomb the roots to create volume and a firm base for the pin to grip. Lightly smooth the top layer of hair with a brush. Now, begin to roll the hair. You can wrap the ends around two fingers to start the shape, then continue rolling the hair inward and downward toward your scalp. Once you have a neat, firm roll, secure it by pushing bobby pins inside the roll where they will be hidden. Repeat on the other side, trying to make the rolls as symmetrical as possible.
Tips for a Lasting Look
To ensure your vintage creation lasts, a few finishing touches are key. When pinning, try crossing bobby pins in an 'X' shape for an extra-strong hold. Spraying your bobby pins with hairspray before inserting them also adds grip. When backcombing, focus the teasing on the underside of the hair section, keeping the top layer smooth for a polished finish. Finally, don't be afraid of hairspray. A generous mist of a strong-hold spray will lock in your hard work and combat flyaways, ensuring your elegant updo lasts all day and night.