


The Magic of Wild Yeast
A sourdough starter is a live culture of flour and water. Once combined, this mixture begins to capture naturally occurring wild yeasts and bacteria from the air and the flour itself. By 'feeding' this culture with more flour and water, you create a stable,
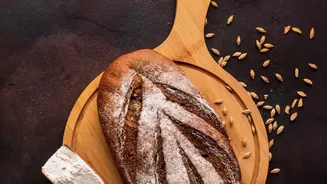
bubbling leaven that can make bread rise without any commercial yeast. It’s a centuries-old tradition, and the process is surprisingly simple, relying on patience more than complex ingredients. The best part is that it can be done with flours readily available in India.
Choosing Your Indian Flour
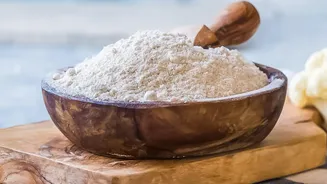
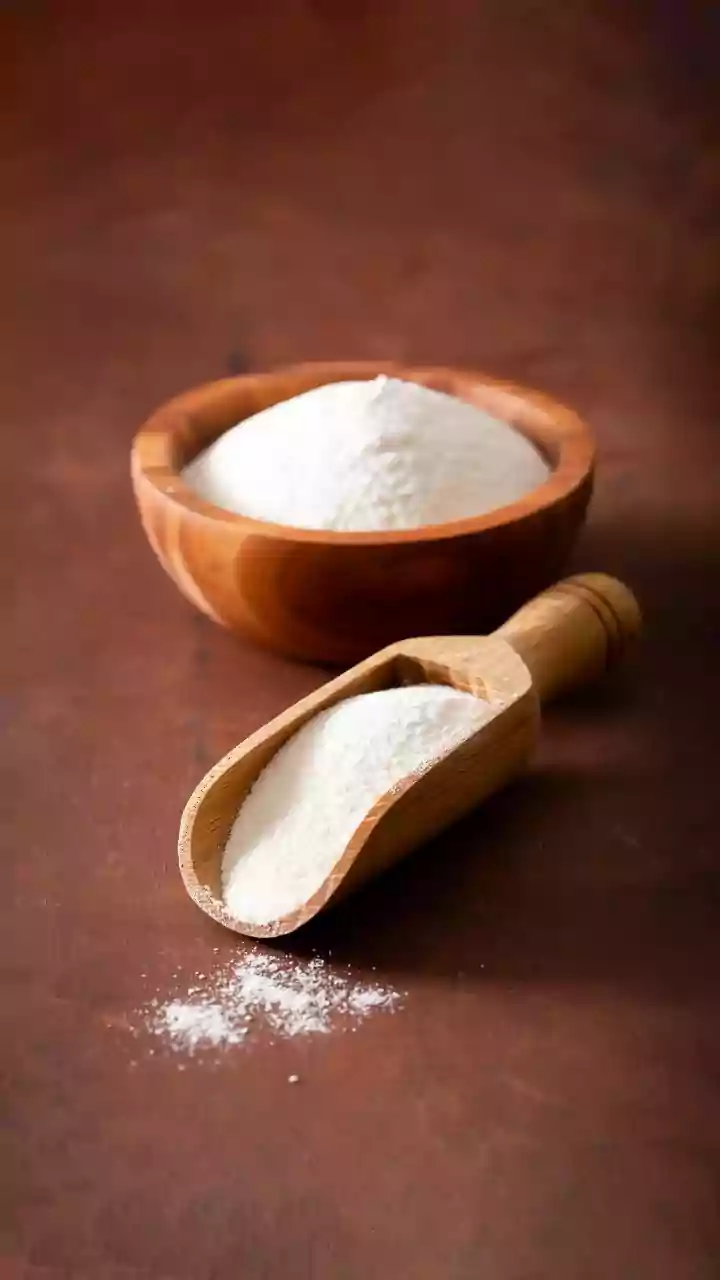
While many international recipes call for bread flour or rye, your kitchen likely already has the perfect ingredients. Whole wheat flour (atta) is fantastic for kick-starting a starter. Its bran and germ contain more natural microorganisms and nutrients, which encourages faster fermentation. All-purpose flour (maida) can also be used. Many bakers find success using atta for the initial days to get the culture active and then switching to a mix of atta and maida, or even just maida, for subsequent feedings. For this guide, we'll start with whole wheat atta for a robust beginning.
What You Will Need
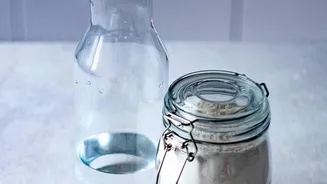
You don't need any special equipment to begin. Gather these simple items: - A clean glass jar (at least 500ml capacity) - Whole wheat flour (atta) - All-purpose flour (maida) - optional, for later feedings - Unchlorinated water (filtered or boiled and cooled to room temperature) - A kitchen scale for accuracy, though measuring cups can also work - A spoon or spatula for mixing
Day 1: The Beginning
In your clean glass jar, combine 50 grams of whole wheat atta and 50 grams of room-temperature water. Mix thoroughly with a spoon until no dry flour is left, forming a thick paste. Scrape down the sides of the jar. Cover the jar loosely—you can rest the lid on top without sealing it or use a piece of cloth secured with a rubber band. This allows airflow while keeping out dust. Place the jar in a warm spot on your kitchen counter, away from direct sunlight, for 24 hours.
Day 2: Patience is Key
After 24 hours, you might see a few tiny bubbles, or you might see nothing at all. Both are perfectly normal. The wild yeast and bacteria are just beginning to establish themselves in their new environment. There is no need to do anything today. Simply let the mixture continue to sit at room temperature for another 24 hours.
Day 3 & 4: The First Feedings
By Day 3, you should see some activity—bubbles and a slightly tangy or fruity smell. It’s time for the first feeding. Discard about half of the mixture from the jar. To the remaining starter, add 50 grams of atta and 50 grams of water. Mix well, cover loosely, and let it sit for another 24 hours. Repeat this exact process on Day 4: discard half, then feed with 50g atta and 50g water. Discarding before feeding ensures the yeast population remains vigorous and doesn't become sluggish.
Day 5 to 7: Building Strength
Continue the feeding routine: once every 24 hours, discard all but about 50 grams of your starter and feed it with a fresh 50 grams of flour and 50 grams of water. During this phase, you should notice the activity becoming more predictable. The starter will rise and become bubbly within a few hours of feeding. You may also notice the smell changing from slightly unpleasant to a more pleasant, tangy, yoghurt-like aroma. This is a great sign.
Is It Ready? Signs of an Active Starter
Your starter is ready for baking when it shows consistent and vigorous activity. Look for these key signs: it should reliably double or even triple in volume within 4 to 8 hours after feeding. The texture will be full of bubbles, almost like a sponge. It will have a pleasant, distinctly sour but not overpowering smell. A popular method is the 'float test': drop a small spoonful of the starter into a glass of water. If it floats, it is full of gas and ready to leaven bread. If it sinks, it likely needs a few more feeding cycles to build strength.