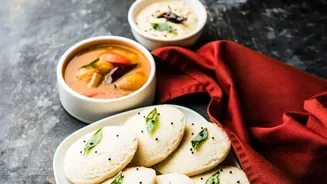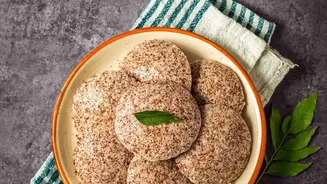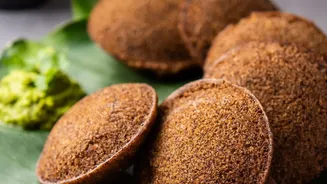








Swap rice for a healthier, nutrient-packed alternative with Foxtail Millet Idlis. These soft, fluffy steamed cakes are a guilt-free delight. Mastering the perfect batter is the key, and this guide walks you through every crucial step.
Why Choose Foxtail Millet?
Before we dive into
the process, let's appreciate our star ingredient. Foxtail millet, known as 'Thinai' in Tamil or 'Kangni' in Hindi, is an ancient grain making a well-deserved comeback. It's naturally gluten-free and packed with dietary fibre, protein, and essential minerals like iron, calcium, and magnesium. With a low glycemic index, it releases energy slowly, making it an excellent choice for managing blood sugar levels and supporting weight management. By swapping out rice for foxtail millet, you’re not just making idlis; you’re upgrading your breakfast into a powerhouse of nutrition without sacrificing that beloved soft texture.
Gathering Your Ingredients
A great batter starts with quality ingredients in the right proportions. While recipes vary slightly, a reliable ratio is key. For a standard batch, you will need: 2 cups of foxtail millet, ½ cup of whole urad dal, and ½ teaspoon of fenugreek (methi) seeds. Some recipes also include a small amount of poha (flattened rice) or idli rice to enhance softness and aid fermentation, but it's optional. The urad dal is essential as it provides the protein structure and helps the batter ferment, creating that light, airy texture. Fenugreek seeds also aid in fermentation and add a subtle flavour.
The Crucial Soaking Step
Patience is a virtue, especially in the kitchen. Soaking is a non-negotiable step that softens the grains for grinding and kickstarts the fermentation process. Wash the foxtail millet thoroughly until the water runs clear. In a separate bowl, wash the urad dal and fenugreek seeds. It is important to soak the millet and dal separately because they have different grinding requirements. Soak both in ample, non-chlorinated water for at least 4 to 6 hours. Some recipes even suggest soaking overnight. This step ensures that the grains absorb enough moisture to be ground into a smooth, consistent batter.
Grinding to the Right Consistency
This is where the magic begins. Whether you use a wet grinder or a high_speed mixer_grinder, the technique matters. Start by draining the urad dal and grinding it first. Add cold water little by little, grinding until the dal becomes exceptionally light, fluffy, and airy. This process incorporates air, which is vital for soft idlis. Transfer the urad dal batter to a large container. Next, drain the millet and grind it. Unlike dal, millet should be ground to a slightly coarse, fine semolina_like texture. Grinding millet too smooth can make the batter gluey. Use minimal water, just enough to facilitate grinding. Combine the millet batter with the urad dal batter in the large container.
Fermentation: The Final Frontier
Now, it's time to let nature do its work. Add salt to the combined batter and mix it thoroughly with your clean hands. The warmth from your hands can help initiate the fermentation process. The batter should have a thick, pourable consistency, similar to cake batter. Cover the container with a lid, but don't seal it airtight, as the batter needs space to breathe and expand. Let it ferment in a warm, draft_free place for 8 to 12 hours, or overnight. In colder climates, you can place the container inside a switched_off oven with the light on to maintain a warm environment.
Checking for Readiness
After the fermentation period, your batter should have visibly risen and will have a pleasant, slightly sour aroma. It will be filled with tiny air bubbles, making it light and airy. A common mistake is to vigorously stir the batter at this stage, which deflates it. Instead, give it a gentle stir just to combine everything evenly before you start steaming. If the batter hasn't risen, it might need more time in a warmer spot. Once ready, this versatile batter can be used not only for idlis but also thinned slightly with water to make crispy dosas.