





The Essential Ingredients
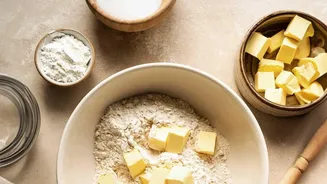
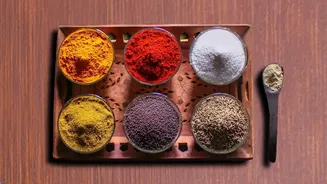
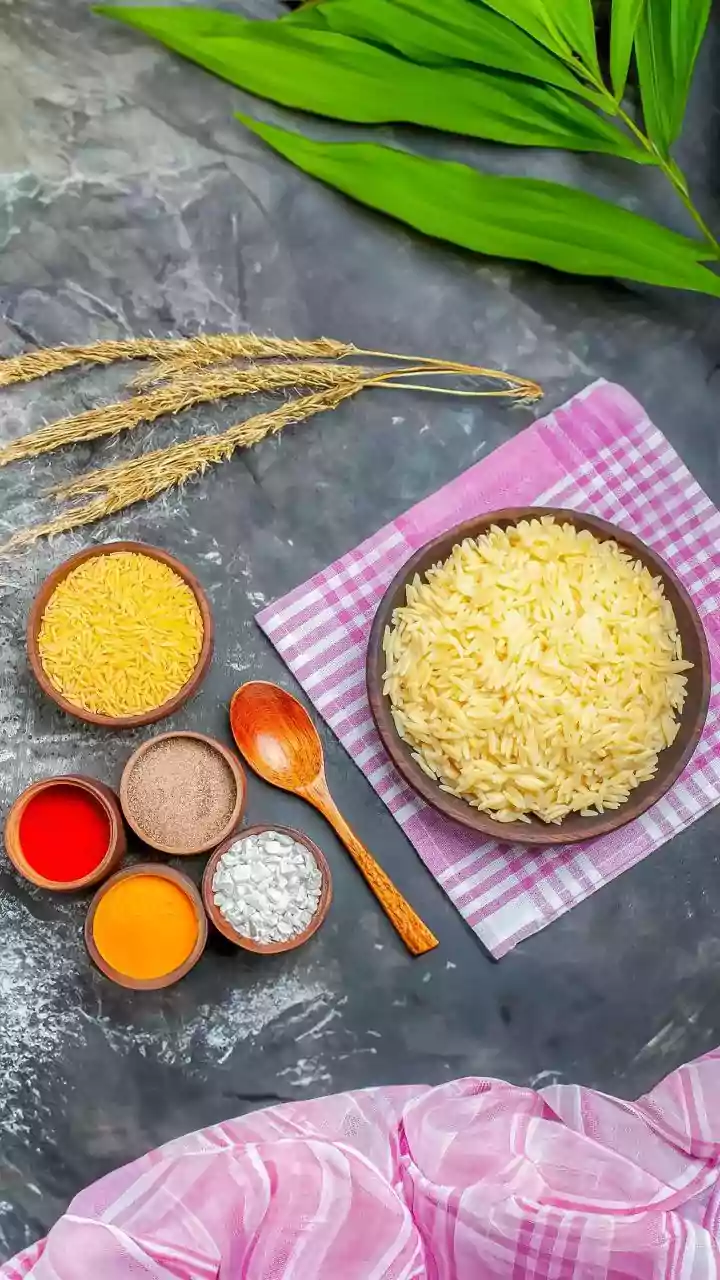
The beauty of naan lies in its simple components, each playing a crucial role. You'll need all-purpose flour (maida), a leavening agent, and plain yogurt. While some recipes use yeast, a quick and reliable version can be made with baking powder and a pinch
of baking soda, which eliminates long proofing times. The yogurt is non-negotiable; its acidity and fat content tenderise the gluten, resulting in a softer, more pliable dough and that signature subtle tang. A little sugar helps to balance the flavours, while salt, of course, is essential. For the garlic element, finely minced fresh garlic is best, both in the dough and in the final butter glaze.
Crafting the Perfect Dough
Creating the dough is a straightforward process. Start by mixing your dry ingredients—flour, salt, baking powder, and baking soda. In a separate bowl, whisk the yogurt with lukewarm milk or water, sugar, and a little oil. Gradually combine the wet and dry ingredients until a shaggy dough forms. Now comes the most important part: kneading. Work the dough on a lightly floured surface for about 5 to 10 minutes until it becomes smooth, soft, and elastic. The dough should feel slightly sticky but manageable. Once kneaded, place it in a greased bowl, cover it, and let it rest in a warm place for at least one to two hours. This resting period is vital; it allows the gluten to relax and the leavening agents to work their magic, making the naan light and airy.
The Tawa-Tandoor Technique
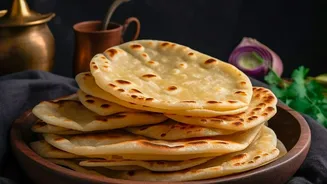
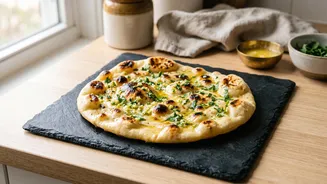
This is where the magic happens. The key is using a cast-iron or heavy-bottomed iron tawa, not a non-stick one, as the naan needs to stick to the surface. After dividing your rested dough into balls, roll one into an oval or teardrop shape. Don't roll it too thin. Now, for the crucial step: apply a liberal amount of water to one side of the rolled dough. Heat your tawa over a medium-high flame until it's very hot. Place the naan on the tawa with the water-side facing down, pressing it gently to ensure it sticks. Soon, you will see bubbles forming on the surface. This is your cue. Holding the tawa by its handle, flip it upside down directly over the gas flame. The direct heat will cook the top of the naan, creating those beautiful, authentic charred spots, just like a tandoor. Cook for about a minute, moving it around to ensure even cooking, then use tongs to gently pry it off the tawa.
The Finishing Touches
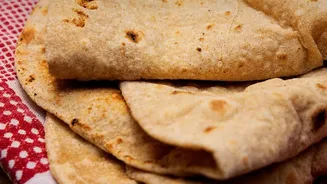
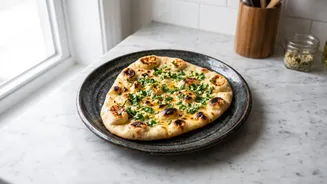
A naan is not complete without a generous brush of garlic butter. While the naan is still hot, slather it with a mixture of melted butter, more minced garlic, and a sprinkle of fresh chopped coriander or parsley. The heat from the bread will bloom the garlic, releasing an irresistible aroma. To keep your batch of naan soft and warm while you cook the rest, stack them in a casserole dish or wrap them in a clean kitchen towel. This simple trick traps the steam, ensuring every single naan stays pillowy and perfect until you’re ready to serve.
Tips for Success
To guarantee success, keep a few things in mind. Ensure your tawa is sufficiently hot before you place the naan on it; a cool tawa will prevent it from sticking. Don't be shy with the water on the back of the naan, as this is the 'glue' that holds it to the pan when you flip it. If you have an electric stove without an open flame, you can still achieve a good result. After bubbles appear, simply flip the naan on the tawa itself and cook the other side, pressing down gently with a spatula, though you will miss out on the distinct char. Finally, serve the naan immediately for the best texture, as maida-based breads tend to get chewy as they cool.