



Reading the Signs of a Root-Bound Plant
Plants have several ways of telling us they're feeling cramped. The most obvious sign is roots physically escaping the pot, either poking through the drainage holes at the bottom or pushing up above the soil surface. Another key indicator is related to watering.
If you find yourself watering more frequently, or if water seems to run straight through the pot without being absorbed, it's a strong clue. This happens because the dense mass of roots has displaced the soil, leaving little medium to retain moisture. You might also notice that your plant's growth has slowed or stopped altogether, especially during its active growing season. New leaves may appear smaller or discoloured, and the plant might look generally unhealthy or wilt quickly, even with regular care.
Why Crowded Roots Are a Problem
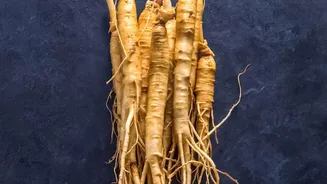
When a plant becomes root-bound, its network of roots has filled the container and begun to circle tightly, often forming a dense, hard mass. This condition goes beyond just a lack of physical space. The tangled roots can no longer spread out to efficiently absorb water and essential nutrients from the soil. Over time, the soil becomes depleted, and the root ball gets so compact that it resists water, leading to a plant that is simultaneously thirsty and unable to drink. This state of stress makes the plant more susceptible to pests and diseases. If left unaddressed, a severely root-bound plant will have its growth stunted and can eventually be strangled by its own root system, leading to a decline in health and eventual death.
The Best Time and Tools for the Job
Timing is crucial for a successful repotting. For most houseplants in India, the ideal time is during the spring (February-March) or just after the monsoon, when plants are entering a period of active growth. This allows them to recover quickly from the stress of repotting and establish themselves in their new home before the peak heat of summer. Avoid repotting during extreme heat or when a plant is in bloom, unless it's an emergency. You'll need a few basic items: a new pot that is just one size—typically 2 to 4 cm wider in diameter—than the current one, fresh potting mix, and a pair of scissors or pruners. Choosing a pot that is too large can lead to root rot, as the excess soil stays wet for too long. Ensure the new pot has adequate drainage holes.
A Step-by-Step Guide to Repotting
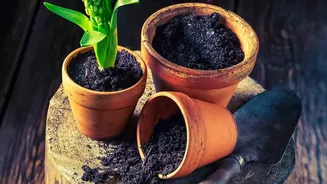
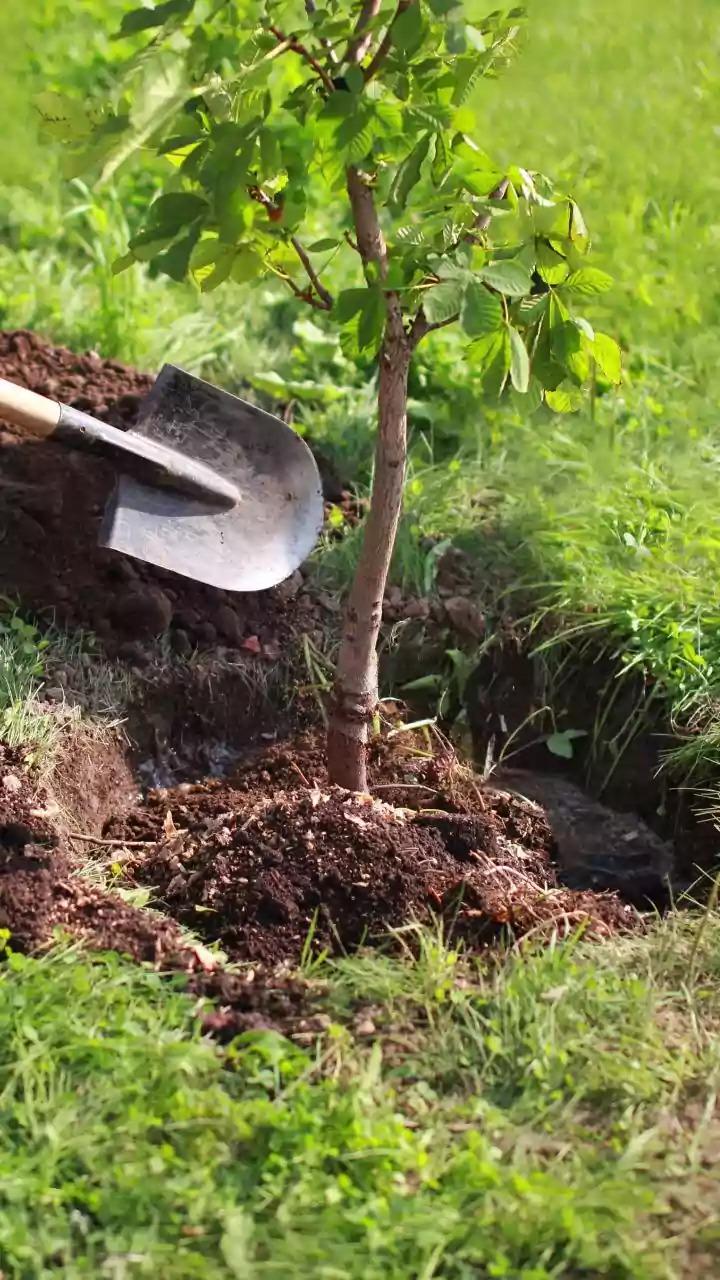
First, water your plant a day or two before you plan to move it; this makes the root ball easier to remove. To get the plant out, turn the pot on its side and gently tap and squeeze it, sliding the plant out while supporting its base. Once it's free, inspect the roots. If they are only lightly coiled, you can gently tease them apart with your fingers. For a more densely packed root ball, use clean, sharp scissors to make a few vertical cuts down the sides and an 'X' across the bottom to encourage new outward growth. You can also trim away any dead or mushy-looking roots. Add a layer of fresh potting mix to the new pot, set the plant in so the top of its root ball sits just below the rim, and fill in the sides with more soil, gently firming it to remove air pockets.
Post-Repotting Care
A newly repotted plant is in a state of shock, so it needs gentle care to recover. After the initial move, water the plant thoroughly to settle the soil, unless you were dealing with root rot, in which case you should wait a few days. Place the plant in a spot with indirect light for a week or two, as direct sun can add stress to its recovery. It's normal for the plant to look a little wilted for a few days. Hold off on fertilising for at least four to six weeks. The fresh potting mix contains enough nutrients for the initial recovery, and adding fertiliser to sensitive, damaged roots can burn them. Once you see signs of new growth, it's a signal that your plant has successfully settled into its new home.