


The Viral Kitchen Sensation
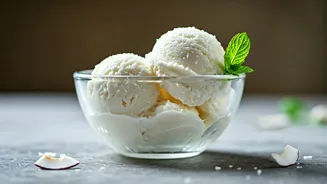
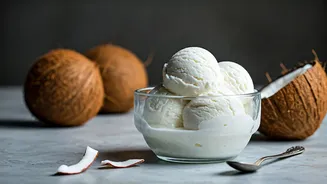
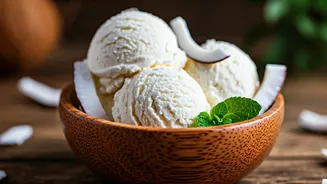
In the world of home cooking, few things are as satisfying as a simple recipe that delivers spectacular results. Enter the two-ingredient, no-churn ice cream. This internet-famous dessert has won over countless home cooks for one simple reason: it works.
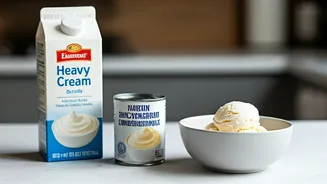
The concept is straightforward, requiring no special equipment, no complex custard-making, and no endless churning. The magic lies in the combination of just two readily available ingredients: a can of sweetened condensed milk and a carton of heavy whipping cream. This duo creates a base that is luxuriously creamy, perfectly sweet, and ready for the freezer in minutes, providing a homemade treat that feels incredibly indulgent.
The Foolproof Recipe
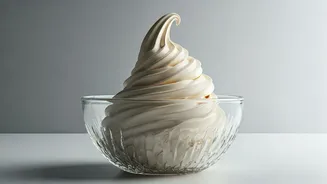
Making this ice cream is almost as fast as eating it. You'll need one 400g can of sweetened condensed milk and about 500ml of cold heavy whipping cream. First, pour the cold heavy cream into a large, chilled bowl. Using an electric beater or a stand mixer (or a whisk and some serious effort), whip the cream until it forms stiff peaks. This means when you lift the beaters, the cream holds its shape. In a separate bowl, pour out the sweetened condensed milk. Now, gently fold the whipped cream into the condensed milk in about three stages. This gentle folding motion is key to keeping the air you just whipped into the cream, which is what gives the ice cream its light, scoopable texture. Once combined, pour the mixture into a loaf pan or freezer-safe container, cover, and freeze for at least six hours, or until firm.
The Science of Simplicity
How does this simple combination mimic a traditionally churned ice cream? The science is clever. Traditional ice cream requires churning to break up ice crystals and incorporate air. In this no-churn version, whipping the cream beforehand incorporates the necessary air for a light, fluffy texture. The sweetened condensed milk plays a crucial role as well. Its high sugar content lowers the freezing point of the mixture, which prevents large, crunchy ice crystals from forming. Furthermore, because much of the water has been evaporated from condensed milk, it provides a high concentration of milk solids, contributing to a smooth, dense, and creamy final product, much like a traditional custard base would.
A Playground for Indian Flavours
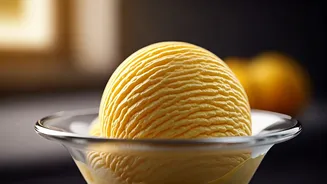
While a plain vanilla version (made by adding a teaspoon of vanilla extract) is delicious, the true joy of this recipe is its endless customisability. It serves as a blank canvas for your favourite flavours, especially those beloved in Indian households. For a classic Mango Ice Cream, fold in a cup of thick mango pulp. For a rich Kesar Pista flavour, add saffron-infused milk and chopped pistachios. Other popular variations include adding instant coffee powder for a robust coffee flavour, a few spoons of rose syrup and gulkand for a floral treat, or even crumbled biscuits and chocolate chips for a bit of crunch. From masala chai spices to thandai mix, the possibilities are limited only by your imagination.
The Verdict: How Does It Compare to Amul?
The headline's comparison to Amul is a bold one. For generations, Amul has been the taste of classic, reliable ice cream in India, known for using real milk fat instead of vegetable oil, which technically makes many other brands 'frozen desserts'. So, can a two-ingredient homemade recipe truly compete? In terms of texture, this homemade version is remarkably creamy and rich, though it can be slightly denser than commercially produced ice cream, which has more air incorporated. Where it truly 'wins' is in its freshness, ease, and adaptability. You know exactly what's in it, and you can create any flavour you desire, right at home. While Amul remains an undisputed icon for its consistency and nostalgia, this homemade ice cream offers a different kind of victory: the sweet success of creating a delicious, customised dessert with your own hands.