


Why Mapping Beats Traditional Decluttering
Many of us have spent a weekend on a massive decluttering project, only to find the mess creeping back within weeks. The problem with traditional methods is that they often ignore the 'why' behind our clutter. We organize our homes based on how we think
they should look, not on how we actually live. Mapping your daily routine flips the script. Instead of forcing your life to fit your home, you design your home to fit your life. By observing what you use, where you use it, and how often, you create a personalized blueprint for organization. This approach moves beyond a one-time purge and builds a sustainable system that reduces daily friction and makes tidying up almost automatic. It is about making your space work for you, not against you.
Step 1: Conduct a Daily Usage Audit
For one or two days, become an observer in your own home. Your goal is to simply notice and record your actions and the items involved, without judgment. You can use a notepad or a phone app. Start from the moment you wake up. What’s the first thing you reach for? Track your morning coffee ritual: where are the mugs, the coffee, the sugar? Follow yourself through your workday. Note the path from your desk to the printer or the kitchen for a snack. In the evening, what items do you need to unwind—a book, a remote, a specific blanket? Be detailed. This isn't about tidying yet; it's about gathering data. The more honest you are about your real-world habits, the more effective your eventual organization will be.
Step 2: Create Your Personal 'Heat Map'
With your audit complete, it’s time for analysis. Look at your list and identify the high-frequency items and activities. These are the hotspots in your daily life. Think of your home's most accessible areas—countertops, entryway tables, the space right next to your sofa—as prime real estate. Right now, is this valuable space occupied by decorative items you never touch, or is it holding the keys, wallet, and mail you interact with daily? Your 'heat map' shows where your most-used items should live for maximum convenience. If you make coffee every single morning, it makes no sense for the mugs to be in a cabinet across the kitchen. The goal is to give your most important items the most accessible homes.
Step 3: Design Your Life Zones
Now, translate your heat map into physical reality by creating 'zones'. A zone is a dedicated area designed to support a specific activity, containing all the items you need for that task. This isn't about rooms; it's about function. You might create a 'morning beverage zone' in the kitchen with your coffee maker, tea, mugs, and sugar all grouped together. Your entryway can become a 'launch zone' with hooks for keys, a tray for mail, and a spot for your shoes. In a small apartment, a single corner of the living room can be a 'work zone' with a small desk and everything you need for your job. By grouping related items together, you stop running around your house to complete a single task, which naturally reduces mess and saves time.
Step 4: Choose Storage That Serves the System
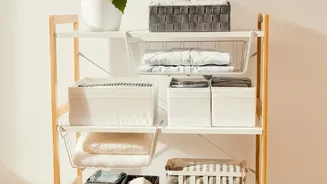
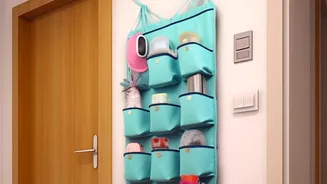
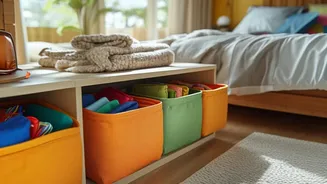
Only now, after you’ve mapped your life and defined your zones, should you think about storage solutions. This is the final step for a reason: the system should dictate the storage, not the other way around. Look at your zones. Does your work zone need a small set of drawers for supplies? Does your launch zone need a better vertical shoe rack? Because you've based your plan on reality, you’ll buy fewer unnecessary bins and baskets. Instead, you can invest in smart solutions that fit your specific needs, like clear containers for your beverage zone or a rolling cart you can move as needed. The right storage, chosen last, is what locks your new, intuitive system into place, making it easy to maintain for the long haul.