



Understanding Your Wild Yeast Starter
Before you begin, it helps to know what you’re creating. A sourdough starter, also called wild yeast or levain, is a living culture of microorganisms. By simply mixing flour and water, you create an environment that captures naturally occurring yeasts
and beneficial bacteria (lactobacilli) from the air and the flour itself. These tiny organisms are what will eventually make your bread rise, giving it that distinct sour flavour and chewy texture. Think of it as making your own natural yeast at home instead of buying it from a store. The process requires patience more than anything else, as it can take a week or two for the culture to become strong and stable.
Choosing the Right Indian Flour
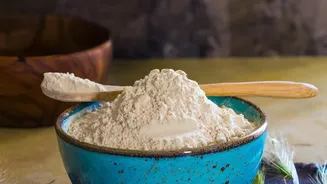
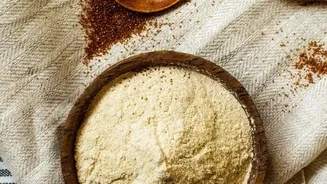
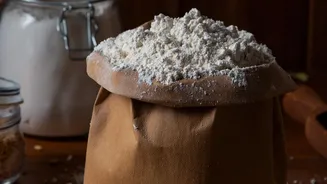
The good news is you don’t need special, expensive flour. Common Indian flours work wonderfully. Whole wheat flour, or atta, is an excellent choice to begin with. Because it contains the entire wheat grain, including the bran, it is rich in the natural yeasts and nutrients that will kickstart fermentation. Many bakers find that starters made with atta become active more quickly than those made with refined flour (maida). You can use 100% atta or start with a blend of 50% atta and 50% maida for a starter that is both active and light.
Day 1-2: Creating the Mixture
To begin, you only need a clean glass jar (an old pickle or coffee jar is perfect), flour, and water. On Day 1, combine equal parts of flour and water by weight in your jar. A good starting point is 50 grams of atta and 50 grams of filtered water. Mix them thoroughly until no dry flour remains; the consistency should be like a thick paste. Cover the jar loosely—a cloth or placing the lid on top without sealing it works well—and leave it in a warm spot in your kitchen for 24 hours, away from direct sunlight. On Day 2, you might not see much activity, which is completely normal. Just give it a stir and let it rest for another 24 hours.
Day 3-7: The Feeding Routine
From Day 3 onwards, you will begin a daily feeding routine. By now, you should start to see some bubbles and notice a slightly sour or yeasty aroma. The process involves discarding a portion of the starter before feeding it with fresh flour and water. This refreshes the culture and keeps the yeast active. A typical routine is to discard about half of your starter, then add 50 grams of flour and 50 grams of water to what remains in the jar. Mix well, cover loosely, and let it sit. You will repeat this process every 24 hours. Over these days, you’ll notice the starter becoming more bubbly and predictable, rising and falling a few hours after each feeding.
Caring For Your Starter in a Warm Climate
India’s warm climate can significantly speed up fermentation. While this can be an advantage, it also means your starter might need more frequent attention. If your kitchen is particularly warm, you may need to feed your starter twice a day (every 12 hours) to keep it from becoming too acidic or sluggish. An overly sour smell is a sign that your starter is hungry and needs to be fed more often. If you don’t plan to bake daily, the refrigerator is your best friend. Once your starter is mature, you can store it in the fridge and feed it just once a week to maintain it. Simply take it out, let it come to room temperature, feed it, and let it sit for a couple of hours before placing it back in the cold.
How to Know When Your Starter Is Ready
After about 7 to 14 days, your starter should be mature enough for baking. A ready starter will be full of bubbles, both large and small, and will have a pleasant, tangy smell. The most reliable sign of readiness is its activity. After a feeding, a mature starter should double or even triple in volume within 4 to 8 hours. You can also perform the 'float test': drop a small spoonful of the active starter into a glass of water. If it floats, it is full of gas and ready to leaven your bread dough. If it sinks, it may need a few more days of consistent feeding to gain strength.