


The Foundation: Start Bone-Dry
The single most important secret to crispy chickpeas has nothing to do with the oven. It's about removing moisture. Water is the enemy of crunch. Whether you're using canned chickpeas (chole) or ones you've boiled yourself, they must be completely dry
before they see a drop of oil. First, rinse and drain them well. Then, spread them on a clean kitchen towel or paper towels and gently pat them dry. For best results, let them air-dry for at least 30 minutes on the counter. Some pro-level home cooks even peel the thin skins off each chickpea. This is time-consuming but creates an even better surface for crisping. Don't skip this drying step—it’s the non-negotiable foundation for the crunch you’re craving.
The Science of the Crisp
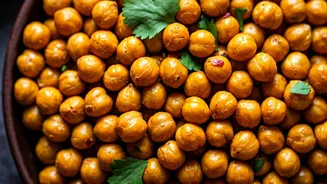
Now for the roasting process. Preheat your oven to a high temperature, around 200-220°C (400-425°F). High, dry heat is crucial for drawing out the remaining moisture quickly. Toss your bone-dry chickpeas in just enough neutral oil (like canola or sunflower) to create a very thin, even coat. Too much oil will make them greasy and prevent them from crisping up properly. Spread them in a single layer on a large, rimmed baking sheet. Do not crowd the pan! If the chickpeas are too close together, they will steam instead of roast, resulting in a soft, chewy texture. It's better to use two baking sheets than to overcrowd one. Roast for 20-30 minutes, shaking the pan every 10 minutes to ensure they cook evenly, until they are golden brown and you can hear them rattling on the pan.
The Flavour Equation: Seasoning Strategy
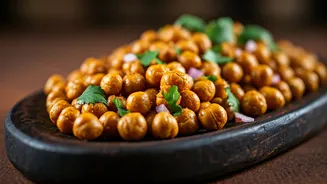
Here’s a common mistake many people make: adding all the spices before roasting. While a pinch of salt beforehand is fine, most ground spices like chaat masala, red chilli powder, or cumin powder can burn in a hot oven. Burnt spices taste bitter and will ruin the flavour of your chaat. The best strategy is to roast the chickpeas with just oil and salt. Once they are perfectly crispy and out of the oven, immediately toss them with your desired spice blend while they are still hot. The residual heat and oil will help the spices adhere perfectly without any risk of burning. A classic mix includes chaat masala, roasted cumin powder (bhuna jeera), a pinch of amchur (dry mango powder), and a hint of black salt (kala namak).
Assembling the Perfect Chaat
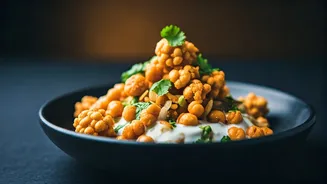
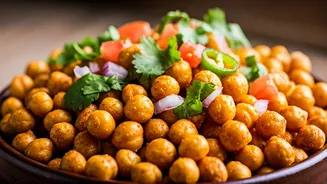
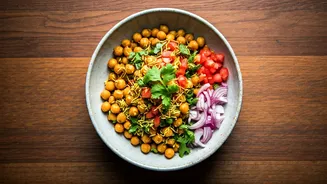
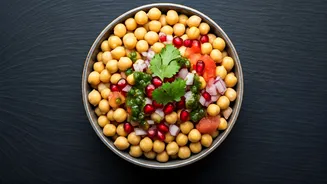
Your chickpeas are now gloriously crunchy. The final challenge is to assemble the chaat without turning them soggy. Timing is everything. Do not mix the chaat until you are ready to serve. Prepare all your other ingredients in advance: finely chopped onions, tomatoes, fresh coriander, and maybe some boiled potato cubes. Have your tamarind (imli) chutney and mint-coriander (hari) chutney ready in separate bowls. When it’s time to eat, combine the roasted chickpeas with the chopped vegetables in a large bowl. Drizzle the chutneys over the top—don't drown it! A light touch is best. Garnish with a generous sprinkle of fine nylon sev for an extra layer of texture. This method ensures every bite has that satisfying contrast of crunchy, soft, sweet, and tangy.
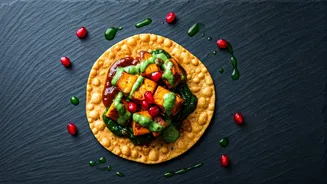
Making It 'Reel' Worthy
To capture that drool-worthy social media shot, presentation is key. Assemble the chaat in a wide, shallow bowl or on a platter to showcase all the colourful ingredients. Good lighting is essential—natural light from a window works best. For the 'action' shot, hold a spoonful up to the camera to show off the texture. The most engaging part of a chickpea chaat Reel is the sound. Get your phone close and record the sound of you mixing the chaat, emphasizing the rattle of the crispy chickpeas. Or, even better, record the crunch as you take the first bite. A final flourish of sev and a bright green coriander leaf on top will make your creation pop on screen, proving you've officially cracked the code.