
The Anatomy of a Perfect Cutlet
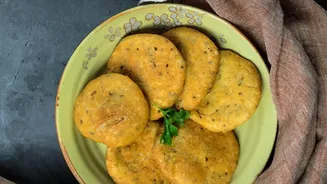
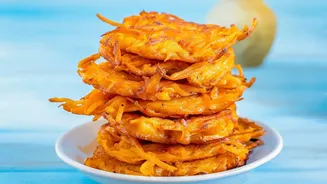
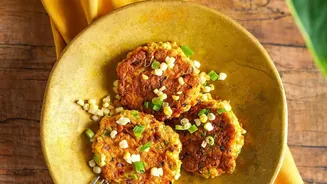
What separates a truly great vegetable cutlet from a mediocre one? It comes down to a perfect balance of textures and tastes. The ideal cutlet has a shatteringly crisp exterior that gives way to a soft, steamy interior packed with tender vegetables. The flavour
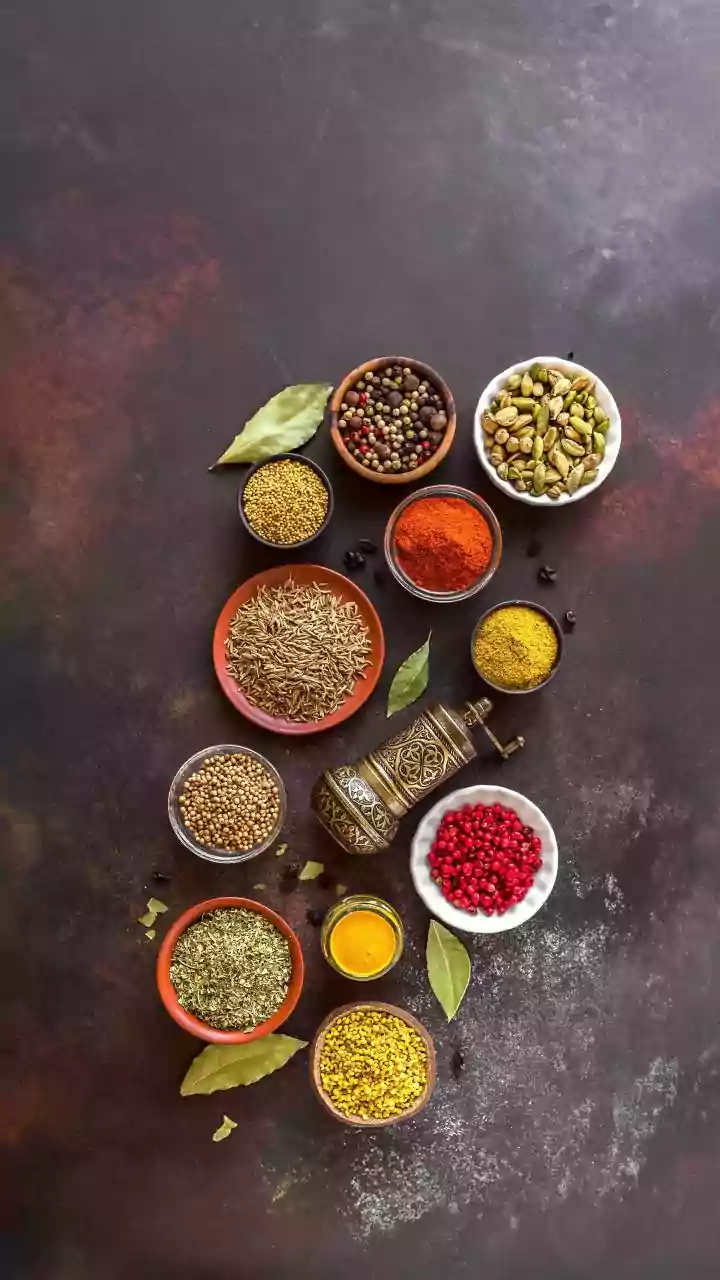
should be a well-rounded mix of earthy vegetables, aromatic spices like garam masala, and a hint of tang. A common frustration for home cooks is a cutlet that is either too greasy, falls apart during frying, or has a bland, mushy filling. The good news is that with a few key techniques, these issues are easy to overcome, transforming your homemade snacks into something truly special.
Building a Flavourful Vegetable Base
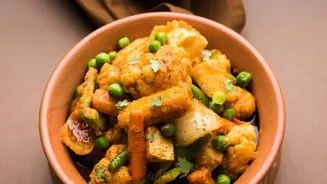
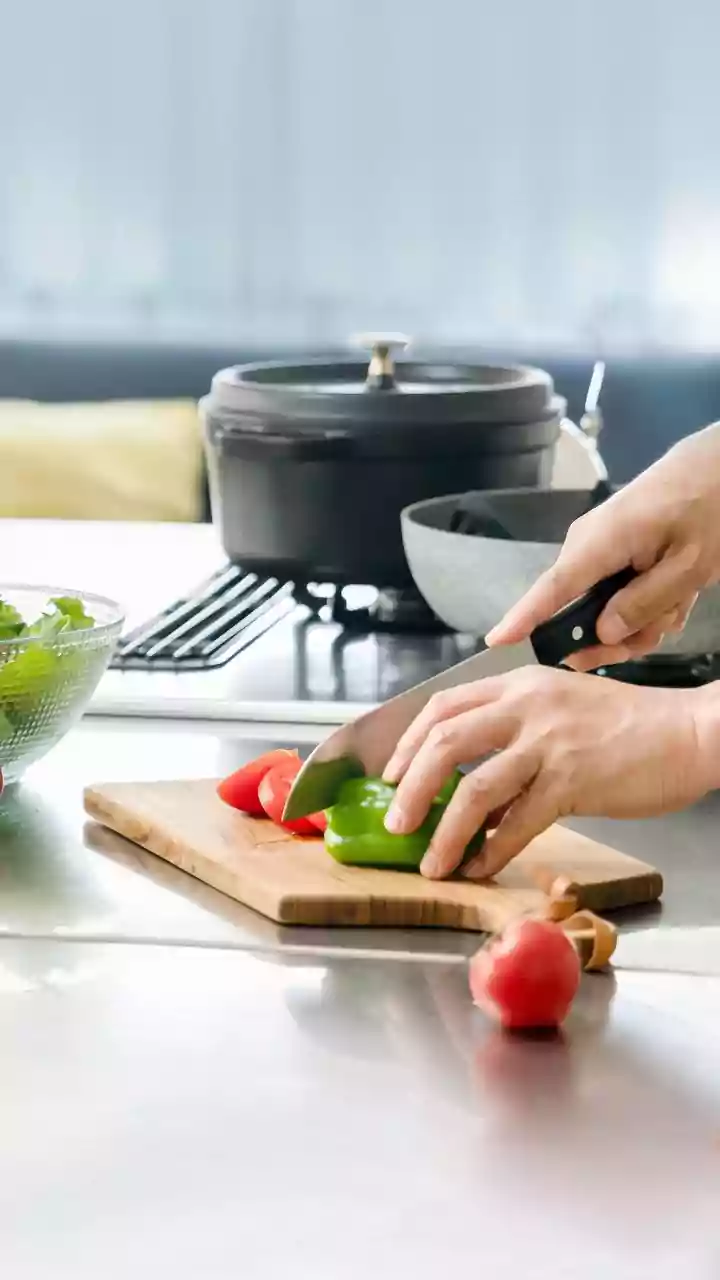
The foundation of any great cutlet is the vegetable mix. Potatoes are essential as they provide the primary structure and binding. For the best results, boil the potatoes until just cooked, then peel and mash them once they have cooled completely to reduce moisture content. Complement the potatoes with a mix of finely chopped or grated vegetables like carrots, French beans, green peas, and even beetroot or corn. It's crucial to cook these vegetables until they are 'al dente'—tender but still with a slight bite. Overcooking them to a mush will release too much water, making the mixture difficult to shape and prone to breaking apart.
The Secret to Binding and Shaping
One of the biggest challenges in making cutlets is ensuring they hold their shape in the hot oil. The secret lies in managing moisture and using the right binding agent. After mashing your cooked vegetables, if the mixture feels too wet, you need a binder to absorb the excess moisture. While plain breadcrumbs are common, many chefs and experienced home cooks turn to powdered poha (flattened rice) or roasted besan (gram flour). Poha is excellent at absorbing moisture without making the cutlet dense. To shape, lightly grease your palms, take a portion of the mixture, and form it into your desired shape—round, oval, or heart-shaped. Chilling the shaped patties in the refrigerator for at least 15-30 minutes helps them firm up, which is another crucial step to prevent them from disintegrating during frying.
Achieving That Irresistible Crispy Crust
The signature crunch of a restaurant-style cutlet comes from a two-step coating process. First, you need a thin slurry to help the outer layer stick. This can be made by mixing cornflour, maida (all-purpose flour), or besan with water to create a batter that’s thin but not watery. The second step is the crumb coat. While standard breadcrumbs work, panko breadcrumbs or even coarsely crushed cornflakes provide a superior, lighter crunch. For an even more traditional Indian texture, some recipes recommend using fine rava (semolina). Dip each chilled patty first into the slurry, ensuring it's fully coated, then immediately dredge it in the breadcrumbs, pressing gently so the crumbs adhere evenly on all sides.
Frying for Golden-Brown Perfection
How you fry the cutlet is just as important as how you prepare it. You can shallow-fry or deep-fry, but the key is maintaining the correct oil temperature. The oil should be hot but not smoking; a medium flame is ideal. If the oil isn't hot enough, the cutlets will absorb too much oil and become greasy. If it's too hot, the outside will burn before the inside is properly heated. A good test is to drop a small piece of the breadcrumb coating into the oil—if it sizzles and rises to the surface immediately, the oil is ready. Fry the cutlets in small batches to avoid overcrowding the pan, which can lower the oil temperature. Cook for a few minutes on each side until they are a deep golden brown and beautifully crisp.