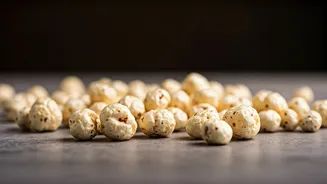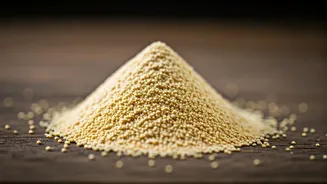


Meet Amaranth, an Ancient Super-Grain
For many of us, amaranth flour—better known as rajgira ka atta—makes a special appearance during religious fasts like Navratri. We associate it with crispy puris and wholesome laddoos. But this humble ingredient has a history stretching back thousands
of years and a nutritional profile that deserves a permanent spot in your pantry. Botanically, amaranth isn't a true cereal grain like wheat or rice. It's a 'pseudocereal,' a category it shares with quinoa and buckwheat. This means its nutritional composition is quite different from and, in many ways, superior to traditional grains. Cultivated by ancient civilisations for its incredible resilience and dense nutrition, amaranth is a tiny seed with a mighty impact.
Why Make the Swap From Wheat?
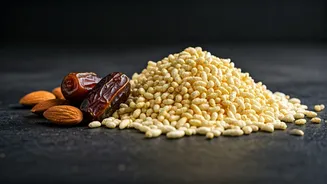
While whole wheat is a staple and a good source of fibre, amaranth flour offers a unique set of benefits. First and foremost, it's naturally gluten-free, making it an excellent choice for anyone with gluten sensitivity or celiac disease. But its advantages extend to everyone. Amaranth is a protein powerhouse, boasting a complete protein profile, which means it contains all nine essential amino acids. This is rare for plant-based foods. It's also incredibly rich in minerals like calcium, iron, and magnesium—often more so than wheat. The high fibre content in amaranth aids digestion, helps in managing blood sugar levels by slowing down sugar absorption, and keeps you feeling full for longer, which can support weight management goals. Its earthy, nutty flavour also adds a new and delicious dimension to everyday meals that can break the monotony of plain atta.
Tips for Cooking with Amaranth Flour
Making the switch to amaranth flour is simple, but it helps to know a few things. Because it lacks gluten, rajgira atta doesn't have the same elasticity as wheat flour. This means making a soft, pliable dough for rotis can be a bit different.
1. **Start with a Mix:** If you're new to it, don't go 100% amaranth just yet. Start by mixing it in a 1:3 ratio with your regular whole wheat atta. This will improve the nutritional value of your rotis without drastically changing the texture.
2. **Use Hot Water:** When kneading amaranth flour on its own, always use hot or warm water. This helps activate the starches and makes the dough softer and easier to handle.
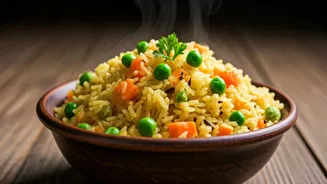
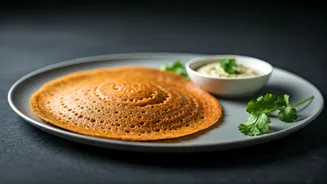
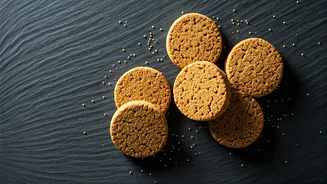
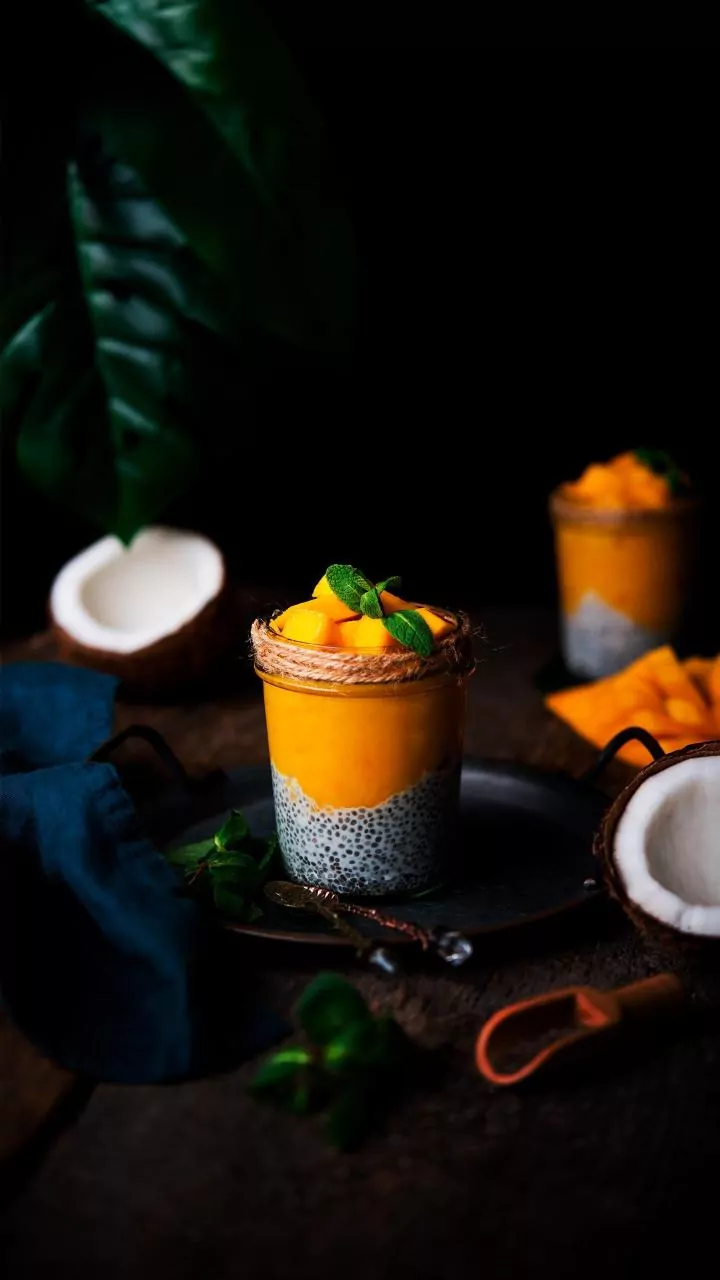
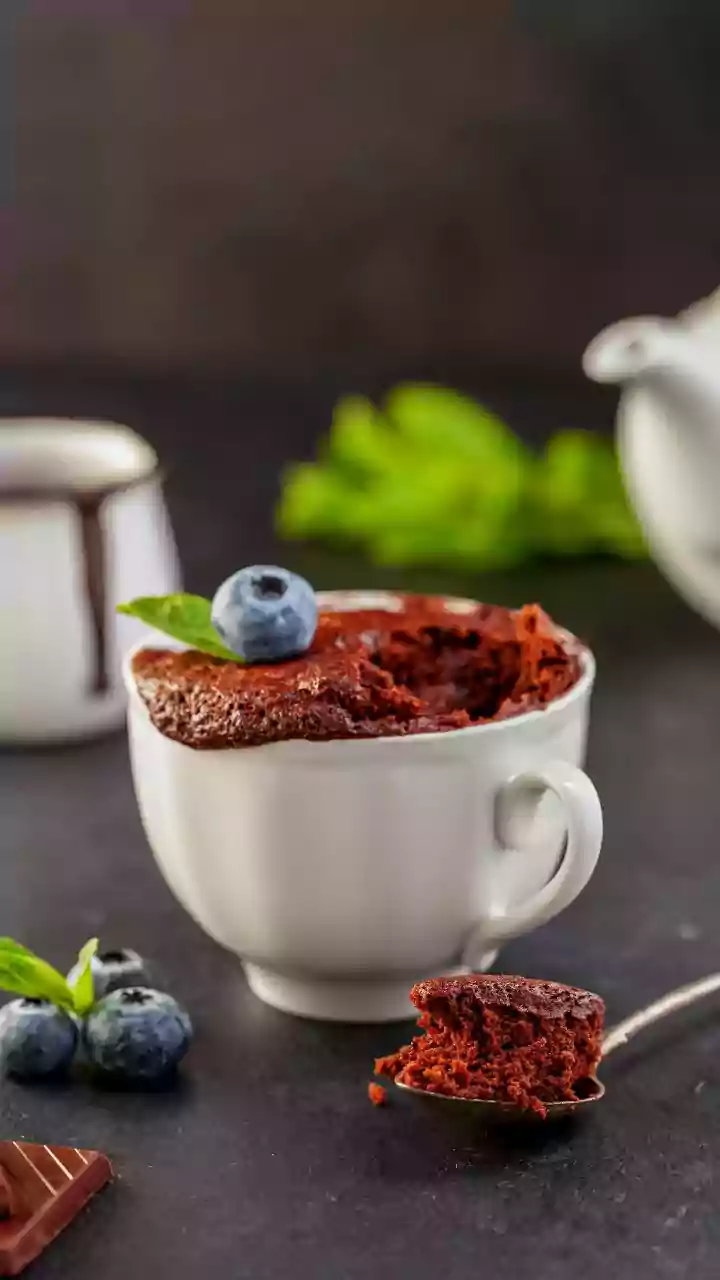
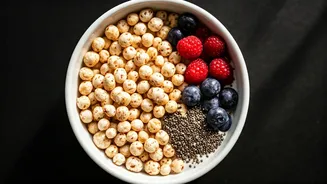
3. **Think Beyond Roti:** Amaranth flour is incredibly versatile. It works beautifully as a thickener for soups and gravies. You can use it to make delicious, protein-packed cheelas or pancakes. It's also fantastic for baking, lending a moist texture and nutty flavour to muffins, cookies, and breads, especially when combined with other flours.
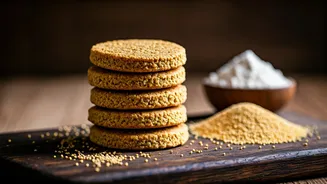
A Simple Starter Recipe: Rajgira Roti
Ready to give it a try? This simple recipe is a great place to start.
**Ingredients:**
- 1 cup amaranth (rajgira) flour
- 1/2 cup hot water (adjust as needed)
- 1/4 teaspoon salt (optional)
- 1 tablespoon finely chopped coriander (optional)
- Ghee or oil for cooking
**Instructions:**
1. In a bowl, combine the amaranth flour and salt. If using, add the chopped coriander.
2. Slowly pour in the hot water while mixing with a spoon. Be careful as the water is hot.
3. Once it's cool enough to handle, knead for 2-3 minutes to form a soft, smooth dough. The dough won't be as stretchy as wheat dough.
4. Divide the dough into small, equal-sized balls.
5. Dust a surface with a little amaranth flour. Gently flatten a ball with your palms or roll it out carefully with a rolling pin. These rotis are delicate, so don't worry if the edges crack a little.
6. Heat a tawa (griddle) over medium heat. Cook the roti for about a minute on each side, pressing gently with a spatula.
7. Once light brown spots appear, you can either cook it on an open flame until it puffs up or continue cooking on the tawa. Smear with a little ghee and serve hot.