



Understanding Your Ingredients
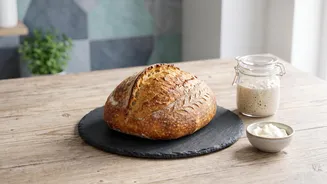
At its heart, a sourdough starter is a living culture of wild yeast and bacteria, created from just two simple ingredients: flour and water. The magic lies in fermentation. When you mix flour and water and leave it, you invite naturally present microbes
to feast on the carbohydrates in the flour, producing the carbon dioxide that makes bread rise. For this, you will need a clean glass jar, a kitchen scale for accuracy, and filtered or dechlorinated water, as the chlorine in tap water can hinder the friendly bacteria you want to cultivate.
Choosing Your Indian Flour
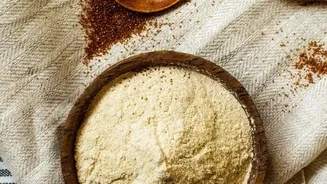
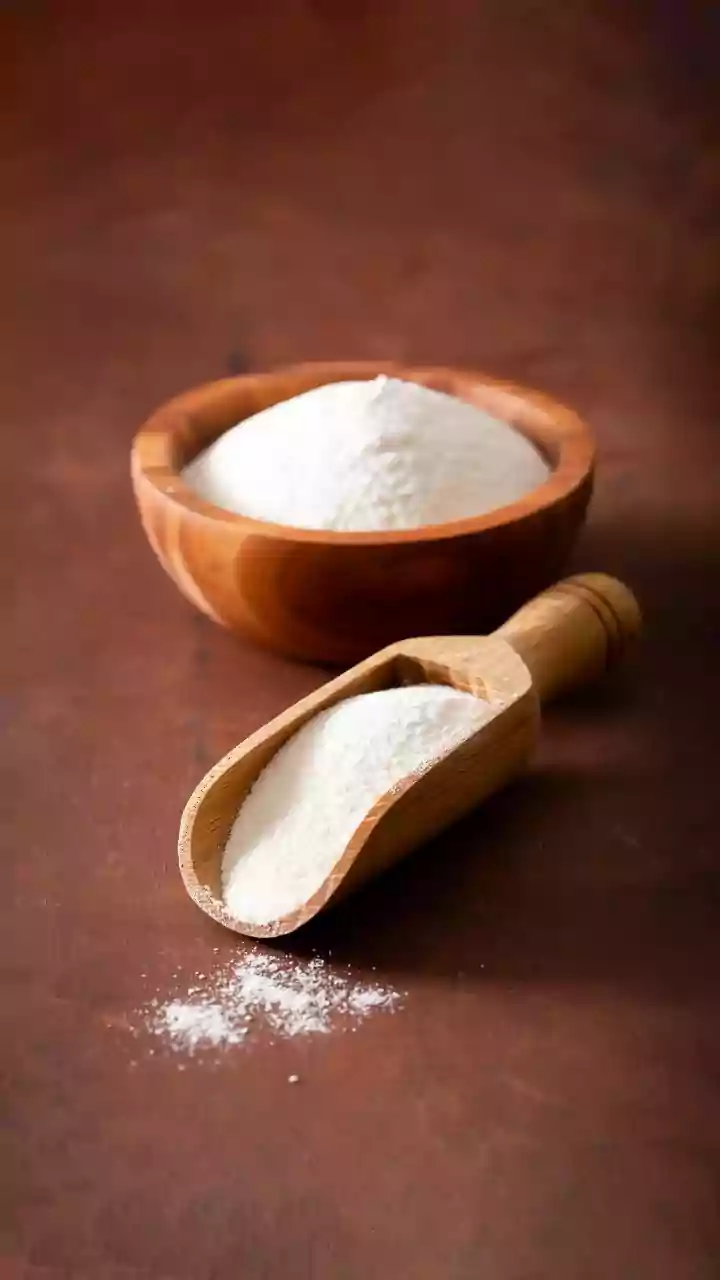
The choice of flour is crucial. While many recipes call for imported bread flour, a robust starter can be built using flours common in every Indian kitchen. Whole wheat atta, the kind used for rotis, is an excellent choice. The bran and germ in atta contain more of the natural yeasts and microbes needed to kickstart fermentation. Starters made with atta often become active faster than those made with maida (all-purpose flour). Maida has a lower protein content (9-10%) compared to atta (11-14%), and while it can be used, a blend often yields the best results. A 50:50 mix of atta and maida is a great starting point, giving you the microbial boost of whole wheat and the lighter texture potential of refined flour.
Day 1-2: The Beginning
Start by combining equal parts flour and water by weight in your glass jar. A good starting point is 50 grams of whole wheat atta and 50 grams of lukewarm, filtered water. Mix thoroughly until no dry flour remains, cover the jar loosely with a lid or a cloth, and leave it in a warm spot for 24 hours. The ideal temperature is between 23-28°C. On Day 2, you might see a few bubbles, or you might see no change at all. Regardless, it's time for the first feeding. Add another 50 grams of atta and 50 grams of water, stir well, and let it rest for another 24 hours.
Day 3-5: The Discard and Feed Cycle
From Day 3, you'll begin the crucial 'discard and feed' cycle. This prevents the starter from growing too large and ensures the yeast culture remains vigorous. Discard roughly half of your starter. To the remaining starter, add 50 grams of your chosen flour (or flour blend) and 50 grams of water. Mix, cover, and wait. By now, you should see more noticeable activity—bubbles, a slight increase in volume, and a pleasantly sour aroma. The warmer your kitchen, the faster this will happen. In India's climate, fermentation is often accelerated, so you may need to start feeding your starter twice a day (every 12 hours) from Day 4 onwards to keep it from becoming too hungry.
Day 6-7: Reaching Maturity
Continue the twice-daily feeding schedule. Your starter is maturing when it predictably rises and falls after each feeding. A healthy starter will typically double or even triple in volume within 4-8 hours of being fed, looking bubbly and active. A common test for readiness is the 'float test': drop a small spoonful of your active starter into a glass of water. If it floats, it is full of gas and likely ready to leaven bread. This whole process can take anywhere from 7 to 14 days, so patience is key. Don't be discouraged if your starter seems sluggish for a day or two; just keep feeding it consistently.
Troubleshooting in a Warm Climate
India's warm and humid weather presents unique challenges. Heat accelerates fermentation dramatically. If your starter smells strongly of alcohol or has a dark liquid ('hooch') on top, it's a sign that it's hungry and has been fermented too quickly. The solution is to feed it more frequently or change the feeding ratio. Instead of a 1:1:1 ratio (starter:flour:water), you might try a 1:2:2 or even higher ratio in summer to give the yeast more food to get through. If your kitchen is very hot, you can use cooler water for feedings or find a slightly cooler spot to store your starter. A runny starter can be a problem in high humidity; if this happens, slightly reduce the water in your feedings until you get a thick, paste-like consistency.