
An Ancient Answer to Modern Watering Woes
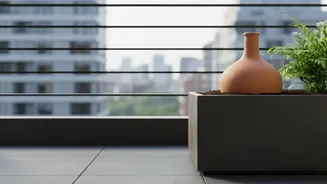
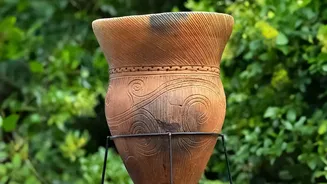
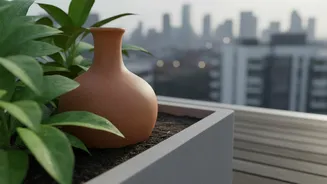
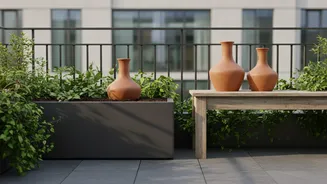
An olla (pronounced 'oy-yah') is a simple, unglazed terracotta or clay pot that is buried in the soil and filled with water. This irrigation method is anything but a new trend; it's a technique that has been used by civilizations in arid regions for over
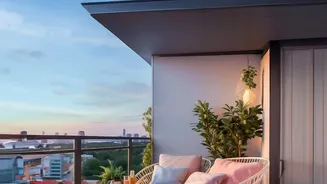
4,000 years to grow crops efficiently. With only its neck exposed above the soil, the olla acts as a subterranean reservoir, delivering water directly to where plants need it most: the roots. This age-old technology is finding new life in urban settings, especially for container and balcony gardens where consistent watering is a constant challenge.
The Science of Set-It-and-Forget-It Hydration
The magic of the olla lies in its porous nature. Because the clay is unglazed, water can slowly seep through its walls. This process is driven by soil moisture tension, a natural interaction between the soil and the plant's roots. When the soil around the olla is dry, it effectively 'pulls' water out from the clay pot. Conversely, if the soil is already moist after a rain shower, the water stays inside the olla until it's needed again. This creates a self-regulating system where plants draw exactly the amount of water they require, preventing the stress cycles of both overwatering and underwatering.
Why Ollas Are Perfect for Balcony Pots
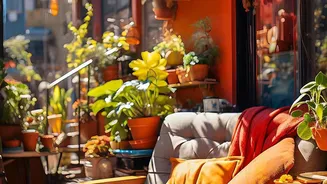
Container gardens on balconies dry out much faster than garden beds. Ollas offer several key advantages in this environment. By delivering water underground, they can reduce water use by up to 70% compared to surface watering because very little is lost to evaporation. This is a major benefit during hot, windy days. Furthermore, keeping the soil surface drier helps discourage weed growth and can reduce the spread of fungal diseases that thrive on wet leaves. It also encourages plants to develop deeper, stronger root systems, making them more resilient. For the busy gardener, it means less time spent watering and peace of mind when away for a few days.
Choosing and Using an Olla in Your Pots
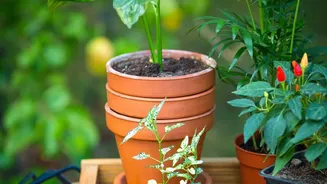
For container gardening, the size of the olla matters. A small 6-inch pot can serve as an olla for a large container that is at least 18 inches wide. To install it, dig a hole in your container's soil, place the olla inside so that only its neck is visible, and pack the soil firmly around it to ensure good contact. Fill the olla with water and place a small lid or stone over the opening. This prevents mosquitoes from breeding and reduces evaporation. You’ll need to refill it every two to five days, depending on the weather, pot size, and the thirst of your plants. Do not add liquid fertilizer to the olla, as it can clog the clay's pores.
The Best Plants for Olla Irrigation
Ollas work best for plants with fibrous root systems that appreciate consistent moisture. Thirsty vegetables like tomatoes, peppers, and squash are ideal candidates. In fact, using ollas can help prevent common issues like blossom-end rot in tomatoes, which is caused by inconsistent watering. Many culinary herbs such as basil and mint also thrive with this method, as it prevents their leaves from getting wet while keeping the soil perfectly moist. Even flowering plants like zinnias and marigolds respond well to the steady hydration ollas provide.
Making Your Own DIY Olla
You don't need to buy a specialty olla; you can easily make one yourself. The most common method involves taking two unglazed terracotta pots of the same size. Use a waterproof silicone sealant to plug the drainage hole of one pot. Then, apply a generous bead of the same sealant around the rim of that pot and press the rim of the second pot firmly on top of it, creating a single enclosed vessel with an opening at the top. Let the sealant cure for at least 24 hours before you bury and use your homemade olla.