

What Exactly Are Microgreens?
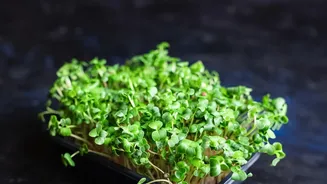
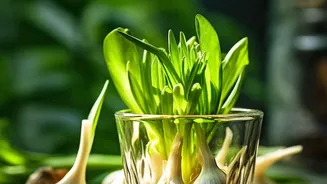
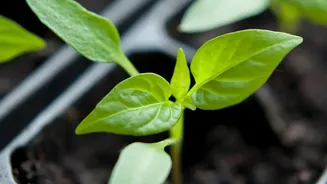
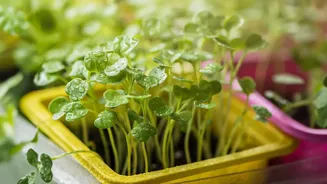
Microgreens are not to be confused with sprouts, which are germinated seeds grown in water. Instead, microgreens are young vegetable greens harvested just after the first set of 'true leaves' have developed. Think of them as the toddler stage of a plant,
older than a sprout but younger than a full-grown vegetable. This is the point where they are packed with concentrated nutrients—sometimes up to 40 times more than their mature counterparts—and vibrant flavour. They are grown in a medium like soil or cocopeat and cut above the root, making them a clean and easy addition to any meal.
Your Simple Windowsill Starter Kit
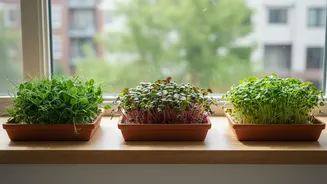
Getting started with microgreens doesn't require any expensive or specialised equipment. In fact, you probably have most of what you need at home already. You will need shallow trays—old takeaway containers, baking trays, or even tiffin lids will work perfectly, as long as they have a few drainage holes. Next, you need a growing medium; cocopeat is a popular, clean choice in India, but a basic potting mix also works well. You'll also need a spray bottle for gentle watering and, most importantly, your seeds.
Best Beginner Greens for Indian Kitchens
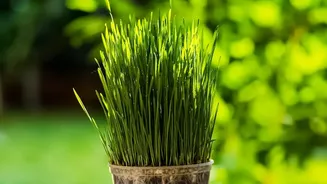
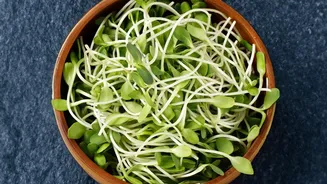
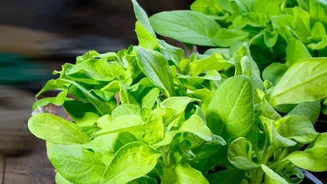
For your first attempt, it's best to choose seeds that are fast, forgiving, and familiar. Radish (mooli) and mustard (sarson) are excellent starting points; they are incredibly easy to grow, germinate quickly, and are ready to harvest in as little as 7 to 10 days. Fenugreek (methi) is another fantastic option with a flavour profile that's deeply integrated into Indian cooking. These varieties are robust and can tolerate minor beginner mistakes. Pea shoots and sunflower seeds are also great choices, known for their sweet, nutty flavours that even children tend to enjoy.
From Seed to Harvest: A Step-by-Step Guide
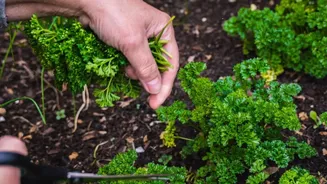
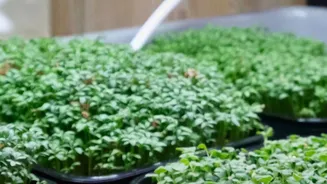
First, prepare your tray by filling it with about an inch of damp cocopeat or soil. Next, sprinkle your chosen seeds densely and evenly across the surface—you want them close but not overlapping. Gently press them down and cover with a very thin layer of your growing medium. Mist generously with water and cover the tray to create a humid environment for a few days until you see germination. Once the seeds sprout, remove the cover and move the tray to a sunny windowsill that gets at least four to six hours of light. Continue to mist daily. In about 7 to 14 days, depending on the variety, your microgreens will be a few inches tall and ready to harvest. Simply use a pair of scissors to snip them just above the soil line.
Achieving a Continuous Daily Harvest
The secret to a daily supply of microgreens is a technique called succession planting. Instead of planting all your trays at once, you stagger them. Start your first tray on day one. On day three or four, start a second tray. A few days later, start a third. By the time you harvest and finish the greens from your first tray (which typically takes a few days), your second tray will be ready. Once a tray is harvested, you can re-sow it with new seeds. Using this simple rotation with just two or three trays, you can create a continuous cycle that ensures you always have fresh greens ready to be snipped and added to your meals.
Enjoying Your Home-Grown Superfoods
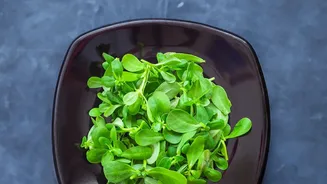
The beauty of microgreens lies in their versatility. Their concentrated flavours can elevate any dish. The peppery kick of radish microgreens is a brilliant addition to chaats and sandwiches. The familiar bitterness of fenugreek greens can be sprinkled over dal and curries for a fresh finish. The sweet crunch of sunflower and pea shoots can be tossed into salads, blended into smoothies, or used as a nutritious garnish on practically anything. It's a simple way to add a burst of flavour, texture, and a powerful dose of vitamins to your daily diet.