


The Sprouting Dilemma
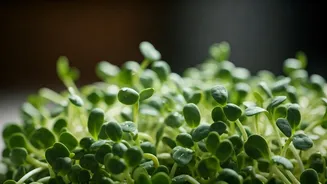
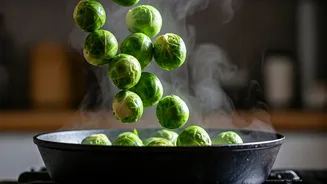
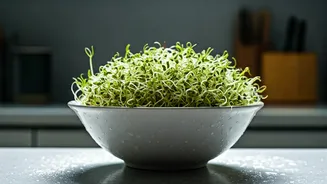
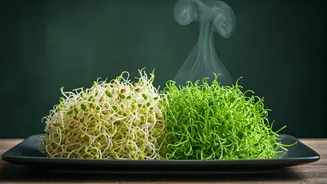
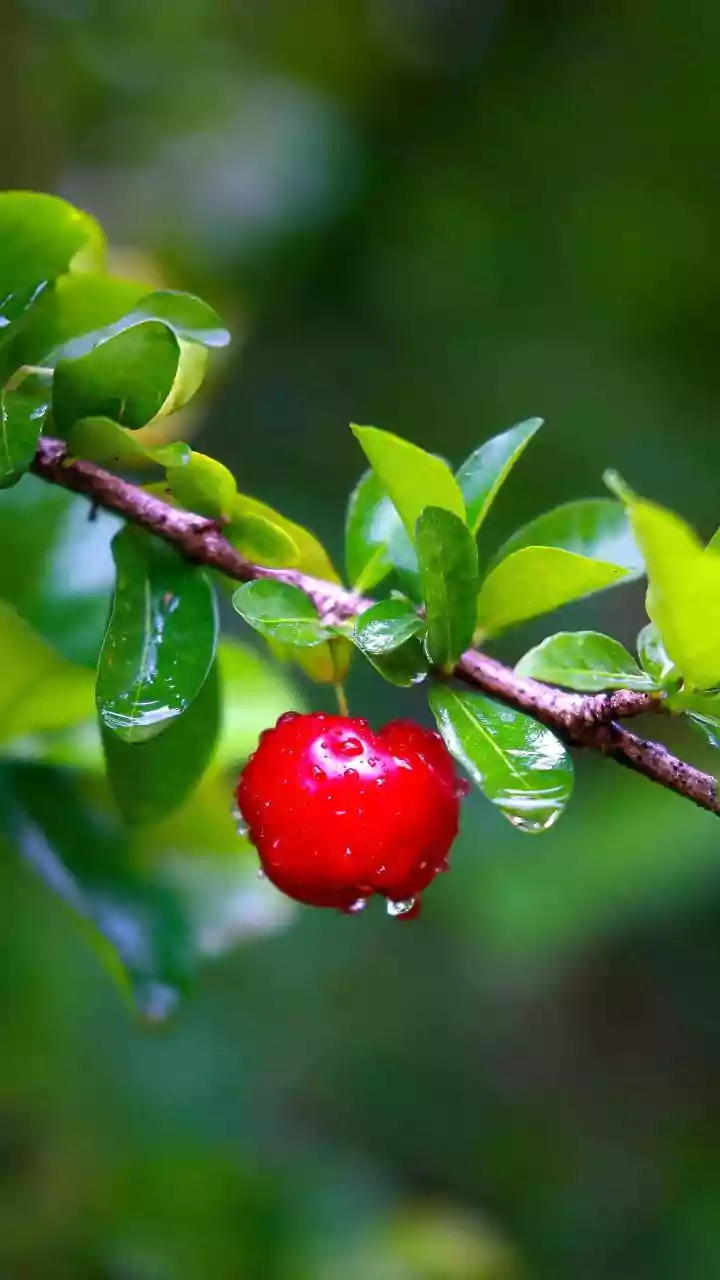
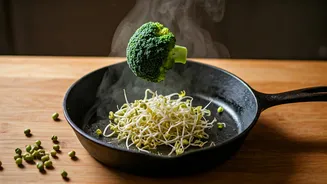
Sprouts are celebrated for being tiny powerhouses of nutrition. From alfalfa and broccoli to mung bean and radish, they add a fresh, vibrant crunch to any meal. However, they are also consistently linked to outbreaks of foodborne illnesses like E.coli
and Salmonella. This isn't because the seeds themselves are inherently 'dirty', but because the process of sprouting creates the perfect environment for bacteria to thrive. The warm, humid conditions required to germinate a seed are the exact same conditions that harmful pathogens love. A few stray bacteria on a single seed can multiply into a dangerous colony during the sprouting process, turning a healthy food into a significant health risk. This is why you often see warnings attached to raw sprouts in restaurants and supermarkets.
The Game-Changing Trend: Seed Sanitization
For years, the advice was simply to cook sprouts thoroughly or avoid them, especially for vulnerable individuals. But a crucial step, long used by professional growers and now being adopted by savvy home cooks, is changing the game: sanitizing the seeds *before* sprouting begins. This isn't just a quick rinse. It’s a dedicated process designed to kill or significantly reduce any pathogens lurking on the outside of the seeds. By tackling the problem at the source—before the bacteria have a chance to multiply in the ideal sprouting environment—you can dramatically lower the risk of contamination. This simple pre-treatment is the single most effective step you can take to make your home-sprouting journey a safer one.
Your Simple Sanitizing Guide
You don't need a laboratory to do this. The most common and accessible method involves a simple vinegar soak, which creates an acidic environment that is inhospitable to most bacteria. Here’s what you need and how to do it.
What You'll Need:
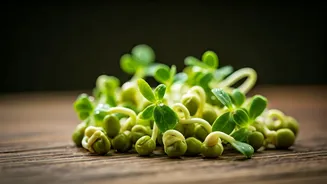
- Sprouting seeds from a reputable supplier (look for those specifically sold for sprouting)
- A clean glass jar with a wide mouth
- A sprouting lid or a piece of cheesecloth and a rubber band
- White vinegar and water
The Process:
1. Prepare the Sanitizing Solution: Mix a solution of 3 parts water to 1 part white vinegar. You don't need a large amount; just enough to completely submerge your seeds.
2. Sanitize the Seeds: Place your desired amount of seeds (e.g., 2 tablespoons) into the jar. Pour the vinegar solution over them until they are fully covered. Let the seeds soak for 15-20 minutes. Swirl the jar occasionally to ensure all seeds are exposed to the solution.
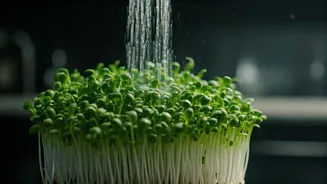
3. Rinse Thoroughly: After the soak, drain the vinegar solution. Rinse the seeds extremely well with cool, clean water several times. This is important to remove the vinegar taste and acidity so the seeds can germinate properly. Rinse until you no longer smell the vinegar.
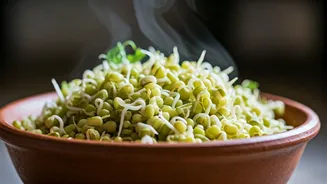
From Sanitized Seed to Sprout
Once your seeds are sanitized and rinsed, you can proceed with the normal sprouting process. With the seeds in your jar, cover the top with your sprouting lid or cheesecloth. Tilt the jar at an angle in a bowl to allow for drainage and air circulation. Place it in a spot with indirect light.
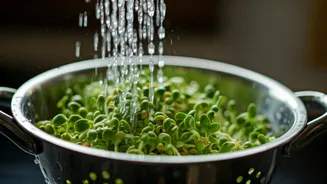
Your main job now is to rinse and drain the seeds two to three times a day with cool water. This provides the moisture needed for germination while washing away waste products. Depending on the seed type and ambient temperature, you should see tiny sprouts emerge within a day or two. They are typically ready to eat in 3 to 5 days, once the first set of leaves has opened and turned green. Before eating or storing, give them one final, thorough rinse.
Final Safety Checks
While seed sanitization is a huge leap forward for safety, a few other best practices complete the picture. Always start with impeccably clean hands and equipment—sterilize your jars and lids with boiling water before you begin. It's also crucial to buy seeds specifically intended for sprouting from a trusted source, as these are often tested for common pathogens. Once your sprouts are ready, store them in a covered container in the refrigerator and aim to consume them within three to four days. If they ever look slimy, discoloured, or smell off, discard them immediately. No food is worth the risk.