

What Exactly Is Dynamic Range?
In simple terms, dynamic range is the measurement of the darkest tones to the brightest tones your camera's sensor can capture in a single shot. Think of it like your own vision. When you look at a sunset, your eyes can see the details in the shadowy
landscape and the vibrant colours in the bright sky simultaneously. Cameras, however, have a much harder time with this. Their range is more limited. If a scene has extreme contrast—very bright areas and very dark areas—a camera with low dynamic range will be forced to choose. It will either correctly expose the bright parts, plunging the darks into pure black, or expose for the darks, blowing out the brights to pure white. A camera with high dynamic range can capture more detail in both of these extremes within one photo.
The Astrophotographer's High-Contrast Challenge
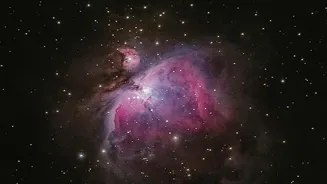
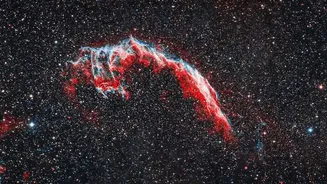
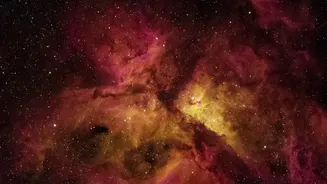
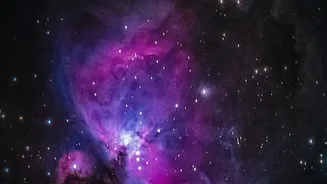
Nowhere is this challenge more apparent than in astrophotography. Celestial objects are the definition of high-contrast scenes. Take the famous Orion Nebula, for example. Its core, known as the Trapezium, is incredibly bright, while the vast, surrounding clouds of hydrogen gas are exceptionally faint. A single exposure long enough to capture the faint outer gas will almost certainly overexpose the core, turning it into a detail-less white blob. Conversely, an exposure short enough to preserve the detail in the core will render the faint, beautiful outer structures completely invisible. This is the fundamental problem that understanding dynamic range helps solve.
Know Your Gear's Limits
Dynamic range is measured in 'stops', where each stop represents a doubling of light. A camera with a 12-stop dynamic range can capture a scene where the brightest part is significantly more luminous than the darkest part. Modern cameras, especially those with larger full-frame sensors, generally offer better dynamic range. Knowing your camera's capabilities is the first step. For astrophotography, a sensor's dynamic range and its ability to produce clean images at high ISO settings are often more important than just a high megapixel count. This allows you to pull details from the shadows in post-processing without introducing excessive noise or ugly colour banding.
Technique 1: Exposure Bracketing
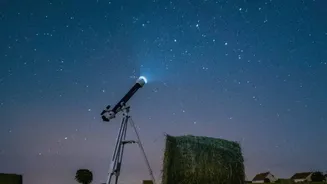
The most common and effective technique to overcome your sensor's limitations is exposure bracketing. This simply means taking multiple photos of the exact same scene at different exposure settings. You might take one short exposure to perfectly capture the bright core of a galaxy or nebula. Then, you'll take one or more much longer exposures to gather the faint light from the outer arms or surrounding gas clouds. Most modern cameras have an automatic exposure bracketing (AEB) function that makes this process easy, allowing you to set how many shots you want and how far apart their exposures should be. For this to work, a sturdy tripod is essential to ensure the frames are perfectly aligned.
Technique 2: Creating an HDR Image
Once you have your bracketed shots—some for the highlights, some for the mid-tones, and some for the shadows—the magic happens in post-processing. This is where you create a High Dynamic Range (HDR) image. Using software like Adobe Lightroom, Photoshop, or specialized astrophotography programs, you can merge these different exposures. The software intelligently combines the best-exposed parts of each photo into a single composite image. It takes the detailed, non-white core from your short exposure and blends it with the faint, detailed gas clouds from your long exposures. The result is one final photograph that shows a complete dynamic range that would be impossible to capture in a single shot.
Stacking for Noise Reduction and Detail
Astrophotography often takes this concept a step further. Instead of just taking one photo at each exposure level, photographers often take many—sometimes dozens or even hundreds. This process, called stacking, is used not only to manage dynamic range but also to drastically reduce digital noise and increase the signal-to-noise ratio (SNR). By averaging many similar frames together, random noise is cancelled out, leaving behind a much cleaner and more detailed signal. So, an advanced workflow might involve stacking a set of short exposures to create a clean 'highlight' image and stacking a set of long exposures for a clean 'shadow' image, then blending those two masters together.