

The Restaurant-Only Myth
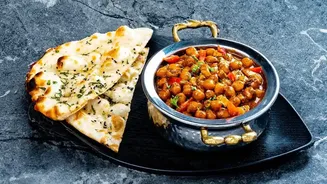
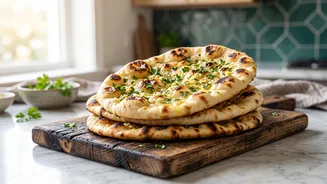
For decades, many of India’s most famous breads seemed impossible to replicate at home. The star of the show, naan, traditionally gets its signature char and chewy-soft texture from a tandoor, a clay oven that reaches scorching temperatures. The intense,
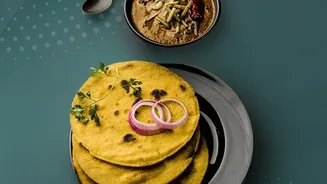
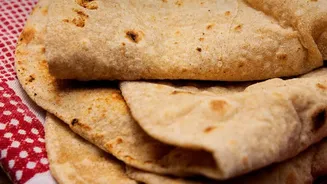
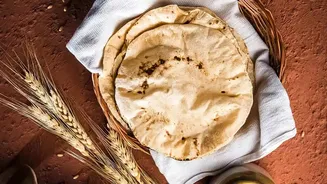
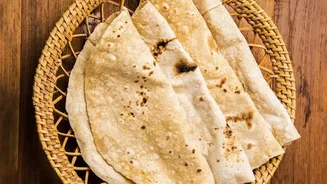
dry heat cooks the bread in moments, creating a result that home ovens and stovetop pans struggled to match. This reliance on specialty equipment created a myth that truly great Indian breads could only be enjoyed when dining out. For many home cooks, the daily bread was the simpler, wholesome roti or chapati, while naan and its complex cousins were reserved for special occasions.
The Home Kitchen Revolution
A quiet revolution has been unfolding across kitchens, fueled by a surge in online resources and a collective desire to master new skills. Countless YouTube tutorials, food blogs, and online cooking classes have demystified the art of Indian bread-making. They offer step-by-step visual guides that break down complex techniques into manageable steps. This accessibility has empowered home cooks to experiment with confidence. The secret, it turns out, isn't necessarily about owning a tandoor. It's about understanding the science of dough and heat, and using the tools you already have in clever ways.
Mastering Naan on a Tawa
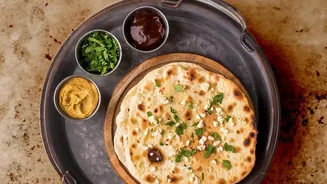
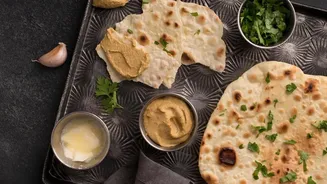
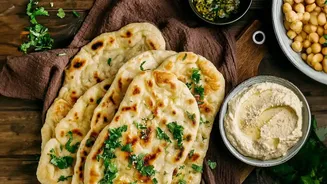
The most significant breakthrough for home-made naan is the popularization of the tawa method. A tawa, or a heavy-bottomed skillet (cast iron works best), can create incredible naan without an oven. The technique involves rolling the dough and brushing one side with water. This watered side is slapped onto the hot tawa, where it sticks firmly. As bubbles form on the surface, the entire pan is inverted over a direct gas flame. The direct heat chars the top of the naan, beautifully mimicking the tandoor effect while the bottom cooks through on the pan. The result is a soft, bubbly flatbread that's remarkably close to the restaurant version. For those with electric hobs, a similar effect can be achieved by finishing the naan under a hot grill or broiler.
The Art of the Flaky Paratha
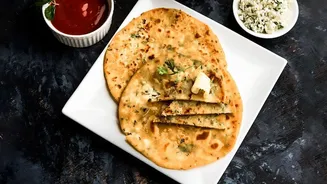
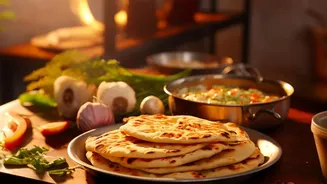
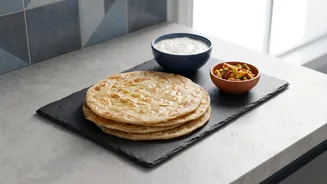
Alongside naan, the layered, flaky paratha has become a favorite project for ambitious home cooks. Achieving those paper-thin, buttery layers is an art form, but one that is surprisingly achievable. The keys are a soft, pliable dough and the lamination process. After rolling the dough out thinly, it's brushed with ghee or oil and often lightly dusted with flour. It is then either folded like a paper fan or rolled into a spiral before being coiled and flattened. This process creates dozens of whisper-thin layers. When cooked on a medium-hot griddle, the steam trapped between the ghee-coated layers causes the paratha to puff, separating the layers into a flaky, crispy, and tender masterpiece.
Tips for Perfect Dough
No matter the bread, success starts with the dough. For softer rotis and parathas, many experienced cooks swear by using warm or even hot water to make the dough, as it helps create a more pliable texture. Allowing the dough to rest for at least 20-30 minutes after kneading is another non-negotiable step. This rest period allows the gluten to relax, making the dough much easier to roll without it springing back. This simple pause results in a final product that is noticeably softer and more tender. For leavened breads like naan, giving the yeast enough time to activate and the dough proper time to rise is crucial for that light, airy texture.