




The Batter Is Everything
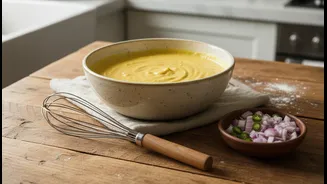
The journey to a perfect chilla begins and ends with the batter. Success lies in achieving a consistency that is smooth, flowing, and completely free of lumps. If it’s too thick, your chilla will be dense and cook unevenly; if it’s too watery, it will be impossible
to flip. A good rule of thumb is to start with about half as much water as besan (gram flour) and add more gradually, whisking continuously until you have a smooth batter with a pourable consistency, similar to a pancake batter. Quality matters, too. Ensure your besan is fresh and finely ground, not the coarse kind used for ladoos. Once mixed, letting the batter rest for at least 10-15 minutes is a game-changer. This allows the besan to fully hydrate, resulting in a smoother texture and a chilla that cooks more evenly.
Secret Ingredients for That Perfect Crunch
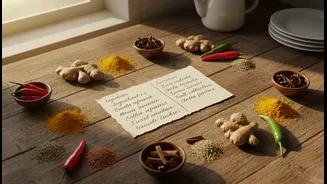
While a basic besan batter is delicious, a few additions can elevate your chilla from good to great. The most popular trick for achieving a guaranteed crisp texture is to add a tablespoon or two of sooji (semolina/rava) or rice flour to your besan. These ingredients act as a binding agent, helping the chilla hold its shape while providing an unmistakable crispness. For flavour and digestive benefits, a pinch of ajwain (carom seeds) and grated ginger is highly recommended. A dash of turmeric will give your chillas a beautiful golden hue, making them as appealing to the eye as they are to the palate.
Master Your Pan and Heat
Your choice of pan and how you heat it are critical. A non-stick tawa or a well-seasoned cast-iron skillet is your best bet for a chilla that doesn’t stick. The key is to get the pan to the right temperature before you pour the batter. It should be hot, but not smoking. A simple test is to sprinkle a few drops of water; if they sizzle and evaporate immediately, you're ready to go. If the pan is too hot, the batter will seize and won't spread properly. If it’s too cool, the chilla will turn out soggy and may stick. Always cook on a medium to medium-low flame. This ensures the chilla cooks through evenly without burning on the outside before the inside is done.
The Art of the Pour and Flip
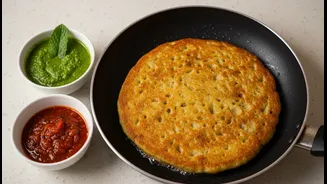
Once your pan is at the perfect temperature, it's time to cook. Lightly grease the surface with a thin layer of oil or ghee. Pour a ladleful of batter onto the center of the pan. Working quickly, use the back of the ladle to gently spread the batter in a circular motion, moving from the center outwards to form a thin, even pancake. Don't press too hard. Let the chilla cook undisturbed for a couple of minutes. You'll know it's ready to flip when the top surface looks dry and the edges begin to lift away from the pan on their own. Use a thin spatula to carefully lift and flip the chilla, then cook the other side for another minute or two until golden spots appear.
When Adding Vegetables
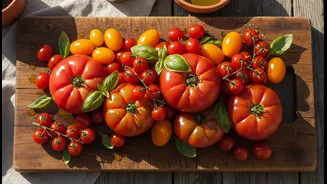
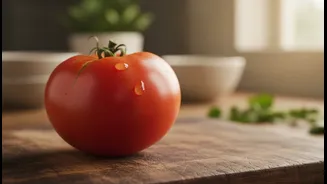
Adding vegetables is a fantastic way to boost the nutritional value and flavour of your chilla, but it can also be a reason why they break. The secret is in the preparation and proportion. All vegetables, like onions, tomatoes, capsicum, or carrots, must be chopped very finely. Large, chunky pieces will prevent the batter from forming a cohesive pancake and will cause it to crumble during flipping. Also, be mindful not to overload the batter; the vegetables should complement the besan, not overwhelm it. A balanced ratio is crucial for maintaining the chilla's structural integrity.