

Why Indian Wheat Flour Works Wonders
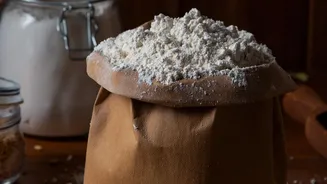
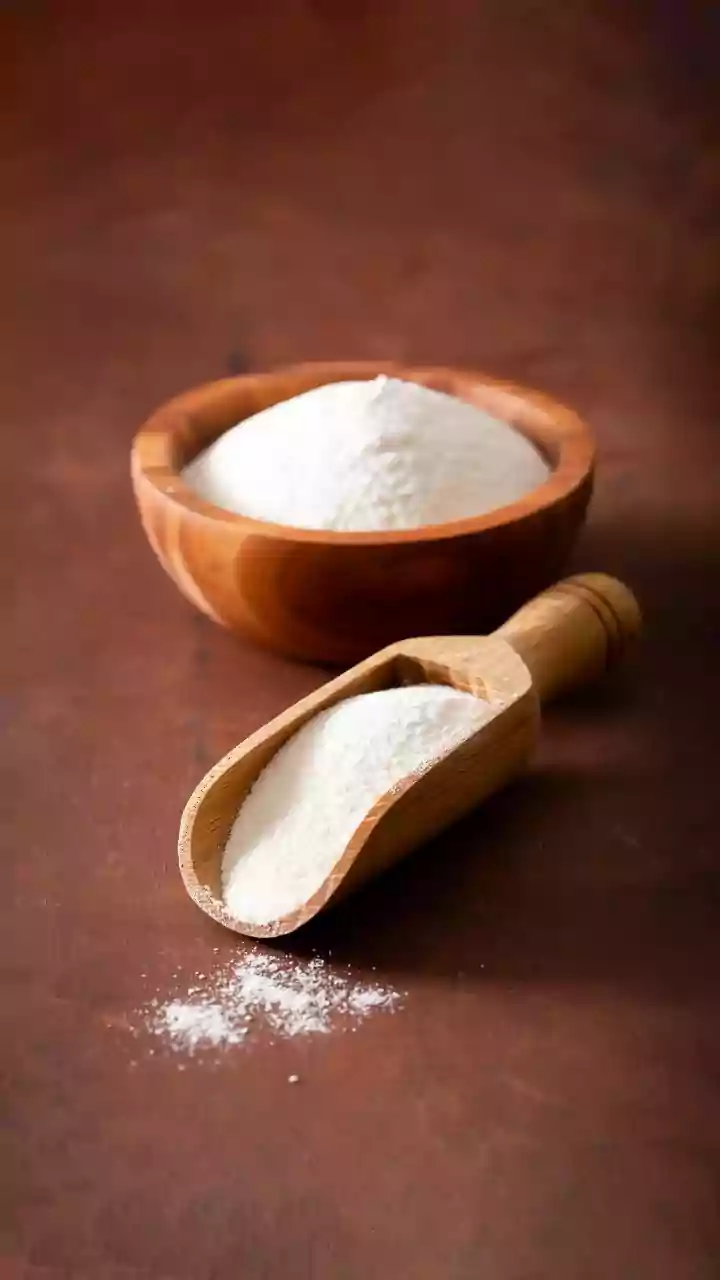
Forget the hunt for expensive imported bread flour. The secret to a fantastic sourdough starter might already be in your pantry. Indian whole wheat flour, or atta, is a powerhouse for kicking off the fermentation process. The bran and germ in whole grains
are naturally rich in wild yeasts and bacteria, the very microorganisms you need to capture. These local yeasts, adapted to our environment, give your starter a unique and robust character. While some recipes use all-purpose flour (maida), starting with atta provides more nutrients for the yeast to feed on, often leading to a more active and faster-developing starter. This natural process of cultivating wild yeast not only creates a deeply flavourful bread but is also sustainable and free of the additives sometimes found in commercial yeast.
Your Simple Toolkit
You don't need any fancy equipment to begin. The beauty of sourdough is its simplicity. All you need are two ingredients and a few basic kitchen items: Flour: Indian whole wheat flour (atta) is perfect for starting. You can use only atta or a mix of atta and maida. Water: Use filtered or RO water. Chlorinated tap water can inhibit yeast growth, so it's best to avoid it. A Glass Jar: A clean, tall glass jar (an old coffee or pickle jar works well) is ideal. Glass allows you to see the activity and doesn't react with the fermenting mixture. A Kitchen Scale: While not strictly mandatory, a scale is highly recommended for accuracy. Measuring by weight (grams) is more precise than using cups.
Day 1: The Beginning
This is the simplest step. In your clean glass jar, combine equal parts of whole wheat flour (atta) and filtered water by weight. A good starting point is 50 grams of flour and 50 grams of water. Mix them thoroughly until no dry flour remains. The consistency should be like a thick paste. Don't seal the jar tightly; just cover it loosely with its lid or a piece of cloth. This allows air to circulate but keeps dust and pests out. Now, find a warm—but not hot—spot in your kitchen and let it rest for 24 hours. The ideal temperature is around 24-26°C.
Days 2 and 3: First Stirrings
After 24 hours, you might see a few small bubbles, or you might see nothing at all. Both are normal. At this stage, you'll begin the feeding schedule. To feed your starter, you first need to discard a portion of it. Remove and discard about half of the mixture from the jar. Then, add a fresh 'meal' of 50 grams of atta and 50 grams of water. Stir everything together, scrape down the sides, cover loosely, and return it to its warm spot. Repeat this process of discarding and feeding every 24 hours. Patience is key here; the starter is still just waking up.
Days 4 to 7: Building Strength
By day four or five, you should notice more significant activity. The starter will become more bubbly, and you might detect a slightly sour or fruity aroma. This is a great sign! The wild yeast and bacteria are establishing their colony. From day four onwards, especially in the warmer Indian climate, you may need to increase feedings to twice a day (every 12 hours). A sour smell is an indicator that your starter is hungry and needs more frequent feeding. Continue the routine: discard about half, and feed with 50g flour and 50g water. With each feeding, your starter will become more predictable, rising and falling within a few hours. A mature starter will typically double in volume within 4-8 hours of being fed.
Is It Ready to Bake?
Your starter is ready for baking when it's active, predictable, and strong. The 'float test' is a popular way to check. Drop a small spoonful of your active starter into a glass of water. If it floats, it's full of gas and ready to leaven your bread dough. It should also have a pleasant, tangy aroma, not an unpleasantly sharp or vinegary one. By day 7, many starters are ready, but some can take up to two weeks. Don't be discouraged if yours takes a little longer; factors like flour, water, and ambient temperature all play a role. Once it's mature, you can store it in the refrigerator and feed it once a week to maintain it for future bakes.