





Understanding Your Ingredients
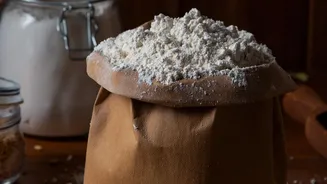
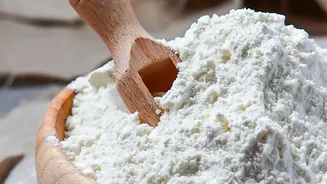
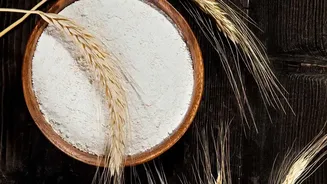
A sourdough starter is a living culture of wild yeast and bacteria, which you can harvest from just two ingredients: flour and water. The type of flour you use is important. For Indian kitchens, common whole wheat flour (atta) is an excellent choice to
begin with. Its bran and germ contain abundant natural yeasts and nutrients that kickstart fermentation. You can also use all-purpose flour (maida), or a blend of both. Many find that a 50:50 mix of atta and maida gives both the nutritional boost of whole grains and the lighter texture of refined flour. Also, ensure you use non-chlorinated water, like filtered or bottled water, as chlorine can inhibit the growth of these beneficial microbes.
Day 1-2: The Beginning
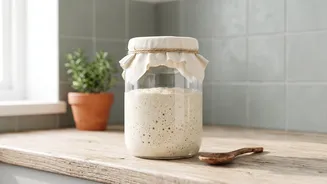
Start by mixing equal parts flour and water by weight in a clean glass jar. A good starting point is 50 grams of whole wheat atta and 50 grams of lukewarm water. Mix thoroughly until no dry patches remain, cover the jar loosely with a lid or cloth, and leave it in a warm spot on your counter for 24 hours. On Day 2, you might see a few small bubbles, which is a great first sign. For the first feeding, you'll discard about half of the mixture and add another 50 grams of flour and 50 grams of water. Mix well, cover, and wait another 24 hours. Don't worry if activity seems slow; the culture is just getting established.
Day 3-5: Building Momentum
From Day 3 onwards, you should begin to see more consistent activity. The starter might develop a slightly sour or fruity aroma. This is the lactobacilli at work, giving sourdough its characteristic tang. Continue your daily routine: discard about half of the starter and feed it with a fresh mix of flour and water. In India's warmer climate, fermentation can be rapid. You might need to start feeding your starter twice a day (every 12 hours) if it becomes very active, rises quickly, and then collapses. A collapsed starter will often have streaks on the side of the jar, showing how high it rose before falling. This is a sign it's hungry and needs more frequent feeding.
Day 6-7: Signs of Maturity
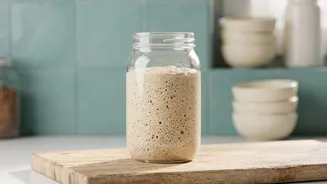
By the end of the first week, your starter should be consistently bubbly and active. A healthy starter will predictably double or even triple in volume a few hours after feeding. It will have a pleasant, yeasty, and tangy smell, not a sharp or unpleasant one. A faint smell of acetone or nail polish remover simply means the starter is very hungry. The texture will become lighter and more aerated, looking almost like a web of bubbles. A reliable way to check if your starter is ready for baking is the 'float test'. Drop a small spoonful of the active, bubbly starter into a glass of water. If it floats, it's full of carbon dioxide gas and ready to leaven bread. If it sinks, it may need a few more days of consistent feeding to build strength.
Long-Term Care and Maintenance
Once your starter is established, you don't need to feed it daily unless you plan to bake every day. For long-term storage, keep the jar in the refrigerator. This slows down fermentation, and you'll only need to feed it about once a week to keep it healthy. To do this, take the starter out of the fridge, discard all but a small amount (about 50 grams), and feed it with 50 grams of flour and 50 grams of water. Let it sit at room temperature for a few hours to become active before returning it to the fridge. When you want to bake, take it out, give it one or two feedings at room temperature over 12-24 hours, and it will be ready to use.