



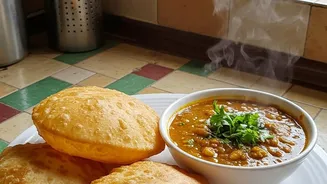
The magic of Indian street food lies in its textures: the shatteringly crisp shell of a pani puri, the flaky layers of a paratha, or the pillowy softness of a dahi vada. Now, you can bring that magic home without any special equipment.
The Unbeatable Crunch of Fried Snacks
For many, the ultimate
street food experience is the deep, satisfying crunch of a samosa or a perfectly crisp pani puri shell. Replicating this at home is less about owning a giant kadai and more about controlling temperature. The secret to a blister-free, crispy samosa lies in frying it on a low flame for a long time. Heat your oil in a simple heavy-bottomed pan, but ensure it's only moderately hot. When you drop a piece of dough in, it should rise slowly with minimal bubbles. Frying on low heat cooks the pastry from the inside out, preventing bubbles and ensuring a sturdy, flaky crust. For pani puris, the dough and oil temperature are both key. A stiff dough made from semolina (suji) is essential. When frying, the oil needs to be very hot initially so the puris puff up the moment they're dropped in. A simple slotted spoon can be used to nudge them and encourage puffing. Once they've puffed, reduce the heat to low and fry until golden and crisp, which ensures they don't become soft later.
Achieving Pillowy, Melt-in-Your-Mouth Softness
The ethereal, cloud-like texture of dahi bhalla (or dahi vada) seems impossible to recreate, but the trick is all in the batter. The goal is to incorporate as much air as possible. After grinding your soaked lentils into a smooth paste, the most crucial step is to whip the batter vigorously. You can do this with a standard electric hand mixer or even just a whisk and some determination. A simple test confirms if it's ready: drop a small dollop of batter into a bowl of water. If it floats immediately, it's light enough to create soft vadas. When frying, use a medium flame to ensure the inside cooks through evenly. The final step to guarantee softness is soaking. Immediately after frying, transfer the vadas to a bowl of warm, salted water for at least 20-30 minutes. They will swell and become incredibly soft. Gently press each vada between your palms to remove excess water before adding them to the whisked yogurt.
Mastering Flaky, Layered Breads
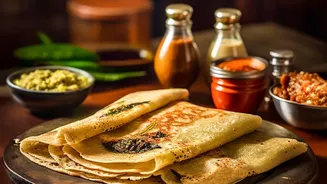
The pull-apart, flaky layers of a lachha paratha are a textural delight. This is achieved through a specific rolling and folding technique that can be done with just a standard rolling pin (belan) and a flat pan (tawa) or skillet. First, a soft, pliable dough is key; let it rest for at least 20-30 minutes after kneading. Roll a piece of dough out into a very thin circle. Brush this surface with ghee or oil and sprinkle lightly with flour. From here, you create the layers. The most common method is to fold the dough like a paper fan, creating tight pleats. Then, you stretch this pleated strip slightly and roll it into a tight coil, like a snail shell. Tuck the end underneath, dust with flour, and gently roll it out again into a paratha. Be careful not to press too hard, as that can compress the layers you just created. Cook on a hot tawa, flipping a few times. Once cooked, you can gently crush the paratha between your palms to further open up and define the flaky layers.
The Elusive Tandoori Char at Home
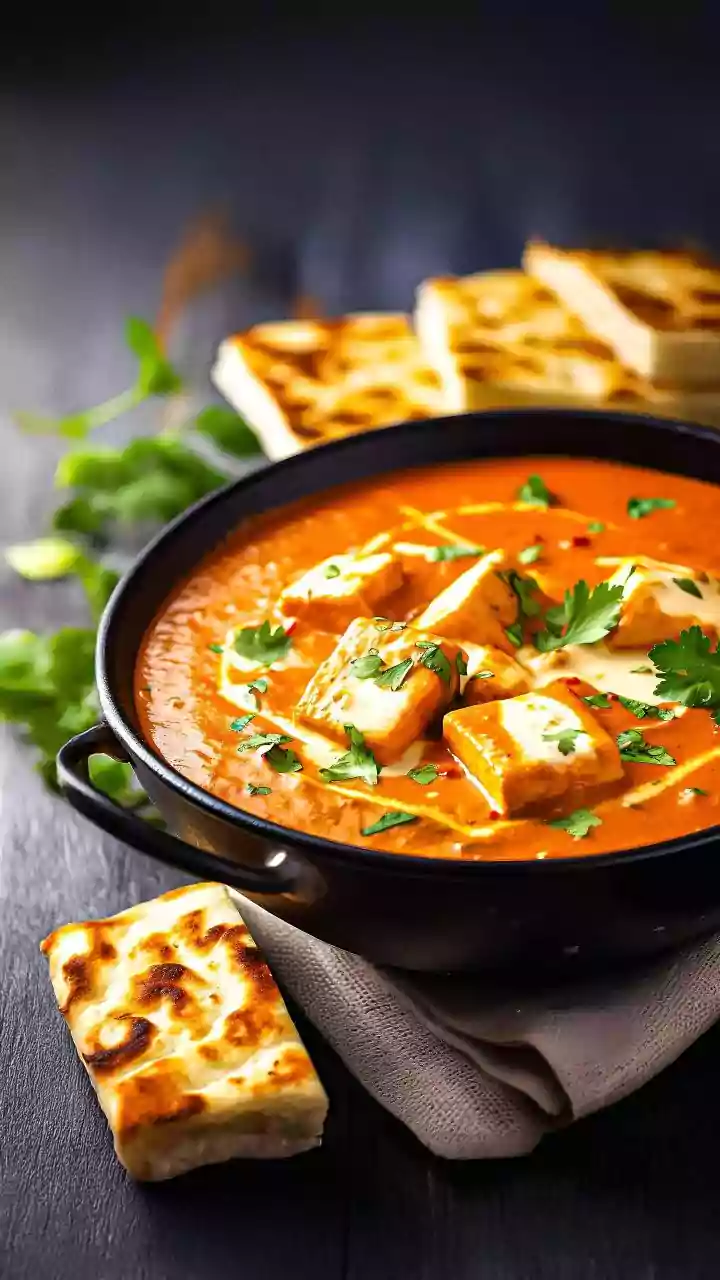
You don't need a traditional clay tandoor to get the smoky, charred flavour of tandoori chicken or paneer tikka. Your standard home oven is perfectly capable of mimicking the high, dry heat required. A powerful marinade, usually with yogurt and spices, is essential. For cooking, the broiler setting on your oven is your best friend. Arrange the marinated pieces on a wire rack placed over a baking sheet. The rack allows hot air to circulate all around, cooking the food evenly. First, bake at a high temperature (around 200°C) until cooked through, then switch to the broiler for the last few minutes. This final blast of intense, direct heat from above will create that signature char without drying out the inside. If you don't have a broiler, a very hot grill pan on the stovetop can also achieve beautiful char marks. For an extra smoky flavour, some home cooks employ a clever trick using a piece of hot charcoal placed in a small steel bowl inside the pan with the cooked chicken, covered for a few minutes to infuse the smoke.