


What Exactly Are Shallow Tray Systems?
A shallow tray system is exactly what it sounds like: a setup using trays that are typically only one to two inches deep. Unlike traditional pots or deeper containers, these are specifically designed for crops with short root systems, making them perfect
for microgreens. You can find specialised microgreen trays, but many home gardeners have success with recycled plastic takeaway containers or clamshell packaging, as long as a few drainage holes are punched in the bottom. The system often involves two nested trays: one with holes for the plants and a solid one underneath to catch excess water, which is an ideal, mess-free setup for an indoor windowsill.
The Science of Shallow Growth
The main advantage of a shallow growing medium is superior root health. Microgreens don't need deep soil, and providing it can actually be counterproductive. Deeper soil holds more moisture than the plant’s small root system can absorb, creating a damp environment that encourages fungal growth and root rot. A shallow layer of soil or a growing mat provides just enough moisture for germination and growth while allowing for excellent aeration. This efficiency means the plant focuses its energy on producing lush, leafy tops rather than an extensive root network, contributing to a faster harvest cycle. The process from seed to harvest can take as little as seven to 21 days, depending on the variety.
Maximising Your Windowsill Harvest
Shallow trays are the key to high-yield gardening in a tiny footprint. Their compact, uniform size allows you to fit several on a single windowsill, letting you grow multiple varieties at once. For a continuous supply, you can start a new tray every week. Because the harvest cycle is so short—often under two weeks—you can produce a significant amount of fresh greens over time from just one or two square feet of space. To ensure even growth, especially on a windowsill where light comes from one direction, simply rotate the trays every day or two so all the seedlings get their share of sun.
Your Essential Starter Kit
Getting started is simple and doesn't require a lot of expensive equipment. At a minimum, you will need a shallow tray with drainage holes and a tray without holes to serve as a drip catcher. For a growing medium, coco coir, sterilised potting mix, or even paper towels can work. You will also need your chosen microgreen seeds—it's crucial to use untreated seeds meant for consumption—and a spray bottle for gentle misting during the initial stages. Lastly, you need a spot with good light, like a sunny windowsill.
A Simple Step-by-Step Guide
First, dampen your growing medium so it’s moist like a wrung-out sponge, and fill your tray. Sprinkle your seeds densely across the surface, as they don't need much space. Gently mist the seeds with water and cover the tray to create a humid environment for germination. After a few days, once you see sprouts, remove the cover and move the tray to a bright location. Continue to keep the soil moist, not waterlogged. Your microgreens are ready to harvest when their first set of “true leaves” appear, which is usually just a week or two after planting. To harvest, simply use a clean pair of scissors to snip the greens about an inch above the soil.
Top Microgreens for This Method
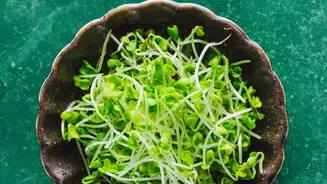
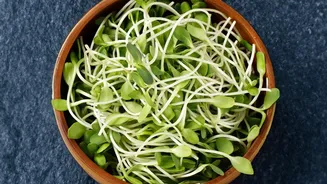
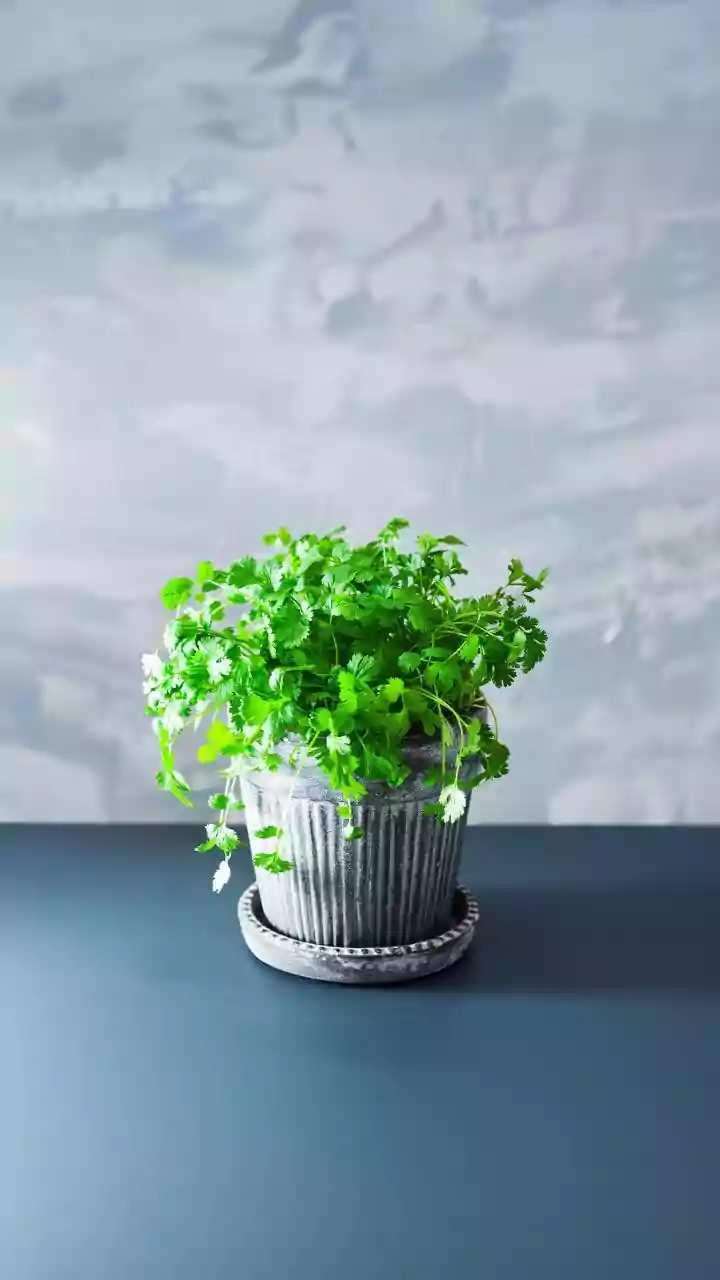
Not all microgreens are created equal, but many beginner-friendly options thrive in shallow trays. Fast-growing varieties are particularly well-suited for small spaces. For a peppery or spicy kick, try radish, mustard, or arugula. These are often ready in under 10 days. For milder flavours, broccoli, kale, and cabbage are excellent choices that are also very forgiving for first-time growers. You can even grow herbs like basil and cilantro, or get a nutty flavour from sunflower microgreens. Starting with a pre-made microgreen seed mix is another great way to discover what flavours you enjoy most.