




Why Atta is Your Secret Weapon
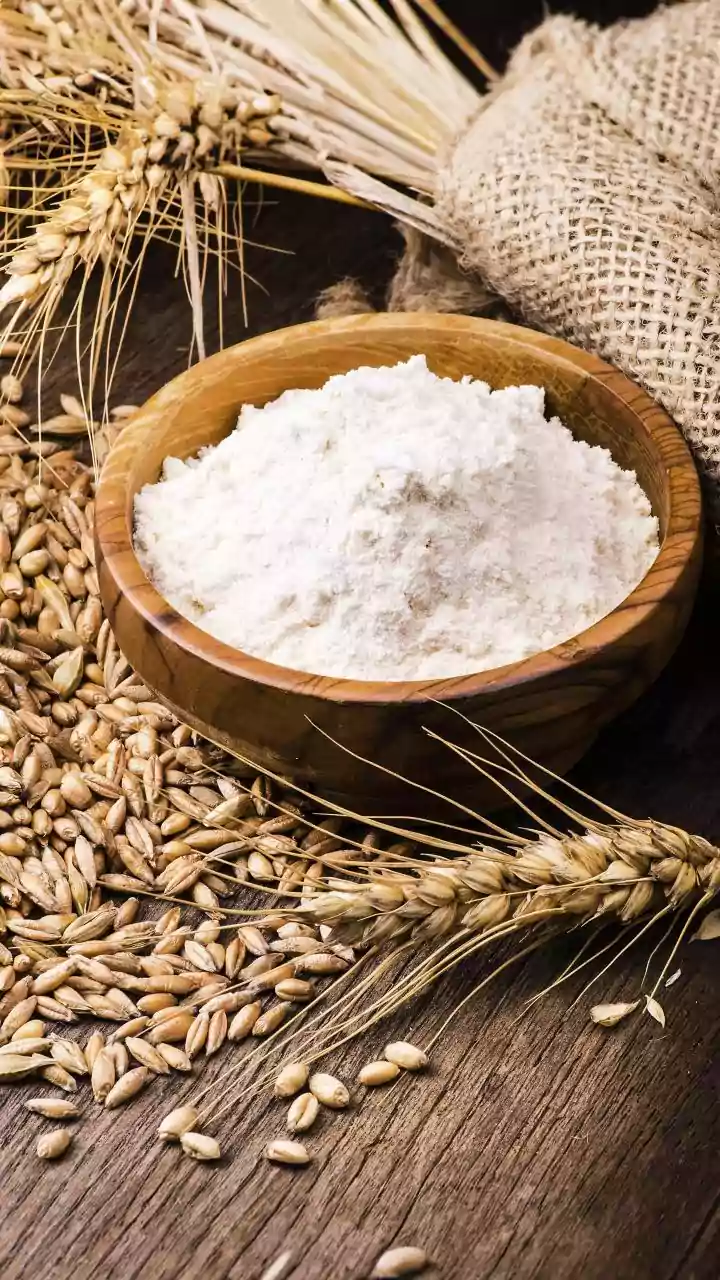
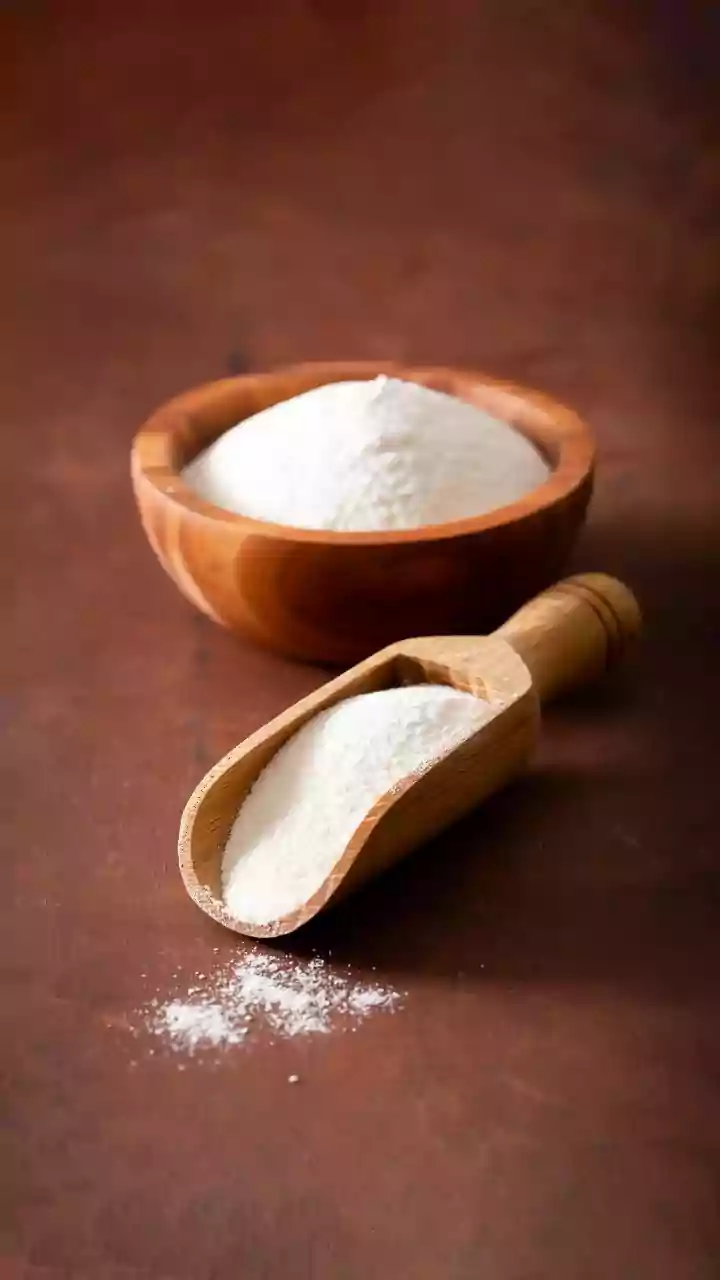
Forget what you've heard about needing strong bread flour. The whole wheat atta used for making rotis and chapatis is fantastic for kicking off a sourdough starter. Whole grain flours contain more natural yeasts and nutrients from the bran and germ, which
gives the fermentation process a powerful head start. While some bakers use a mix of atta and maida (refined flour), starting with 100% whole wheat atta provides a rich food source for the wild yeast you want to cultivate. It creates a robust, earthy-smelling starter that is teeming with life.
Your Simple Toolkit
You don't need professional baking equipment. All you need are a few basic items likely already in your kitchen. First, a clean glass jar of about 500ml to 750ml capacity; a recycled pickle or coffee jar works perfectly. Second, a kitchen scale for accuracy. Measuring flour and water by weight is far more reliable than using cups. Finally, you will need your whole wheat atta and filtered or boiled-and-cooled water. Using water free from chlorine is important, as chlorine can inhibit the growth of the very microorganisms you are trying to encourage.
Day 1-2: The Beginning
On your first day, combine 50 grams of whole wheat atta with 50 grams of room-temperature water in your clean jar. Stir it vigorously until it forms a thick, lump-free paste. Scrape down the sides, cover the jar loosely with its lid or a cloth, and let it sit on your counter for 24 hours. On Day 2, you might see a few small bubbles, or you might see nothing at all. Both are normal. Don't do anything today except give the jar a gentle swirl and ensure it's in a warm spot, away from direct sunlight.
Day 3-7: The Feeding Routine
From Day 3 onwards, you will begin feeding your starter. The process involves discarding a portion and refreshing it with new flour and water. To feed, first discard all but about 50 grams of your starter. Then, add 50 grams of fresh atta and 50 grams of water. Mix well, mark the level on the jar with a rubber band, and cover. For the first few days, do this once every 24 hours. Around Day 5, you should notice more activity—bubbles, a sour aroma, and an increase in volume. At this stage, you can switch to feeding it twice a day (every 12 hours) to keep it vigorous.
Thriving in the Indian Climate
Indian kitchens are often warmer than those in Western countries, which dramatically speeds up fermentation. If your kitchen is warm (above 27°C), your starter may peak and fall in just 3-4 hours instead of the usual 8-12. If your starter looks flat after a few hours, check for streaks on the side of the jar—this is a sign it rose and collapsed while you weren't looking. To manage this, you can feed it more frequently, use cooler water for feedings, or find the coolest spot in your home, like a stone floor or a lower cabinet.
Is It Ready to Bake?
Your starter is ready when it is predictable. It should reliably double or triple in volume within a few hours of feeding, be full of bubbles, and have a pleasant, tangy smell. A popular test is the 'float test': drop a small spoonful of the starter into a glass of water. If it floats, it's full of gas and ready to leaven bread. If it sinks, it likely needs a few more consistent feedings to build strength. This entire process can take anywhere from 7 to 14 days, so patience is key.