


Step 1: Set a Gentle Intention
The biggest mistake beginners make is aiming for pretzel-like perfection from day one. Let's reframe that. Your goal for the next couple of weeks isn't to master a headstand, but to simply show up on your mat. Start with a realistic intention: 'I will
practice for 15 minutes every day,' or 'I will learn three new poses this week.' Yoga is a personal journey, not a competition. The most important practice is consistency, not complexity. Before you begin any new fitness routine, especially if you have pre-existing health conditions or concerns, it's always wise to consult with a healthcare provider or a certified yoga instructor. Their guidance can help you modify poses and practise safely.
Step 2: Connect with Your Breath (Pranayama)
Before you even attempt a single pose, learn to breathe. In yoga, the breath (prana) is the life force that connects the mind and body. A simple yet powerful technique to start with is Anulom Vilom (Alternate Nostril Breathing). Here’s how: Sit comfortably with a straight spine. Close your right nostril with your right thumb and inhale slowly through your left nostril. Then, close your left nostril with your ring finger, release your thumb, and exhale slowly through the right nostril. Now, inhale through the right nostril, close it, and exhale through the left. This completes one round. Start with five rounds and gradually increase. This practice calms the nervous system, improves focus, and prepares your mind for a state of meditative awareness.
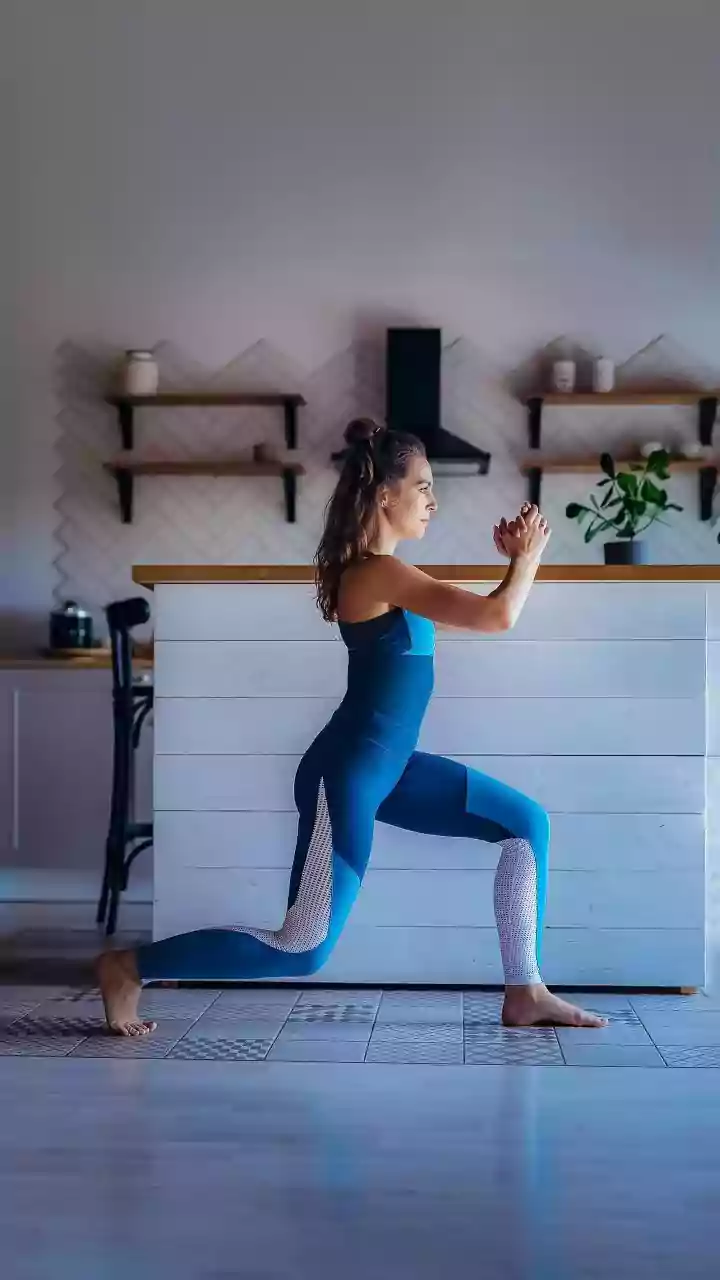
Step 3: Learn Foundational Poses (Asanas)
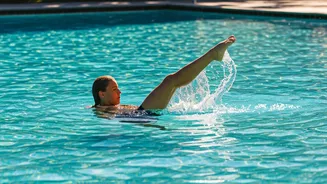
Don't get overwhelmed by the hundreds of yoga poses. Focus on a few foundational asanas that build strength, balance, and flexibility. * **Tadasana (Mountain Pose):** Simply stand straight, feet together, arms by your side. It seems basic, but it’s the blueprint for all standing poses, teaching you alignment and stability. * **Vrikshasana (Tree Pose):** A beginner-friendly balancing pose. Stand on one leg and place the sole of your other foot on your inner thigh or calf (avoid the knee joint). It enhances focus and strengthens your legs. * **Marjaryasana-Bitilasana (Cat-Cow Stretch):** On your hands and knees, inhale as you drop your belly and look up (Cow), and exhale as you round your spine and look towards your navel (Cat). It's a fantastic warm-up for the spine. * **Balasana (Child’s Pose):** A resting pose you can return to anytime you feel tired. Kneel on the floor, sit back on your heels, and fold forward, resting your forehead on the mat. It’s calming and gently stretches the back.
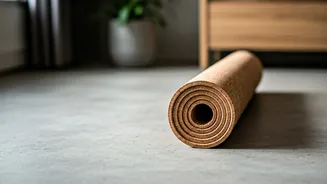
Step 4: Create Your Sacred Space and Time
You don't need a fancy studio. Designate a small, quiet corner in your home as your yoga space. All you truly need is a mat and enough room to stretch without knocking things over. The consistency of your space helps build a ritual. Similarly, find a consistent time. For some, a morning practice energises the day. For others, an evening session helps unwind. There's no right answer—only what works for you. Scheduling it in your calendar like any other important appointment makes it a priority.
Step 5: Prioritise Warm-Ups and Cool-Downs
Never jump straight into complex poses. Spend the first 5 minutes of your practice warming up your body. Gentle neck rolls, shoulder shrugs, wrist and ankle rotations, and a few rounds of Cat-Cow are excellent ways to prepare your muscles and joints. Similarly, always end your practice with a cool-down. The most important part of this is Savasana (Corpse Pose). Lie flat on your back for 3-5 minutes, allowing your body to completely relax. This pose seems like you're doing nothing, but it’s where your body integrates the benefits of the practice, and your mind finds true stillness. Don’t skip it.