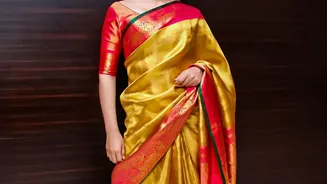







Choosing the Perfect Saree
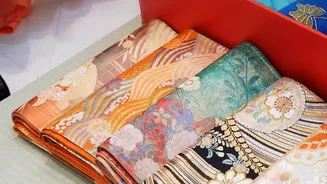
The first step is selecting the right canvas for your new curtains. While almost any saree can be used, certain fabrics work better than others. Lightweight silks, chiffons, and georgettes create a lovely, flowing drape that catches the light beautifully.
Cottons and crepes are also excellent choices for a more structured but equally elegant look. Consider the saree's condition; avoid those with significant tears in the main body, though small flaws can often be worked around. Pay attention to the colours and patterns. A saree with a stunning pallu or an intricate border can become a dramatic focal point for your window. Remember that the colours will influence the light filtering into your room, so choose wisely to create your desired ambiance.
Preparation and Measurement
Before you make the first cut, proper preparation is key. Gently hand wash your chosen saree to ensure it's clean and fresh. Silk requires careful handling, so use a mild detergent and cool water. Once clean, iron it on a low or silk setting to remove all creases. Next, measure your window. Decide on the desired length of your curtains—do you want them to stop at the sill, or puddle elegantly on the floor? Add at least four to five inches to your final length measurement to account for the rod pocket and hem. A standard five-to-nine-yard saree can often yield multiple panels, sometimes enough for a full window set.
Easy No-Sew Methods for Quick Results
Not a fan of sewing? No problem. You can create beautiful drapes without a single stitch. The simplest method is to use curtain clip-on rings. These rings clamp directly onto the top edge of the fabric, allowing you to hang the saree panel from a curtain rod instantly. This method is not only easy but also preserves the saree entirely, should you ever wish to use it differently in the future. Another no-sew option is to use fusible hemming tape. By folding over the top edge of the fabric to create a channel and using an iron to activate the tape, you can create a neat rod pocket in minutes. This gives a more tailored look without needing a sewing machine.
Creating a Classic Rod Pocket
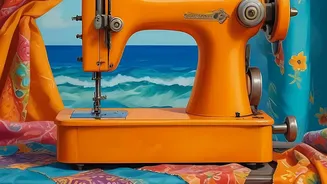
For a more traditional and durable finish, a sewn rod pocket is the way to go. After cutting your saree to the required length (including the extra for hems), fold the top edge down by about one inch and press it with an iron. Then, fold it down again by another three to four inches to create a wide channel for the curtain rod. Using a sewing machine with a matching thread colour, stitch along the bottom edge of this fold. This creates a neat pocket through which you can slide your curtain rod. It provides a clean, gathered look at the top of your drapes.
The Importance of a Lining
Silk is a delicate fabric that can be damaged by prolonged exposure to direct sunlight. To protect your beautiful saree curtains and help them last longer, adding a lining is highly recommended. A simple cotton lining not only shields the silk from UV rays but also adds weight to the drape, helping it hang better and providing more privacy. You can attach the lining by placing it against the back of the saree panel before sewing your side seams and rod pocket. This extra step ensures your upcycled creation remains vibrant for years to come.
Hanging and Finishing Touches
Once your panels are ready, it's time for the final reveal. Thread the curtains onto your rod and hang them in place. Take a moment to arrange the gathers evenly for a full, lush look. You can use tie-backs made from the saree's salvaged borders or contrasting ribbons to hold the curtains open during the day. If you used a particularly decorative pallu on one panel, consider making it the centrepiece by hanging it in the middle or on the most visible side. Let the fabric settle for a day or two; a light steaming can help release any remaining wrinkles and perfect the drape.