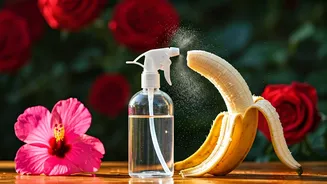


The Power in the Peel
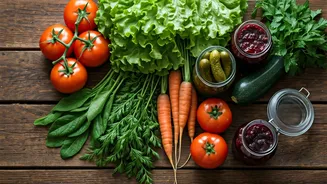
Before we get into the 'how', let's talk about the 'why'. Banana peels are a fantastic organic source of essential nutrients that plants crave. They are particularly rich in potassium, a vital macronutrient that plays a crucial role in almost every aspect
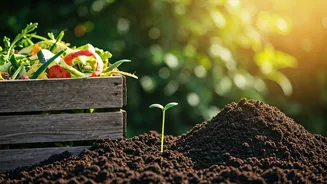
of a plant's life. Potassium helps strengthen stems, improve water uptake, fight off diseases, and, most visibly, promotes bigger, brighter flowers and more flavourful fruits. While synthetic fertilizers often provide a high-potassium formula, they can be harsh, expensive, and risk 'burning' your plants if used incorrectly. Banana peel liquid offers a gentler, more natural alternative. The peels also contain smaller amounts of phosphorus, calcium, and magnesium, which contribute to root development and overall plant vigour. By using something you would otherwise throw away, you’re not just feeding your plants; you’re embracing a more sustainable, zero-waste approach to gardening.
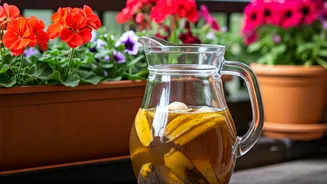
Method 1: The Simple Soak (Banana Tea)
This is the easiest way to start. It’s perfect for beginners and requires minimal effort. Think of it as making a simple 'tea' for your plants.
1. Collect Your Peels: After enjoying your bananas, don't discard the peels. You can use them fresh, or even store them in a container in your freezer until you have a few.
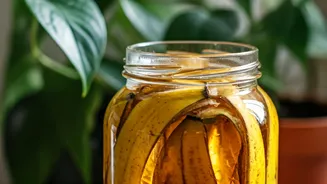
2. Submerge in Water: Place two to three banana peels in a large jar or container (a 1-litre jar works well). Fill the jar with water, making sure the peels are fully submerged.
3. Let It Steep: Screw on the lid and let the jar sit in a cool, dark place for 48 to 72 hours. The water will slowly turn a murky brown as the nutrients leach out of the peels.
4. Strain and Dilute: After a few days, strain the liquid to remove the peels (you can add these to your compost). The resulting 'banana tea' can be quite concentrated. Dilute it with an equal amount of plain water before using it to water your plants. Use this solution once every two weeks.
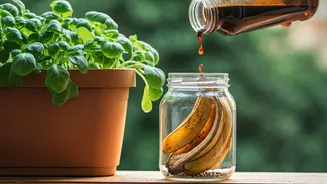
Method 2: The Fermented Brew
For a more potent fertilizer, you can try fermentation. This process uses beneficial microbes to break down the peels more thoroughly, making the nutrients more readily available to your plants.
1. Chop the Peels: Finely chop three to four banana peels. The smaller pieces provide more surface area for faster decomposition.
2. Combine Ingredients: Place the chopped peels in a 1-litre jar. Add one tablespoon of jaggery (gur) or brown sugar—this provides food for the microbes—and fill the jar about three-quarters full with water. Leave some space at the top.
3. Ferment: Screw the lid on tightly and shake well to dissolve the sugar. For the next week, you’ll need to 'burp' the jar once a day by briefly unscrewing the lid to release the gas that builds up during fermentation. Keep it in a dark place.
4. Strain and Use: After 7-10 days, the fermentation will slow down. Strain the liquid. This fermented concentrate is powerful. Dilute it at a ratio of 1 part brew to 20 parts water before feeding it to your plants. This can be used once every 15-20 days.
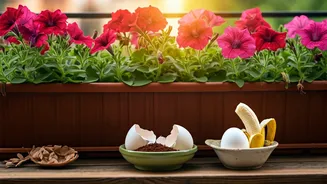
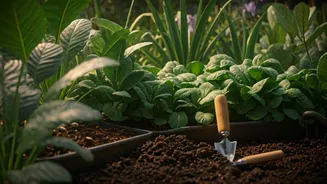
Smart Usage and Best Practices
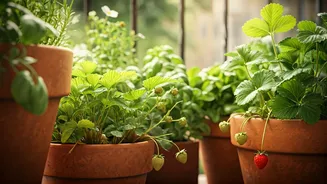
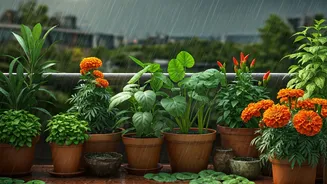
While banana peel fertilizer is wonderful, it’s not a magic bullet. It’s a potassium supplement, not a complete, balanced meal for your plants. It won’t replace the need for good soil and a nitrogen source, especially for leafy green plants. Plants that particularly love this potassium boost include flowering varieties like roses, hibiscus, and bougainvillea, as well as fruiting plants like tomatoes, peppers, and brinjals. To avoid problems, never leave wet, soggy peels sitting on top of your soil, as this can attract fruit flies and fungus gnats. Always strain your liquid and apply it directly to the soil, not just on the leaves. By incorporating this homemade tonic into a balanced care routine, you’ll be giving your plants the extra edge they need to thrive.