




Know the Signs: When to Repot
Plants give clear signals when they're ready for a new pot. The most obvious sign is roots growing out of the drainage holes or forming a dense, tangled mass inside the pot. This is known as being 'root-bound', and it restricts the plant's ability to
absorb water and nutrients. Other indicators include water running straight through the pot without soaking in, the soil drying out extremely quickly (within a day or two), or growth that has slowed or stopped completely during the growing season. If a plant has been in the same pot for over 18 months or has become top-heavy and unstable, it's also likely time for an upgrade.
Gather Your Supplies
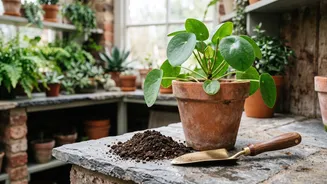
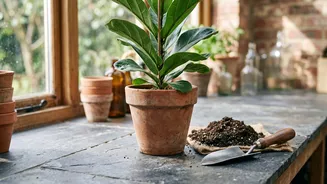
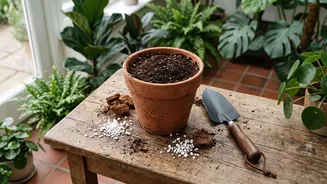
Proper preparation makes the process smooth and stress-free for both you and your plant. Before you begin, gather everything you'll need. This includes a new pot, fresh potting mix, a small trowel or shovel, scissors or pruning shears, and a surface protector like newspaper or a mat to manage the mess. Having gloves can also be helpful, especially when handling plants with sensitive sap or sharp leaves. Taking the time to get organised ensures you won't have to interrupt the process, which helps protect the plant's delicate roots.
Choose the Right Pot and Soil
Selecting the correct pot size is crucial. A common mistake is choosing a pot that is too large, which can lead to overwatering and root rot because the excess soil stays wet for too long. As a general rule, select a new pot that is only about 2 to 4 inches larger in diameter than the current one. Ensure the new pot has drainage holes. When it comes to soil, avoid using garden soil, which can introduce pests and diseases. Instead, opt for a quality, all-purpose indoor potting mix. These mixes are specially formulated with ingredients like peat moss, perlite, and vermiculite to provide good drainage and aeration for container plants.
The Step-by-Step Repotting Process
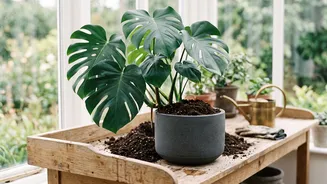
First, gently remove the plant from its current pot. You may need to tap the sides or turn it upside down while supporting the base of the plant. Once it's out, carefully loosen the root ball with your fingers and shake off about one-third of the old soil. Inspect the roots and trim away any that are dead, mushy, or black, which are signs of root rot. If the roots are tightly coiled, gently tease them apart. Place a layer of fresh potting mix in the bottom of the new pot. Position the plant in the center, ensuring the top of the root ball sits about a quarter-inch to an inch below the rim of the pot to allow for watering. Planting too deep can restrict air circulation and cause rot. Fill in the sides with new soil, gently pressing it down to eliminate large air pockets without compacting it too much.
Essential Aftercare for a Smooth Transition
After repotting, your plant is in a delicate state of recovery, often called 'transplant shock'. The care you provide in the first couple of weeks is critical. For most tropical houseplants, water the plant thoroughly right after repotting until you see water drain from the bottom. However, be careful not to overwater in the following days; allow the top inch or two of soil to dry out before watering again. It's also best to wait at least a month before fertilizing, as fresh potting mix contains plenty of nutrients and you risk burning the sensitive, newly-disturbed roots. Finally, keep the plant out of direct, intense sunlight for a week or two as it acclimates to its new environment.