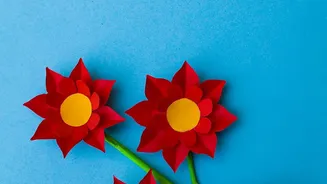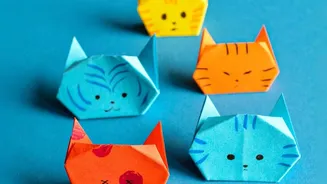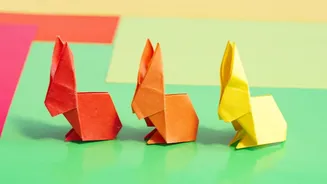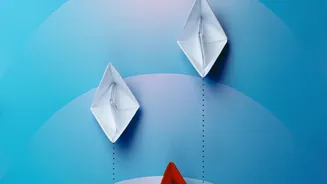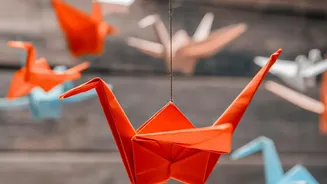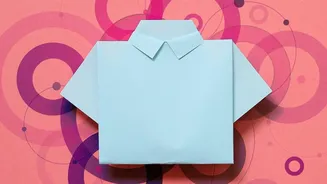

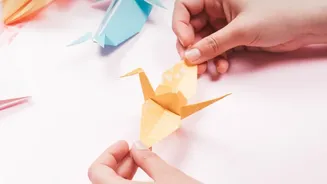
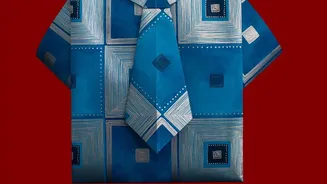
Tired of bare walls but not ready for the commitment of paint? This simple DIY project uses the art of origami to create stunning, personalised wall decor. It’s an affordable, meditative, and stylish way to transform any space in just an afternoon.
Why Paper Beats Paint
Redecorating
doesn't have to involve messy paint trays and the lingering smell of chemicals. Origami wall art offers a refreshingly simple alternative that is both renter-friendly and endlessly customisable. The beauty of this project lies in its flexibility. You can create a small, subtle accent or a large, dramatic feature wall using nothing more than paper. It’s a project that invites mindfulness and creativity, allowing you to disconnect from screens and make something beautiful with your own hands. Plus, the cost is minimal. If you ever change your mind or move, the display can be removed without a trace, leaving your walls exactly as they were.
Gathering Your Simple Toolkit
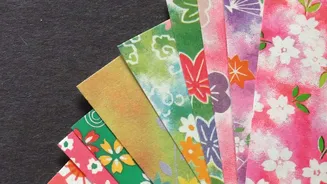
You likely have most of what you need already. The star of the show is, of course, the paper. While you can use standard A4 printer paper, dedicated origami paper, known as 'kami', is lightweight, comes in perfect squares, and is designed to hold crisp folds. It typically has a weight of around 60-70 gsm, making it thinner than office paper and ideal for folding. For a more decorative look, you can experiment with patterned scrapbook paper, gift wrap, or even pages from old maps and books. Beyond paper, you will need scissors, a ruler, and a wall-safe adhesive. Removable poster putty or double-sided adhesive strips are excellent choices for hanging your creations without damaging the paint.
Step-by-Step: The Classic Butterfly
The butterfly is a perfect beginner-friendly shape that looks elegant in a group. Start with your square piece of paper, coloured side down. First, fold the paper in half diagonally to form a triangle, then unfold. Repeat this on the other diagonal. Next, with the white side up, fold the paper in half horizontally and unfold. You should now have a star-like pattern of creases. Pinch the horizontal creases inward, allowing the paper to collapse along the diagonal folds into a smaller, layered triangle. With the closed point of the triangle facing down, fold the top layer's bottom corners up to meet at the top point. Flip the entire piece over. Fold the single point down, so its tip extends just past the bottom edge. Finally, fold the entire shape in half along the centre crease to create the body and wings. Gently press the wings to give them a three-dimensional shape.
From Pieces to a Pattern
Once you have folded a collection of origami pieces, the next step is planning your layout. This is where your personal style comes into play. You don’t need to be a professional artist to create a stunning arrangement. A popular approach is to create a sense of movement. Imagine a flock of butterflies cascading down a wall, a swirl of geometric shapes expanding from a central point, or a school of fish swimming across the room. You can arrange them in a structured geometric grid for a modern, minimalist look or create a heart shape for a touch of whimsy. Lay your pieces on the floor first to experiment with different compositions before committing to the wall. Consider using a gradient of colours to add depth, moving from light to dark shades.
Hanging Your Art Without a Mark
The final step is to bring your vision to life on the wall. For a completely damagefree installation, wall putty is an excellent choice for lightweight paper art. Simply take a tiny piece of putty, roll it into a ball, and press it onto the back of your origami piece before firmly pressing it onto the wall. This method allows for easy repositioning if you change your mind about the layout. Another option is removable doublesided tape or adhesive strips. Cut small pieces and apply them to the flattest part of your folded paper. When applying to the wall, press gently but firmly. Always start with clean, dry walls for the best adhesion. This ensures that when you are ready for a change, your art will peel away cleanly, leaving no residue or damage behind.