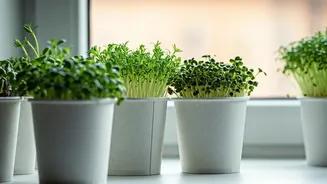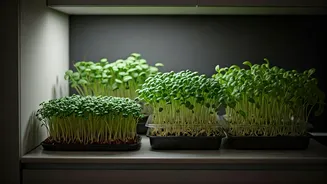


What Are Microgreens, Really?
Before we start, let's clarify what we're growing. Microgreens are not sprouts. They are young vegetable greens, harvested just after the first true leaves have developed. Think of them as the baby stage of plants like mustard, radish, or coriander. They are packed
with flavour—often more intense than their mature counterparts—and are incredibly nutrient-dense. A tiny sprinkle can elevate a simple dal, salad, or sandwich, adding a burst of freshness and a professional-looking garnish. Best of all, they grow incredibly fast, often going from seed to harvest in just 10-14 days.
Gather Your Urban Farming Supplies
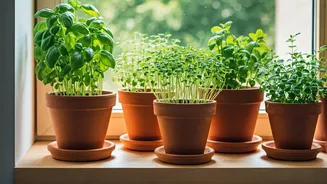
This project is all about simplicity and using what you have. Here’s your checklist: * **Recycled Cardboard Trays:** Think clean, shallow food delivery trays, egg cartons, or even the bottom of a sturdy cardboard box. The key is to use uncoated and unprinted cardboard. Avoid anything with a waxy or plastic lining, as you don't want those materials in contact with your food. * **Microgreen Seeds:** For beginners, fast-growing Indian staples are perfect. Try mustard (rai), fenugreek (methi), radish (mooli), or coriander (dhania). You can often use seeds right from your kitchen masala box, but seeds specifically packaged for growing will give better germination rates. * **Growing Medium:** A light and fluffy potting mix or coco peat (cocopeat) is ideal. Avoid using heavy garden soil, which can compact and prevent delicate roots from growing. * **Spray Bottle:** Essential for gentle watering that won't dislodge the tiny seeds. * **A Sunny Spot:** A windowsill that gets a few hours of indirect sunlight is perfect.
Step 1: Prepare Your Planter
Your cardboard tray is your planter, but it needs a little prep. First, ensure it's clean and dry. Since cardboard can get soggy, this method is best for single-use planters that you can compost after harvesting. Using a pen or a skewer, poke a few small drainage holes in the bottom of the tray. This is a crucial step to prevent waterlogging, which can lead to mould and rot. Don't overdo it—just four or five small holes will suffice to let excess water escape.
Step 2: Sow Your Seeds
Fill your prepared tray with about an inch of your potting mix or coco peat. Gently press it down to create a flat, even surface, but don’t compact it too tightly. Moisten the soil thoroughly with your spray bottle until it's damp like a wrung-out sponge. Now, for the fun part: sprinkle your seeds generously across the entire surface. You want them to be densely packed but not overlapping. They should form a single, even layer. Once sown, gently press the seeds into the soil with your hand to ensure good contact. Give them one final light misting of water.
Step 3: The Germination Stage
Most microgreen seeds need darkness to germinate. Cover your tray with another piece of cardboard or place it in a dark cupboard for 2-4 days. This mimics being buried under soil and encourages strong root growth. Check on your seeds daily. When you see tiny, pale shoots emerging, it’s time for the next step. During this blackout period, keep the soil moist by spraying it once or twice a day. The humidity trapped under the cover will help create the perfect environment for germination.
Step 4: Let There Be Light
Once your seeds have sprouted, they need light to grow and turn green—a process called photosynthesis. Remove the cover and move your tray to a spot that receives 4-6 hours of indirect sunlight, like a kitchen windowsill. Direct, harsh sunlight can scorch the delicate seedlings, so avoid it. You'll be amazed at how quickly they transform from pale yellow shoots to vibrant green leaves. Continue to water them daily with your spray bottle, aiming for the soil and not the leaves to prevent mould.
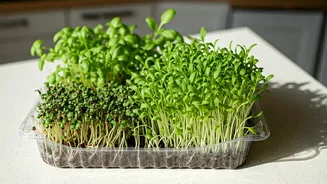
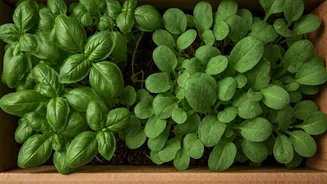
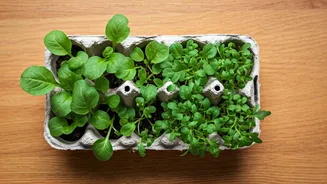
Step 5: Harvest Your Bounty
This is the most rewarding step! Your microgreens will be ready to harvest in about 7-14 days from sowing, depending on the variety. They are ready when they are about 2-3 inches tall and have developed their first set of true leaves. To harvest, use a clean pair of scissors and snip the greens just above the soil line. It's best to harvest them right before you plan to use them for maximum freshness and flavour. Give them a gentle rinse under cool water and pat them dry before adding them to your meal.