
The Most Crucial Tool: The Mount
Surprisingly, the most critical piece of equipment isn't the telescope or the camera; it's the mount they sit on. Deep space objects are incredibly faint, requiring photographers to keep their camera shutters open for minutes at a time to gather enough
light. The Earth's rotation means stars constantly move across the sky. To prevent them from turning into blurry streaks, a specialized equatorial mount is essential. This device is aligned with the Earth's axis and uses motors to track a celestial object with extreme precision, effectively freezing it in the frame during a long exposure. Without a solid, accurate tracking mount, capturing sharp deep-sky images is nearly impossible.
The Telescope: A Light Bucket
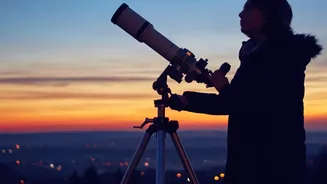
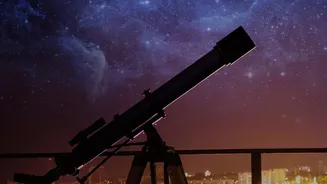
The telescope's primary job in astrophotography is not to magnify, but to gather light. Think of it as a giant bucket for photons. The larger the telescope's aperture (its diameter), the more light it can collect, and the fainter the objects it can reveal. Photographers use several types of telescopes, including refractors, which use lenses, and reflectors, which use mirrors. While powerful, large reflectors offer great value for their size, many astrophotographers favour apochromatic (APO) refractors for their crisp, high-contrast views and ease of use, even if they have a smaller aperture.
The Camera: Capturing Faint Light
While you can start with a standard DSLR or mirrorless camera, serious astrophotographers often use dedicated astronomy cameras. These cameras have two key advantages. First, many are cooled, featuring internal systems that chill the sensor to significantly reduce electronic 'noise' that plagues long exposures. Second, some are monochrome, meaning they shoot in black and white. While this seems counterintuitive for creating colourful images, monochrome cameras are more sensitive. Photographers shoot through red, green, and blue filters separately and then combine these filtered images in software to create a full-colour picture with more control and detail.
The Settings: Long Exposures and High ISO
The camera settings are unlike anything in daytime photography. The goal is to maximize light while managing noise. A wide aperture (a low f-number like f/2.8 to f/5) is used to let in as much light as possible. The ISO is typically set to a moderate level, often between 800 and 1600, to increase the sensor's sensitivity without introducing too much grain. The most dramatic setting is the shutter speed. Instead of fractions of a second, a single exposure, or 'sub-frame', can last anywhere from 30 seconds to five minutes or even longer, all while the mount tracks the target.
The Magic of Stacking
Here's the real secret: a final deep space image is not a single photograph. It is the combination of many, sometimes hundreds, of individual exposures. This process is called 'stacking'. Specialised software aligns all the individual light frames and then averages them together. Because the faint signal from the nebula or galaxy is constant in every frame, but the electronic noise is random, this averaging process dramatically reduces the noise while enhancing the celestial details. Photographers also shoot calibration frames—darks, flats, and bias frames—to remove sensor noise and correct for optical imperfections, resulting in a cleaner final image.