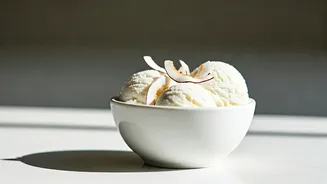


The Magic of No-Churn
The secret to this recipe’s success lies in its simplicity. Traditional ice cream requires a machine to churn air into a custard base as it freezes, preventing ice crystals. No-churn methods cleverly bypass this. The foundation is typically built on two
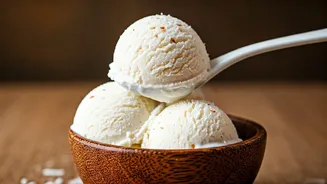
key ingredients: sweetened condensed milk and heavy whipped cream. The high sugar content in condensed milk lowers the freezing point, ensuring the ice cream stays scoopable and doesn't turn into a solid, icy block. The whipped cream folds in the necessary air, creating a light, fluffy texture that mimics the result of churning. When you introduce the delicate flavour of tender coconut to this base, you get a dessert that is both luxuriously creamy and refreshingly authentic.
Gather Your Ingredients
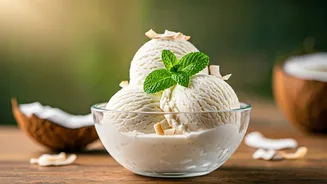
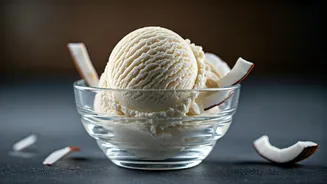
The beauty of this recipe is its short ingredient list, which makes using fresh, high-quality components essential for the best flavour. You will need: - Fresh Cream: About 1.5 to 2 cups of heavy whipping cream, chilled. Using cold cream and even a chilled bowl helps it whip to the perfect stiff peaks. - Sweetened Condensed Milk: One standard can (around 400g) provides the sweetness and creamy structure. - Tender Coconut: This is the star. You'll need the flesh (malai) from 2 to 3 tender coconuts. Use the soft, fresh pulp for a smooth texture; avoid mature coconut as it can be fibrous. You will also want about ½ to ¾ cup of the tender coconut water. - Optional Flavour Enhancers: A pinch of salt to balance the sweetness or a few drops of coconut or vanilla extract can deepen the flavour.
The Method: Step-by-Step
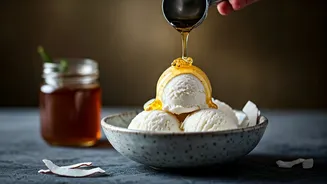
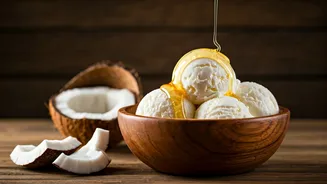
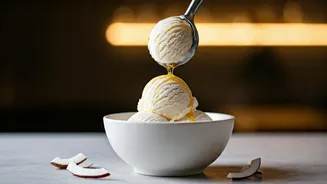
1. Prepare the Coconut: Take the flesh from your tender coconuts. Set aside about half a cup and chop it into small, bite-sized pieces—these will add a wonderful texture to the finished product. Place the rest of the coconut flesh into a blender with the tender coconut water and blend until you have a smooth, creamy paste. 2. Whip the Cream: In a large, chilled bowl, pour in the cold heavy cream. Using an electric hand mixer or a stand mixer, whip the cream until it forms stiff peaks. Be careful not to overwhip, as it can turn grainy or start to resemble butter. 3. Combine the Base: Gently pour the sweetened condensed milk and the tender coconut paste into the whipped cream. Using a spatula, carefully fold the ingredients together until they are just combined, being mindful not to deflate the air in the whipped cream. 4. Add Texture and Freeze: Fold in the small, chopped pieces of tender coconut flesh you set aside earlier. Pour the final mixture into a freezer-safe container, like a loaf pan. For an extra creamy result, press a piece of plastic wrap or cling film directly onto the surface of the ice cream to prevent ice crystals from forming. Freeze for at least 6-8 hours, or preferably overnight, until firm.
Tips for Unbelievable Results
For the creamiest texture, ensure all your main ingredients—especially the cream—are well-chilled before you begin. Some recipes even suggest an intermediate whisking step: for the first 2-3 hours of freezing, you can take the container out every hour and whisk the mixture vigorously to further break up any potential ice crystals, though the cling film method is often sufficient. When you're ready to serve, let the container sit at room temperature for about five minutes. This will soften it just enough for perfect, easy scooping. The final result is a tribute to the beloved flavour made famous by Indian ice cream parlours like Naturals, but with the added satisfaction of having made it yourself.