



The Taste of Tradition
The connection between Janmashtami and milk-based sweets is as old as the stories of Lord Krishna himself. Known for his love of milk, butter, and curd, it's only natural that sweets made from these ingredients are offered as 'prasad'. The Mathura Peda,
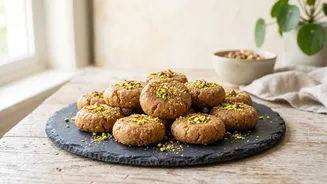
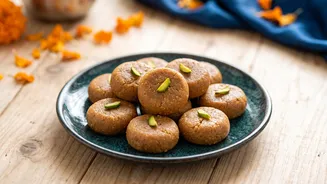
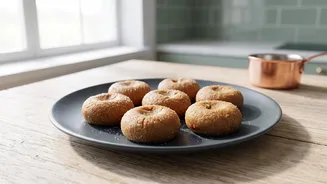
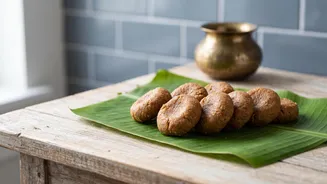
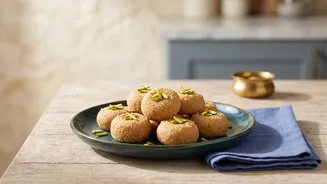
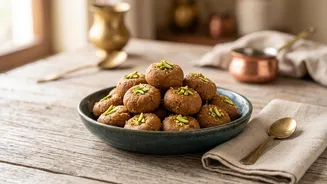
originating from Krishna's holy birthplace, is paramount among these offerings. It's more than just a sweet; it’s a taste of history and devotion. Unlike other pedas, the Mathura Peda is known for its distinct dark, caramelized colour and grainy texture, achieved by slow-roasting milk solids (khoya or mawa). This process gives it a rich, melt-in-the-mouth quality that is both simple and profoundly delicious.
Gathering Your Simple Ingredients
The beauty of a traditional Mathura Peda lies in its simplicity. You don't need a long list of exotic items; just a few quality ingredients are enough to create this festive delight. There are two main ways to source your key ingredient: using store-bought khoya (mawa) or making an instant version with milk powder. For this easy guide, we'll focus on using ready khoya, which is widely available at Indian grocery stores. You will need: Khoya/Mawa (unsweetened): 250 grams, grated Ghee: 2 to 3 tablespoons Powdered Sugar or Tagar/Boora: ½ to ¾ cup (adjust to sweetness) Cardamom Powder: ½ teaspoon Milk: 2 to 3 tablespoons (if needed) Coarse or powdered sugar for rolling
Step 1: The Crucial Roasting
The heart of the Mathura Peda is the perfectly roasted khoya. This step cannot be rushed. Start by grating your khoya. In a heavy-bottomed, preferably non-stick, pan, heat one tablespoon of ghee on a low to medium flame. Add the grated khoya and begin to roast, stirring continuously to prevent it from sticking or burning. After about 5-7 minutes, the khoya will melt and start changing colour. Add the remaining ghee and continue to stir. The goal is to achieve a deep, golden-brown hue, which can take anywhere from 15 to 25 minutes of patient roasting. The mixture will become fragrant and grainy. This caramelization is what gives the peda its signature flavour and colour.
Step 2: Cooling and Mixing
Once the khoya reaches the desired dark brown colour, turn off the heat and transfer the mixture to a separate plate or bowl. This is important to stop the cooking process and prevent it from getting any darker. Allow the roasted khoya to cool down completely until it is just slightly warm to the touch. If you add sugar to hot khoya, it will melt and turn the mixture into a runny paste. Once cooled, add the powdered sugar (or preferably 'tagar' for a more traditional texture) and the cardamom powder. Mix everything together thoroughly with your hands, breaking down any lumps until you have a uniform, crumbly mixture.
Step 3: Shaping Your Pedas
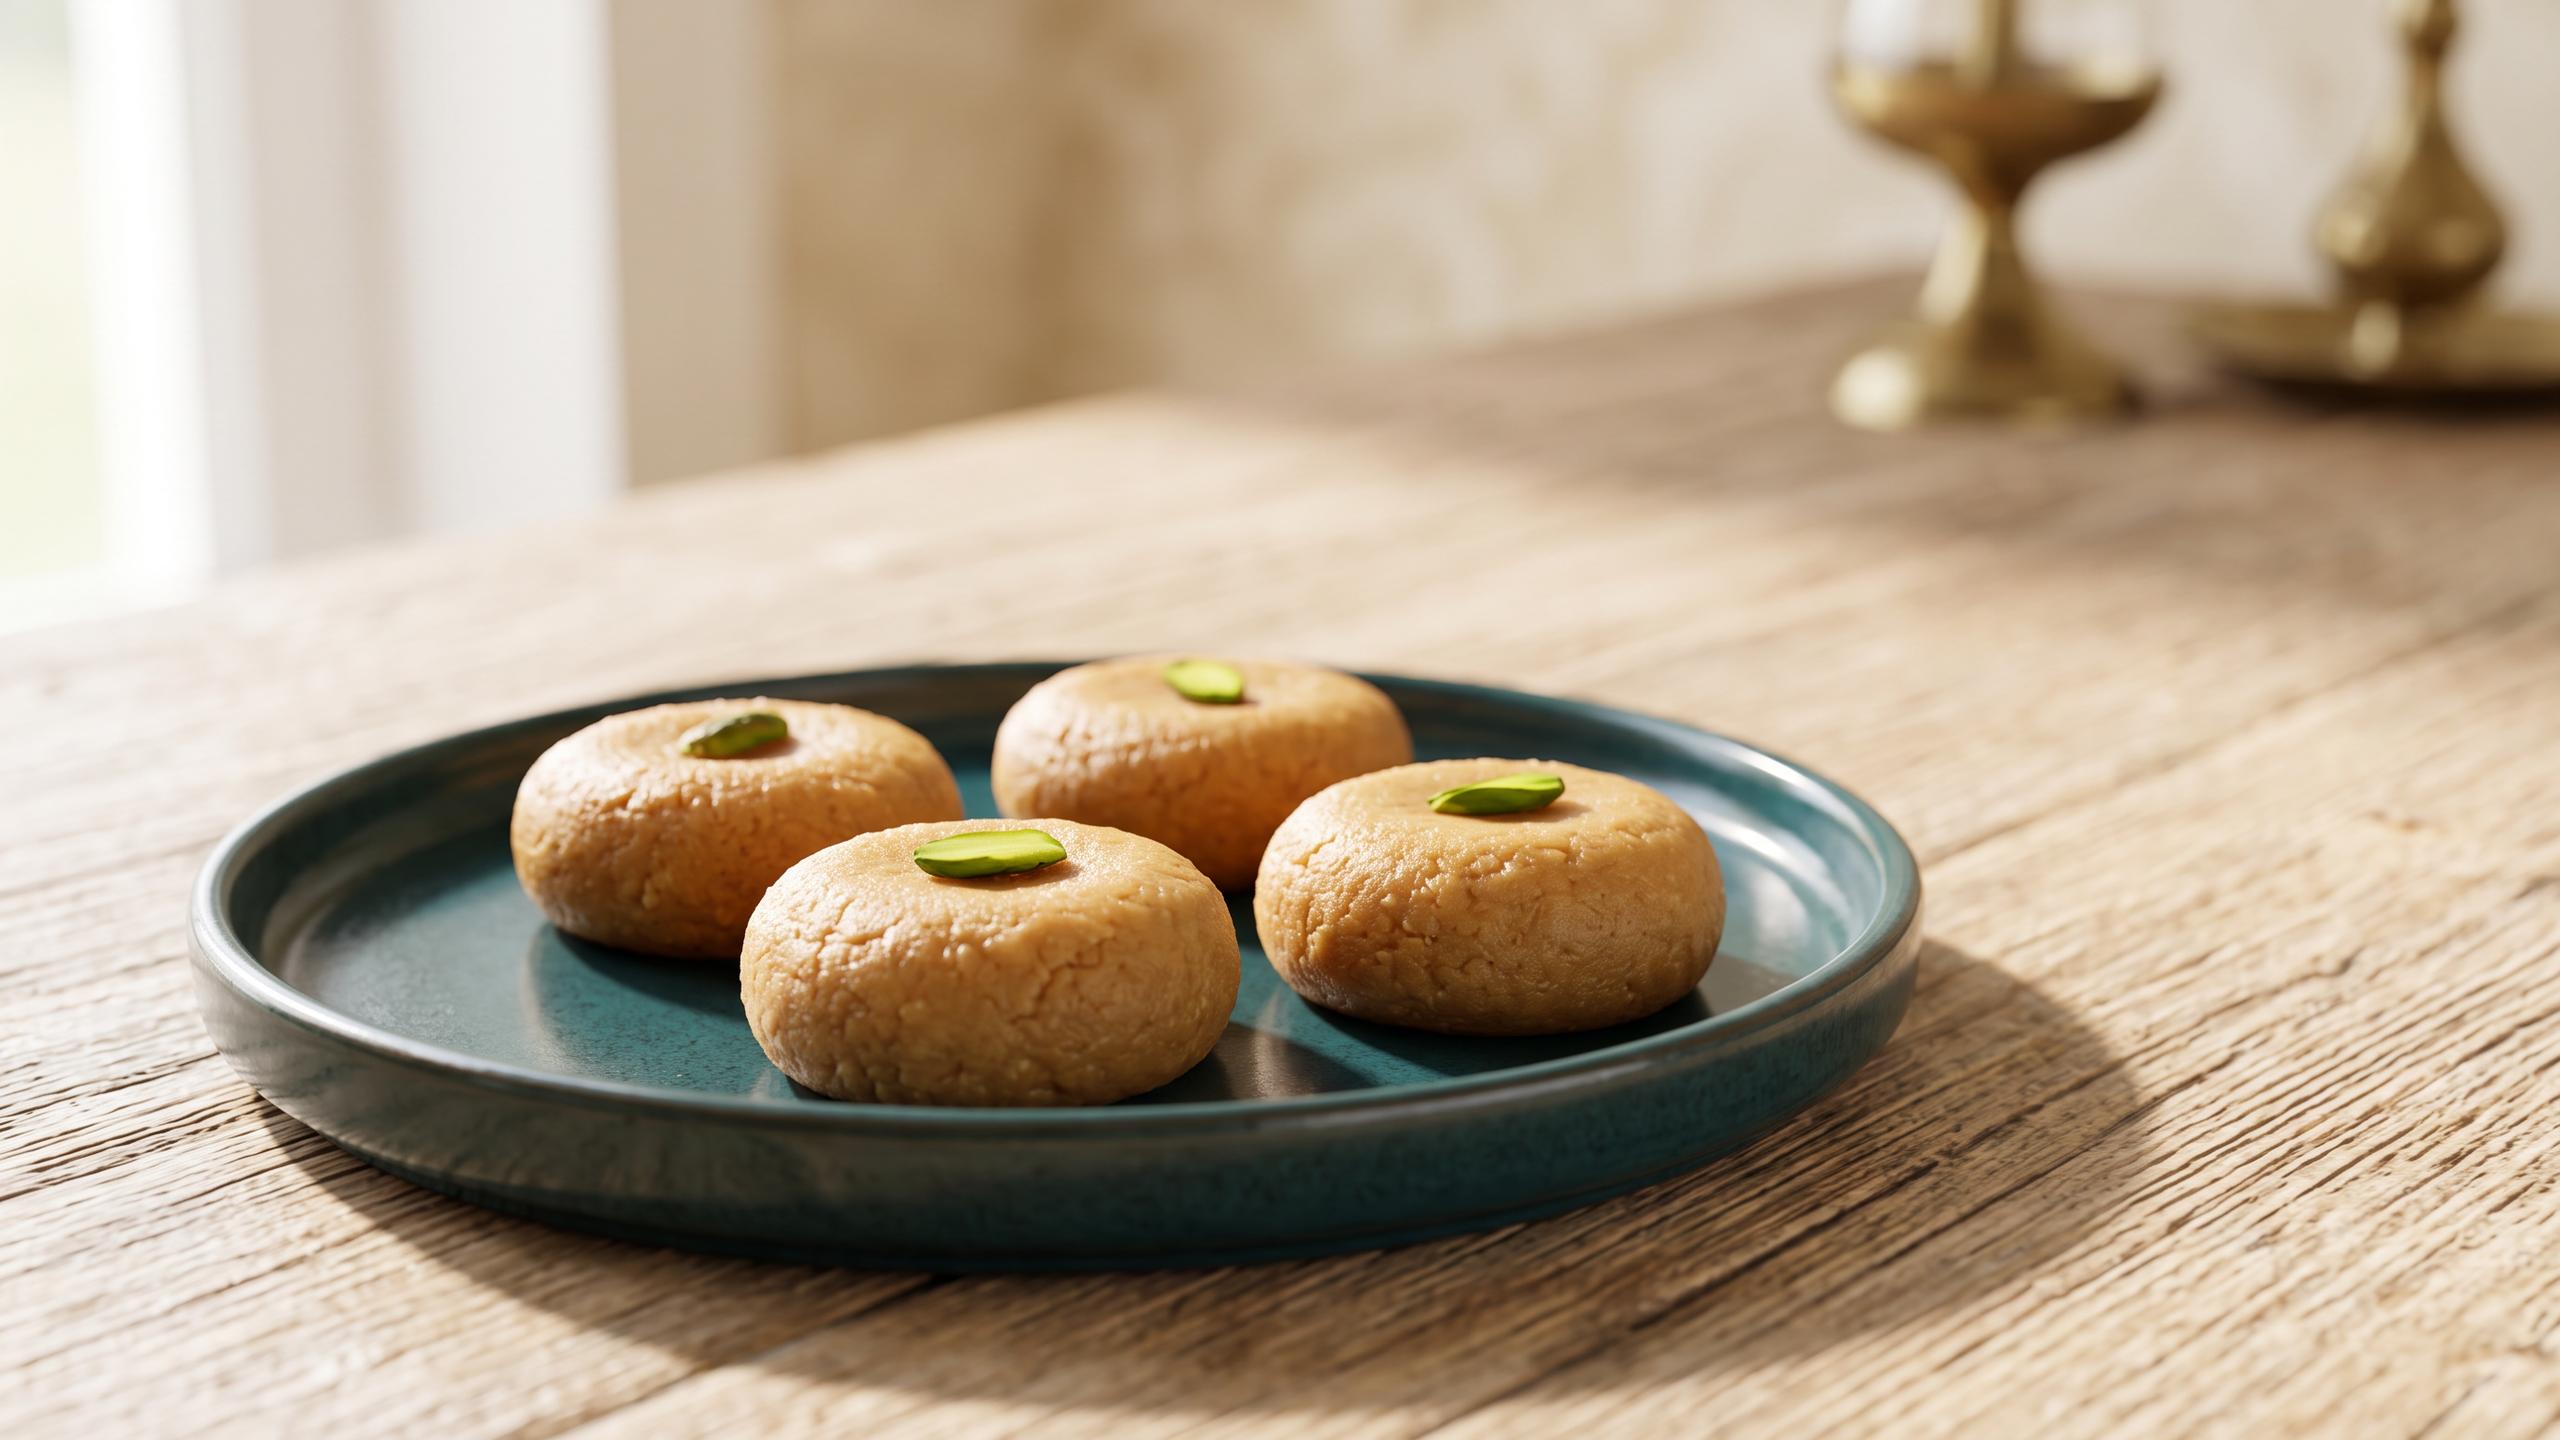
Now, it's time to shape your sweets. The mixture should be moist enough to bind together. If it feels too dry and crumbly, add a teaspoon or two of milk and knead it into a smooth dough. Be careful not to add too much milk at once. Take small, equal-sized portions of the mixture and roll them between your palms to form smooth, crack-free balls. Gently flatten each ball to create the classic peda disc shape. You can make a small indentation in the center with your thumb. Finally, roll each peda in coarse or powdered sugar, ensuring it's lightly coated on all sides. This gives it the iconic final look.
Tips for Perfect Results
To ensure your homemade Mathura Pedas are a success, keep a few things in mind. Always use a heavy-bottomed pan to prevent the khoya from burning unevenly. Constant stirring on a low flame is non-negotiable; this is a recipe that rewards patience. The colour is key—don't be afraid to roast the khoya until it is a rich, dark brown, as this is where the authentic flavour comes from. Finally, always let the roasted mixture cool down completely before adding sugar. This prevents the pedas from becoming sticky and ensures the perfect grainy texture that makes Mathura Peda so special.