
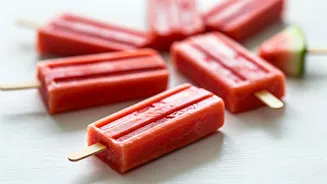


The Search for the Perfect Watermelon
The success of your single-ingredient popsicle hinges entirely on the quality of your watermelon. Since you're not adding any sweeteners, finding a ripe, juicy, and sweet melon is crucial. When at the store, look for a watermelon that feels heavy for its
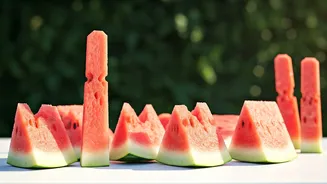
size; this indicates a high water content and juiciness. Turn the melon over and look for the 'field spot'—the patch where it rested on the ground. A creamy, buttery yellow spot is a sign that it ripened on the vine, which means more flavour. If the spot is white or non-existent, the melon was likely picked too early. A dull, dark rind is also preferable to a shiny one, as shininess can indicate an underripe melon. Finally, give it a gentle knock. A ripe watermelon should produce a deep, hollow sound, not a dull thud.
Your Minimalist Toolkit
You don't need a kitchen full of gadgets for this recipe. The beauty is in its simplicity. All you truly need are three basic items: a blender, popsicle molds, and popsicle sticks. A high-speed blender will make the smoothest puree in about 20-30 seconds. For molds, you have plenty of options, from classic plastic or stainless steel trays to flexible silicone molds which can make releasing the popsicles easier. If you don't have dedicated molds, small paper or plastic cups will work just fine.
Step-by-Step: From Melon to Mold
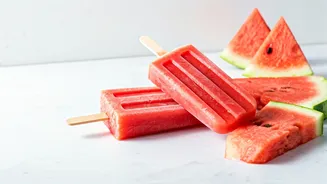
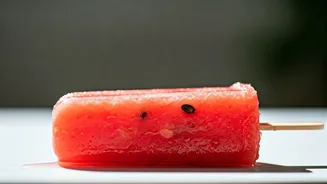
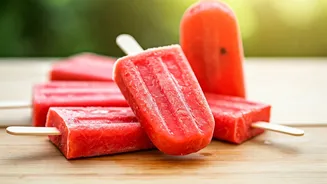
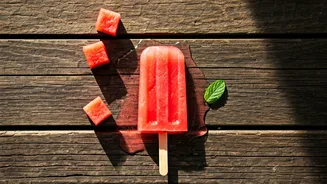
First, cut the watermelon into manageable chunks, removing the rind. Whether to use a seeded or seedless watermelon is up to you. A seedless variety is often easier, but a high-powered blender can pulverize the black seeds without impacting the texture or flavour, and you might even get some added nutrients. If you prefer, you can pick the seeds out before blending. Place the watermelon chunks into the blender and blend until the mixture is completely smooth. You shouldn’t need to add any liquid. Now, you have a decision to make. For a smoother, more juice-like popsicle, you can pour the puree through a fine-mesh strainer to remove the pulp. For a more fibrous, slushie-like texture, you can skip this step. Carefully pour the liquid into your popsicle molds, leaving a small gap at the top to allow for expansion as it freezes. Insert the sticks and place the molds in the freezer.
Freezing and the Big Reveal
Patience is key during the freezing process. For the best results, freeze your popsicles for at least 4-8 hours, or preferably overnight, to ensure they are completely solid. Trying to remove them too early can result in the stick pulling out by itself. When it’s time to enjoy your creation, the popsicles might be a little stubborn. The easiest way to release them is to run the outside of the mold under warm water for about 10-20 seconds. This slightly thaws the outermost layer, allowing the popsicle to slide out easily without breaking. If you're using silicone molds, you can often just gently push from the bottom to release the pop.
Optional Upgrades for the Adventurous
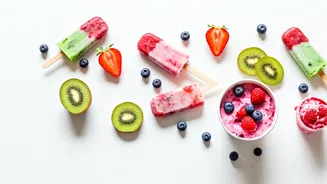
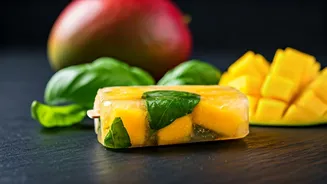
While the single-ingredient version is refreshingly perfect on its own, you can experiment once you've mastered the basic technique. A small squeeze of fresh lime juice can brighten the watermelon's natural sweetness. For a hint of herbal freshness, you could blend in a few fresh mint leaves. If you find your watermelon isn't quite as sweet as you’d hoped, a teaspoon or two of maple syrup or honey can be added during the blending stage. For a creamy twist, blending in some full-fat coconut milk creates a richer, more tropical treat. These additions technically break the 'one ingredient' rule, but they offer fun ways to customize your new favourite summer snack.