



An Eco-Friendly Planter
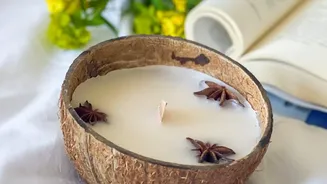
In a world of plastic pots, the humble coconut shell offers a natural, biodegradable alternative. Its transformation from kitchen scrap to a home for a plant is a rewarding DIY project that adds a rustic, tropical touch to any windowsill, balcony, or desk.
They are particularly well-suited for small plants like succulents, herbs, or cacti that don’t require much root space. Beyond their aesthetic appeal, using coconut shells is an excellent way to upcycle and reduce waste. However, the very thing that makes a coconut shell great at holding liquid also makes it a potential death trap for a plant if not prepared correctly.
The Unseen Enemy: Root Rot
The single biggest threat to any container plant is waterlogged soil. Unlike plants in the ground, a potted plant has nowhere for excess water to go unless a path is provided. When water pools at the bottom of a container, it saturates the soil, cutting off the oxygen supply to the roots. This condition, known as root rot, causes the roots to decay, making them unable to absorb nutrients. The signs often appear as yellowing leaves or wilting that doesn't improve with watering, by which time it's often too late. A simple hole in the bottom of the planter is the difference between a thriving plant and a container of soggy soil.
Preparing Your Coconut Shell
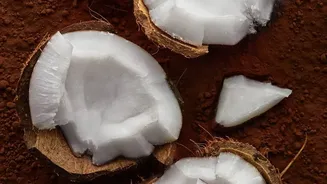
Your journey begins with a clean, empty coconut half. The first, and often trickiest, part is getting the coconut open and the meat out. Once you have your half-shell, it's crucial to remove all the white coconut meat, as any remnants will rot and can cause problems for your plant. A spoon or a curved blade can be effective for scraping the inside clean. After the shell is clean, it's a good idea to give it a light sanding on the inside and outside to smooth any rough edges. Wash the shell with water and let it dry completely before you proceed to the most important step.
How to Create Perfect Drainage
This is where the magic happens. To create drainage, you'll need to drill one or more holes in the bottom of the shell. A power drill is the easiest tool for the job. Mark a spot in the center of the shell's base. To prevent the drill bit from slipping, you can make a small indentation first with a nail or ice pick. Using a standard drill bit, slowly drill a pilot hole, then you can enlarge it if needed. For a small coconut shell, one hole about a quarter-inch in diameter is usually sufficient, but adding two or three smaller holes is also a great option to ensure even drainage. If you don't have a drill, you can carefully use a hammer and a sturdy nail to punch a hole through the base.
Choosing Soil and Plants
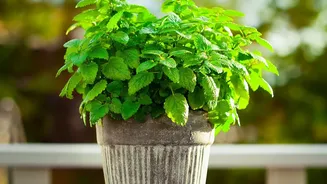
With drainage secured, you're ready for planting. The right soil is just as important as the drainage hole. Opt for a well-draining potting mix. For succulents or cacti, a specialized mix containing sand or perlite is ideal, as it allows water to pass through quickly. You can also make your own by adding sand to regular potting soil. The best plants for coconut shells are those with shallow root systems that don't mind smaller containers. Succulents, small herbs like mint or chives, air plants, and trailing plants like string of pearls are excellent choices that complement the shell's natural look.
Long-Term Care and Considerations
Caring for your plant in a coconut shell is similar to any other potted plant, but with a few considerations. Because the container is small and porous, the soil may dry out faster, especially in sunny or warm locations, so check the moisture regularly. If you plan to hang your planter, drill two or three evenly spaced holes around the rim and thread a sturdy rope or twine through them. Remember that coconut shells are organic and will biodegrade over time. This is part of their charm; after a year or two, when the shell starts to break down, you can simply compost it and start a new one.