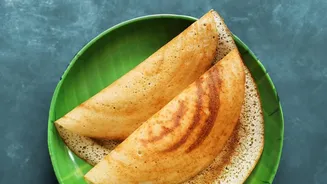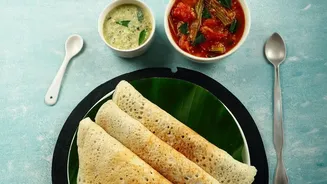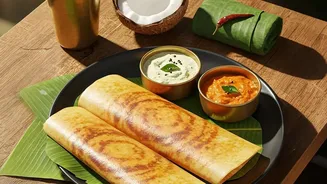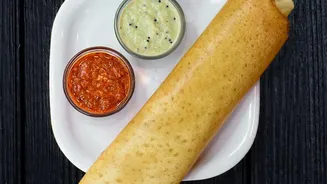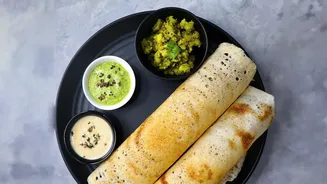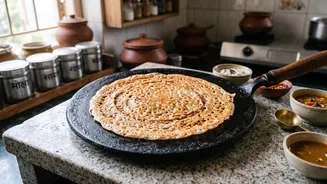
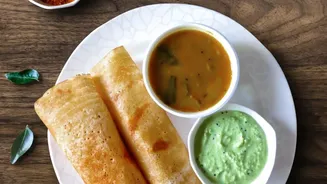
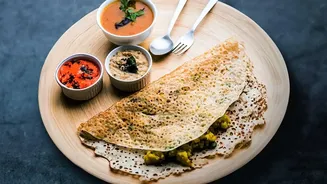

There is a special joy in a perfectly crisp, golden-brown dosa that shatters at the touch. Yet, the home cook’s journey is often paved with sticky, torn dosas. This guide demystifies the process, turning your cast-iron tawa into your best ally.
The Foundation: Seasoning Your Tawa
The secret
to a non-stick cast-iron tawa isn't a chemical coating; it's seasoning. Seasoning is a layer of polymerised oil baked onto the metal, creating a natural, slick surface that improves with every use. If your tawa is new, you must season it. Start by washing it with soap and water to remove any factory coating, then dry it completely. Apply a very thin layer of a high-smoke-point oil, like sesame or vegetable oil, all over the surface. Heat the tawa on a medium flame until it starts to smoke lightly, then let it cool. Repeating this process a few times builds a strong initial layer. For older tawas, this process can restore a patchy surface. Remember, a well-seasoned tawa is the first and most crucial step to prevent sticking.
Batter Matters: Achieving the Right Consistency
Even the best-seasoned tawa can't save a flawed batter. The ideal dosa batter should be smooth, well-fermented, and of a pourable consistency—often described as similar to a thin pancake or crepe batter. If it’s too thick, the dosa will be heavy and won't spread easily, leading to soft, unevenly cooked results. If it’s too thin, it may not form a proper layer. It's always better to start with a thicker batter and gradually add water to thin it out as needed. For the crispiest results, ensure your batter is properly fermented, which gives it a light, airy texture and a slightly sour aroma. Using room-temperature batter also helps, as cold batter from the fridge can be difficult to spread evenly.
Mastering the Heat
Temperature control is perhaps the most critical factor in the dosa-making process. Cast iron retains heat exceptionally well, which is great for even cooking but requires patience. Preheat your tawa on a medium flame for several minutes. To check if it's ready, sprinkle a few drops of water on the surface. If the droplets sizzle, dance, and evaporate within seconds, the temperature is perfect. If they disappear instantly with a loud noise, the pan is too hot, which will cause the batter to seize and stick before you can spread it. If the water just bubbles slowly, the tawa is too cold, resulting in a sticky, pale dosa. Between dosas, you might need to cool the pan slightly by sprinkling it with water and wiping it down.
The Art of Spreading and Cooking
Before your first dosa, and every few after, wipe the hot tawa with a cloth or half an onion dipped in a little oil. This creates a minimal, even film that aids release without making the dosa greasy. Pour a ladleful of batter into the centre of the hot tawa. Working quickly, use the back of the ladle to spread the batter outwards in a light, continuous spiral motion. Do not apply too much pressure. The goal is a thin, even layer. Drizzle a little oil or ghee around the edges. Now, be patient. Let the dosa cook undisturbed until the edges start to turn golden brown and lift away from the pan on their own. This is your signal that it's ready to be folded or rolled. Trying to lift it too early is a common cause of tearing.
Troubleshooting Common Issues
If your dosa still sticks,' it's almost always due to one of three things:' heat,' seasoning,' or batter.' If the batter sets before you can spread it,' your tawa is too hot.' Cool it down with a splash of water and a wipe.' If the dosa is soft and pale,' the tawa was likely too cold or your batter too thick.' If sticking is a persistent problem,' especially on a newer pan,' your seasoning layer might be too thin and needs a few more rounds of oil and heat to build up.' Don't be discouraged;' even experienced cooks sometimes discard the first dosa of a batch as a final 'seasoning' for the tawa.'