





Choosing Your Perfect Match
The first step to a flawless finish is selecting the right extensions. You’ll find two main options: synthetic and human hair. Synthetic pieces are more affordable and hold their style well, even in humidity, making them great for occasional wear. However,
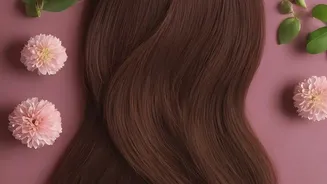
they often can't be heat-styled and have a shorter lifespan. For regular use and the most natural appearance, 100% Remy human hair is the superior choice. It can be washed, cut, and styled with heat just like your own hair, allowing for a perfect blend. When it comes to volume, weight is critical, especially for fine hair. Look for sets under 80 grams or individual wefts, as standard sets can be too heavy and pull on delicate strands. For colour, match the extensions to the mid-lengths and ends of your hair, not the roots, for the most seamless integration.
Preparation for a Secure Hold
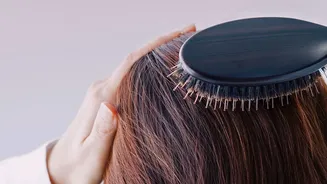
A little prep work makes all the difference in how well your clip-ins stay put and look natural. It's best to apply extensions to dry hair. If your hair is freshly washed and silky, it might be too slippery for the clips to grip securely. To create a better anchor, especially if you have fine hair, gently tease or backcomb the roots in the small section where you plan to attach a weft. A light spritz of texturizing spray or dry shampoo on the teased roots can provide extra hold without causing damage. Before you begin, brush both your natural hair and the extension pieces separately to ensure they are free of tangles. This will make the application and blending process much smoother.
The Art of Application for Volume
For everyday volume, strategic placement is more important than using a large number of wefts. You likely won't need to use every piece in a set. Start by creating a clean, horizontal part low on your head, about two to three inches above the nape of your neck, and clip the rest of your hair up. Take one of the wider wefts, open the clips, and fasten the center clip first, close to the scalp, before securing the side clips. This ensures the weft lies flat. Release a thin layer of your hair over the weft and create another part an inch above it to attach the next piece. Generally, two to three wefts at the back of the head provide ample volume. Avoid placing wefts too high up near your crown or too close to your hairline, as this is where they are most likely to become visible.
Blending for a Seamless Finish
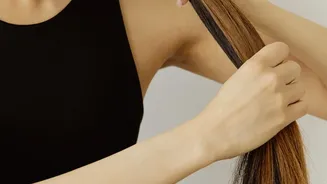
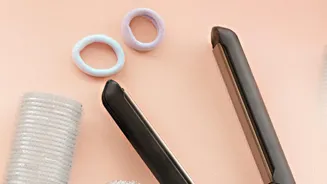
The secret to making extensions look like your own hair is in the blending. After all the pieces are clipped in, let your top layer of hair down to conceal the wefts. The best way to merge the two textures is by styling them together. Use a curling wand or straightener on sections that combine both your natural hair and the extension hair. Creating soft waves is particularly effective at hiding any lines where your natural hair ends and the extensions begin. Once styled, gently brush through everything with a wide-tooth comb or a special loop brush, starting from the ends and working your way up to avoid pulling on the clips. A final check in a mirror, turning your head from side to side, can help you spot any visible clips that need to be adjusted.
Daily Care and Maintenance
Proper care will extend the life of your clip-ins. Since they don’t receive natural oils from your scalp, they don’t need to be washed frequently. A wash after 15-20 wears is usually sufficient, or when there's noticeable product buildup. Use a sulfate-free shampoo and a hydrating conditioner, always washing in a downward motion without scrubbing. After rinsing, gently squeeze out excess water with a towel—never wring them out—and lay them flat to air dry. Always brush your extensions before and after each use and store them flat or on an extension hanger in a cool, dry place to prevent tangling. When using heat tools, always apply a heat protectant and use a low temperature setting to prevent damage.