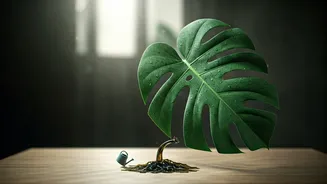

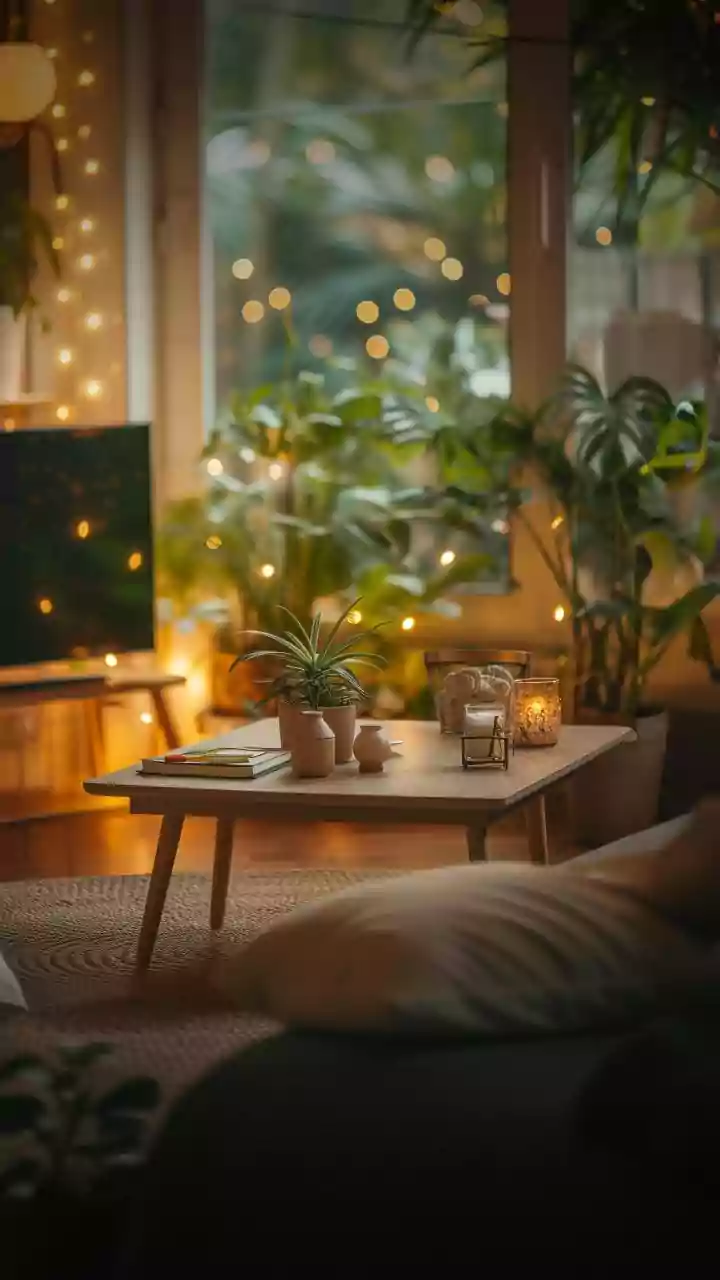


The Allure of the Glass Vessel
Before we dive into the 'how,' let's talk about the 'why.' The popularity of this method isn't just about creating new plants; it's an aesthetic statement. Unlike traditional soil propagation, growing in glass offers a live, evolving art piece for your
home. You get a front-row seat to the magic of root development, watching delicate white tendrils emerge and grow stronger day by day. This visual journey, set against the clean lines of a glass cloche, vial, or jar, is incredibly satisfying and highly 'grammable. It taps into the biophilia trend—our innate desire to connect with nature—and packages it in a chic, minimalist form that fits perfectly into modern Indian homes.
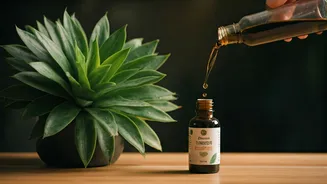
Gathering Your Simple Toolkit
One of the best parts of this project is that you don’t need a lot of specialised equipment. Most of what you need, you might already have. Here’s your checklist: - **An Alocasia 'Mother Plant:** You'll need a mature, healthy Alocasia to source your corms from. Varieties like 'Polly,' 'Black Velvet,' or 'Frydek' are common choices. - **A Small Glass Vessel:** This can be a small jar, a test tube with a stand, a tiny propagation cloche, or any clear container that can hold a small amount of water. Ensure it's clean! - **Alocasia Corms:** These are the key. We'll cover how to find them in the next step. - **Water:** Filtered or distilled water is best to avoid minerals that can hinder growth. If using tap water, let it sit out for 24 hours to allow chlorine to evaporate. - **(Optional) A Lid or Plastic Wrap:** To create a humid environment.
The Hunt for Alocasia Corms
This is the most crucial step. Alocasia corms are small, bulb-like structures that the mother plant produces underground. They are essentially storage organs packed with the energy needed to sprout a new plant. The best time to find them is when you're repotting your Alocasia. Gently remove the plant from its pot and carefully sift through the soil around the root ball. You're looking for small, hard, dark-brown orbs, often attached to the main roots by a thin runner. They can range in size from a small pea to a grape. Gently detach them. Don't worry if your plant isn't due for a repot; you can also carefully excavate around the base of the plant with your fingers to see if any corms are near the surface. Once you have a few, you might notice a waxy outer layer. Some growers gently peel this off to encourage faster sprouting, but it's not strictly necessary.
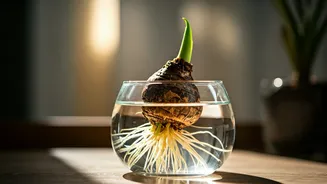
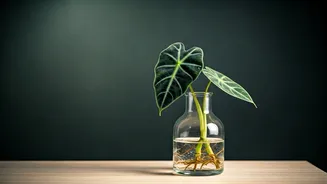
Step-by-Step Propagation Guide
With your corms and vessel ready, it’s time for the main event. 1. **Prepare the Corm:** Make sure your corm is clean. You can give it a gentle rinse. Identify the top and bottom. The top is usually the slightly pointier end where the shoot will emerge, while the bottom is flatter, where roots will grow. 2. **Add Water to the Vessel:** Fill your glass vessel with just enough water to submerge the bottom third or half of the corm. Do not fully submerge it! The top part needs to be exposed to air to prevent rot. 3. **Create Humidity:** Place the corm in the water. To speed things up, create a mini-greenhouse. You can place a small cloche over it or cover the top of the jar with plastic wrap. This traps humidity, which Alocasias love. 4. **Provide Light and Warmth:** Place your propagation station in a spot with bright, indirect light. A warm location is ideal, as it encourages faster growth. Avoid direct sunlight, which can cook the corm and promote algae growth. 5. **Be Patient:** This is not an overnight process. It can take anywhere from a week to over a month for you to see signs of life. First, you'll see a tiny root nub, then a shoot will begin to emerge from the top.
Care, Maintenance, and Troubleshooting
Once things get going, your job is simple maintenance. Change the water every 3-5 days to keep it fresh and oxygenated. This is the single most important step to prevent rot and bacterial growth. If you notice the water getting cloudy or a green film of algae forming on the glass, clean the vessel and replace the water immediately. What if nothing happens? Some corms are duds, and that's okay. If a corm becomes soft and mushy, it has rotted and should be discarded. If it's still firm after a month, just give it more time. Patience is the main ingredient here.
The Final Move: Transitioning to Soil
While you can technically keep the plantlet in water for a long time, it won't thrive indefinitely. Water lacks the nutrients found in soil. The best time to move your new Alocasia to a pot is when it has developed a few healthy roots that are at least an inch or two long, and has unfurled its first leaf. Choose a small pot with drainage holes and fill it with a well-draining aroid mix. Plant the rooted corm, water it thoroughly, and keep the soil consistently moist (but not soggy) for the first few weeks to help the water-acclimated roots adjust to their new environment.