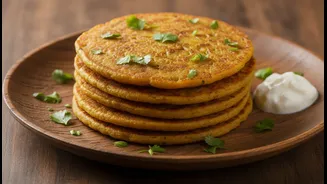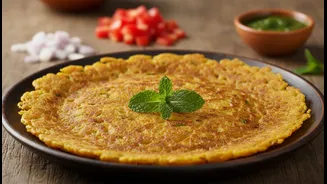






Perfect The Batter Consistency
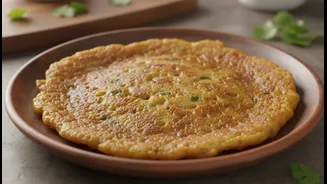
The foundation of a great chilla is a flawless batter. It should have a smooth, pouring consistency, similar to a pancake batter—not too thick that it becomes dense, and not so thin that it breaks apart. Start with one cup of besan (gram flour) and gradually
add about half a cup of water, whisking continuously to eliminate lumps. Depending on the quality and grind of your besan, you may need a few more tablespoons of water. The goal is a batter that spreads easily but isn't watery. A good test is to see if it coats the back of a spoon and drips in a slow, steady ribbon.
Add a Secret Binding Ingredient
If your chillas frequently break or feel too delicate, a simple addition can make all the difference. Adding one tablespoon of fine semolina (suji) or rice flour to the batter provides extra binding and structure. This not only helps the chilla hold its shape while cooking and flipping but also contributes a subtle crispiness to the edges, creating a delightful texture contrast. Some cooks also add a small amount of plain yogurt, which can help create a softer texture. While not traditional, a pinch of baking soda can be added just before cooking for an extra fluffy, almost omelette-like texture.
The Importance of Resting Your Batter
Patience is a virtue, especially in the kitchen. Once your batter is mixed, let it rest for at least 15 to 20 minutes before you start cooking. This short resting period allows the besan to fully absorb the water, resulting in a smoother texture and helping the flavors of the spices meld together. This step is crucial for better digestion and yields a softer, more tender chilla. While some recipes suggest making the batter ahead, it's best to add finely chopped vegetables like onions, tomatoes, and coriander just before cooking to keep them fresh and prevent the batter from becoming too watery.
Mastering the Pan Temperature
The temperature of your tawa or pan is a critical factor. A pan that is too hot will cause the batter to set instantly, making it impossible to spread, while a pan that is not hot enough will cause the chilla to stick. Heat your pan over a medium flame. A non-stick pan or a well-seasoned cast-iron tawa is ideal. To check if it's ready, sprinkle a few drops of water; if they sizzle and evaporate immediately, the pan is at the right temperature. Just before pouring the batter, reduce the heat slightly.
Technique for Spreading and Flipping
Pour a ladleful of batter into the centre of the hot, lightly oiled pan. Using the back of the ladle, gently spread the batter in a circular motion to form an even pancake. Avoid making it too thin, as this increases the risk of breaking. Let it cook on medium-low heat until the top surface starts to look cooked and you see small air pockets forming. Drizzle a little oil around the edges. Once the edges start to lift from the pan, it's ready to be flipped. Slide a thin spatula underneath, and flip it confidently to cook the other side until it has light golden-brown spots.