




Your Essential Toolkit
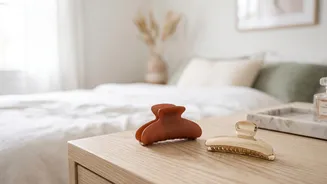
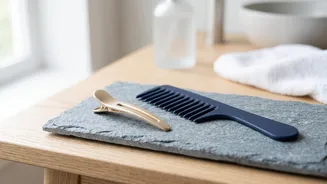
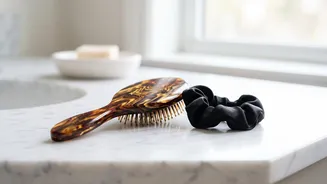
Before you begin, gathering a few essential tools will make the process smoother and your style last longer. You don’t need a professional kit, just a few key items. Start with high-quality hair ties; using two can provide extra security for heavy or long hair.
Bobby pins and U-shaped hair pins are crucial for tucking in loose ends and anchoring the bun to your head. For a more polished look or to tame flyaways, a good hairspray is invaluable. Finally, a texturizing spray or dry shampoo can add much-needed grip to freshly washed, slippery hair, making it easier to style.
Hair Prep for Success
The foundation of a good bun is the right hair texture. A common reason buns fall out is that the hair is too clean and silky, providing nothing for the style to hold onto. If your hair is freshly washed, give it some grit by spritzing a texturizing spray or a bit of dry shampoo from roots to ends. This creates traction and helps the strands cling together. If you're working with day-two or day-three hair, you're already at an advantage, as the natural oils provide a good base. Simply brush through any tangles before you begin. For sleek styles, you'll want to brush the hair smooth, but for messier looks, finger-combing can help maintain natural texture.
Style 1: The Classic Messy Bun
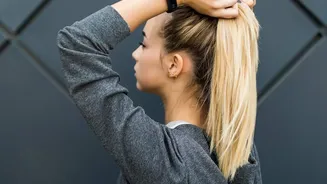
The messy bun is the go-to for an 'effortlessly chic' look. Start by gathering your hair into a ponytail at your desired height—high on the head for a top knot, or lower for a more relaxed feel. Don't make the ponytail too tight. As you secure it with a hair tie, don't pull the ponytail all the way through on the last loop; instead, create a looped bun, leaving the ends out. Now, take the loose ends and wrap them around the base of the elastic. Secure these ends with bobby pins. The final step is to gently pull and tug at the bun to create volume and achieve that perfectly imperfect look. You can also pull out a few face-framing strands to soften the style.
Style 2: The Sleek Top Knot
For a more polished and sophisticated style, the sleek top knot is a perfect choice. Begin by brushing your hair thoroughly to remove all tangles. For extra smoothness, you can apply a small amount of styling cream or pomade. Gather your hair into a very high ponytail on the crown of your head, ensuring the base is smooth and tight. Twist the entire length of the ponytail firmly until it starts to coil around itself. Wrap this twisted rope of hair around the base of the ponytail, creating a neat coil. Tuck the ends under the bun and secure them tightly with bobby pins or U-pins. A final spritz of hairspray will tame any flyaways and lock the style in place for a clean finish.
Style 3: The Elegant Low Bun
A low bun worn at the nape of the neck is timelessly elegant and surprisingly simple to create. Part your hair as you prefer, either in the center or to the side. Gather your hair into a low ponytail. For a chic, secure twist, you can split the ponytail into two sections and twist them around each other before forming the bun. Wrap the twisted or straight ponytail around its base to form the bun. Secure it firmly with hair pins, pushing them into the base of the bun to anchor it against your scalp. This style works beautifully for both formal events and sophisticated everyday wear, and can be enhanced with decorative pins or clips.
Tips for a Secure, All-Day Hold
If your buns tend to fall out, especially with thick or long hair, a few tricks can make a world of difference. Always start with a secure ponytail as your base; a wobbly base means a wobbly bun. For maximum hold, try using two elastics for the initial ponytail. When using bobby pins, aim to 'anchor' the bun by catching hair from the bun and the scalp in one go. For very thick hair, consider spiral hair pins or hair forks, which are designed to hold more hair securely than traditional bobby pins. Another technique for thick hair is to braid the ponytail first before wrapping it into a bun, which helps contain all the layers and ends.