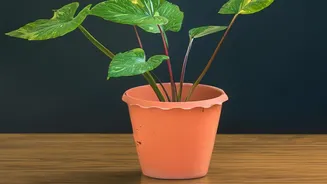




Step 1: The Initial Inspection
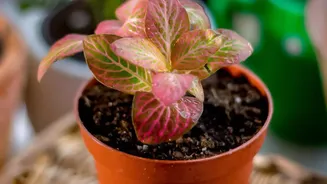
Before you even bring a new plant into the main living areas of your home, give it a detailed inspection, preferably in good, natural light. This goes far beyond a casual leaf check. Look at the undersides of leaves, where pests like spider mites and
mealybugs love to hide. Examine the points where leaves meet the stems, as this is a common spot for pests to congregate. Also, inspect the surface of the soil for any signs of movement from fungus gnats or their larvae. Don't be afraid to gently slide the plant out of its nursery pot to check the roots; they should be firm and light-coloured, not dark, mushy, or smelly, which can indicate root rot.
Step 2: Create an Isolation Zone
Quarantine means true physical separation. Choose a location for your new plant that is in a completely different room from your existing collection for a minimum of two to four weeks. A spare bedroom, a bathroom with adequate light, or even a laundry room can work well. The goal is to prevent pests from travelling between plants. Flying pests like fungus gnats and crawling pests like spider mites can easily move from one plant to another if they are on the same shelf or in the same room. If you are short on space, placing the new plant inside a large, clear plastic bag can work as a temporary isolation chamber, but be sure to keep it out of direct sunlight to avoid overheating it.
Step 3: A Proactive Cleaning
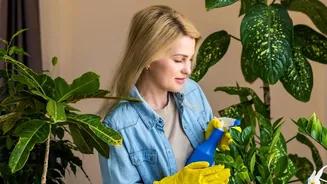
Even if you don't see any pests, it's wise to take preventative action. Start by wiping down the leaves—top and bottom—with a damp cloth to physically remove any dust or potential freeloaders. You can also give the plant a gentle shower in a tub or sink to wash away any unseen pests. Follow this with a preventative spray treatment. A solution of neem oil or a gentle insecticidal soap are excellent choices for tackling a wide range of common houseplant pests. Be sure to spray all surfaces of the plant, including stems and the top of the soil. This proactive step can neutralize a problem before it even begins.
Step 4: Consider Repotting
Many houseplant pests and their eggs can hide in the nursery soil. To eliminate this risk, consider repotting your new plant into fresh, sterile potting mix. This gives you another opportunity to inspect the root system for health and to get rid of any overwintering eggs or larvae that might be in the original soil. Before you repot, make sure to thoroughly clean the new pot with a diluted soap or bleach solution to ensure you're not introducing any lingering disease agents from a previously used container. While this step requires a bit more effort, it provides significant peace of mind.
Step 5: The Quarantine Period
The standard quarantine period is between two and four weeks, with some experts recommending up to 40 days for maximum safety. This duration is crucial because the life cycles of many common pests, such as mealybugs and scale, mean that an infestation might not become visible for several weeks. During this time, continue to care for the plant as you normally would, providing appropriate light and water. More importantly, inspect it thoroughly at least once a week. Look for tell-tale signs of trouble, such as the fine webbing of spider mites, the cottony white masses of mealybugs, or the silvery streaks on leaves caused by thrips.
Step 6: Graduation Day
If your plant has successfully completed its two-to-four-week quarantine with no signs of pests or disease, it can be considered safe to join your main collection. When you do introduce it, avoid placing it in its final spot immediately. Instead, gradually acclimate it to its new permanent home over a few days, especially if the light conditions are significantly different from its quarantine spot. Continue to keep a close eye on it for another week or so, just as a final precaution. If you do happen to spot an issue during quarantine, keep the plant isolated and treat the specific problem until it is fully resolved before attempting to introduce it again.