
More Than Just Paw Prints
The primary reason to keep pets off a freshly mopped floor isn't just about preventing smudges. Many common household floor cleaners contain chemicals that can be harmful to animals. Ingredients like ammonia, bleach, chlorine, and phenols can cause everything
from skin irritation to respiratory issues if inhaled or ingested. Pets are especially vulnerable because they live closer to the ground where fumes concentrate. They also groom themselves by licking their paws, which means any residue they walk through could be ingested directly. A wet, slippery surface also creates a significant fall hazard for an energetic or older pet, potentially leading to injuries.
Creating a Comfortable 'Pet Zone'
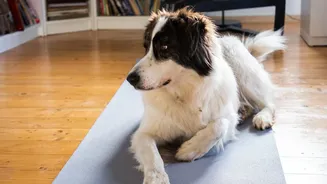
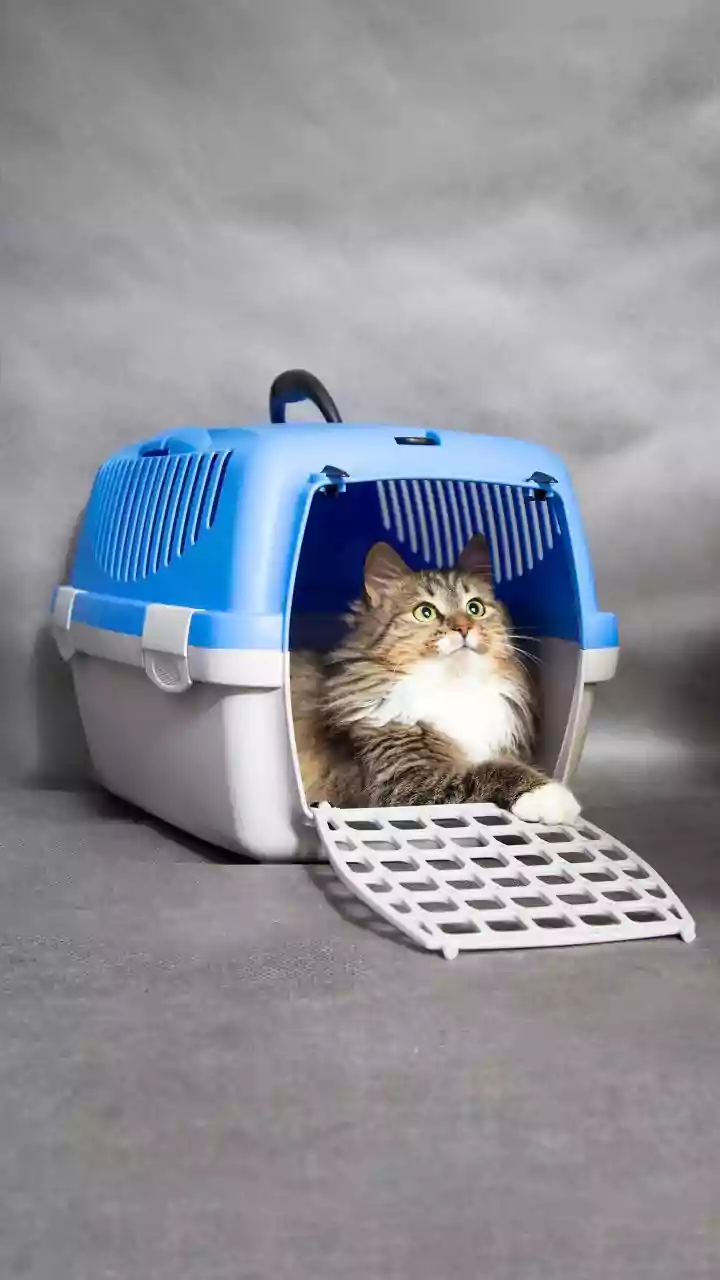
The easiest way to manage your pet during mopping is to designate a temporary, secure area for them. This shouldn't feel like a punishment. Instead, frame it as their special quiet time. A bedroom, a laundry room (with appliances off), or a comfortable crate are all excellent options. Before you start cleaning, lead your pet to their designated space and make it inviting. Include their favourite bed, a few toys, and a bowl of fresh water. A long-lasting chew or a puzzle toy can provide a welcome distraction, helping them associate cleaning time with a positive reward. For dogs, a supervised stint in a securely fenced backyard can also work, provided the weather is suitable and they are safe.
Choosing Pet-Safe Cleaning Solutions
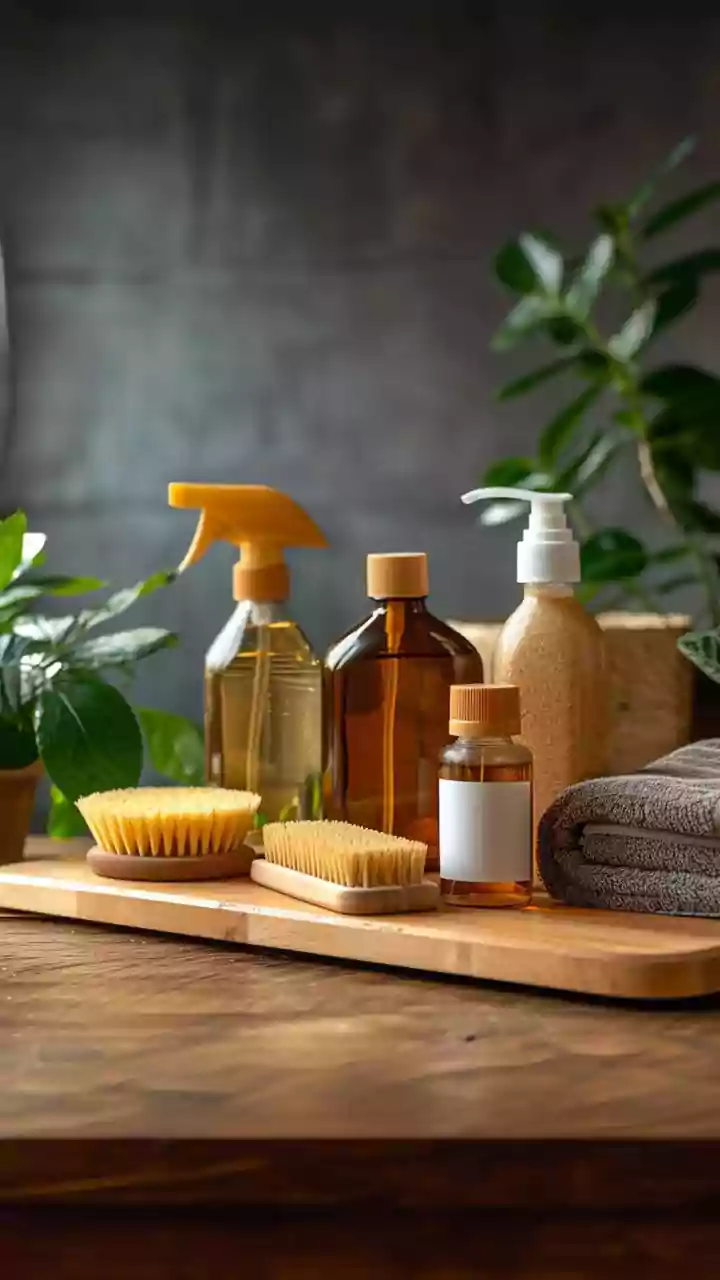
A key part of a pet-friendly cleaning plan involves the products you use. When shopping for floor cleaners, look for formulas that are explicitly labeled as “pet-safe.” Avoid products containing phenols, phthalates, formaldehyde, ammonia, and bleach. Cats are particularly sensitive to phenols, as they lack a specific liver enzyme needed to process them, making exposure potentially toxic. Alternatively, you can make your own effective and safe cleaner at home. A simple solution of equal parts white vinegar and water works well for many floor types like vinyl and tile. For hardwood floors, a less acidic option like a few drops of unscented castile soap mixed with water is a safer choice. Always research which DIY solutions are appropriate for your specific flooring material.
Strategic Mopping and Drying
How you mop can also make a difference. Consider a “zone” approach: clean one half of your living space, let it dry completely, and then move your pet to the clean side before tackling the other half. This is especially useful in homes with open floor plans. Always mop your way out of a room to avoid walking over the wet surface. To speed up the drying process, use your mop to wring out as much excess water as possible. Opening windows, running ceiling fans, or using a standing fan can significantly improve air circulation and cut drying time in half. Good ventilation also helps dissipate any fumes from the cleaning solution, making the air safer for your pet to breathe once they are released.
Knowing When the Coast Is Clear
So, how long should you wait? Drying time depends heavily on your floor type, the humidity, and how much water you used. Tile and vinyl floors often dry the fastest, typically within 15 to 30 minutes under normal conditions. Hardwood and laminate floors may take longer, from 30 to 60 minutes. It is crucial not to let water sit on wood or laminate, as it can cause warping and damage. Before letting your pet out, do a touch test in a few different spots. The floor should feel completely dry, not tacky or damp. Ensure the room is well-ventilated and that any strong cleaning smells have subsided. Once the floor is confirmed dry and the air is clear, you can confidently reunite with your furry friend in your sparkling clean home.