


The Challenge of Deep Space
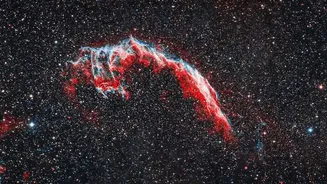
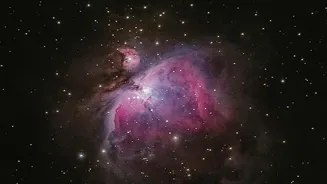
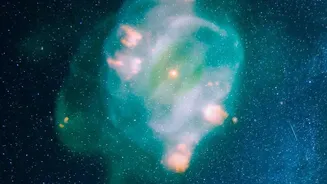
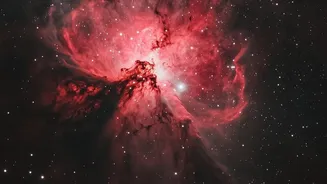
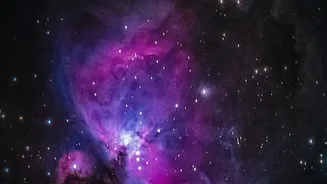
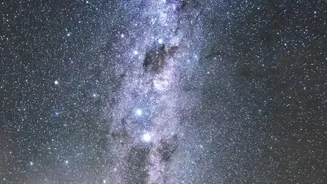
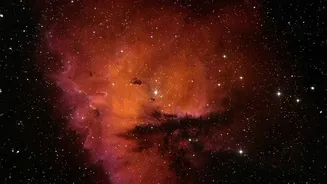
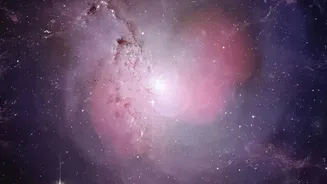
Photographing a galaxy millions of light-years away presents a few fundamental problems. First, these objects are incredibly faint. While our eyes can see bright stars, the swirling arms of a galaxy or the delicate tendrils of a nebula are often too dim
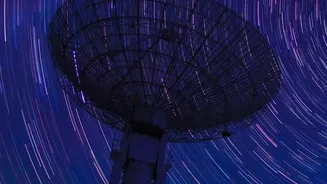
for our eyes to resolve. Second, the Earth is constantly rotating. For a camera, this means the sky is always moving, and any attempt at a long-exposure shot without compensation will result in blurry star trails, not a sharp image of a distant object. Capturing these celestial wonders requires overcoming their faintness and counteracting our planet's spin.
The Foundation: Precision Polar Alignment
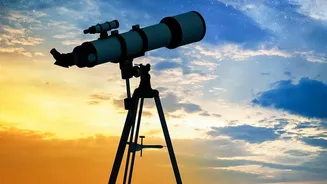
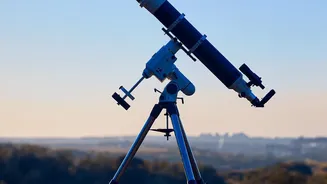
The secret to tracking a celestial object accurately is a technique called polar alignment. This is the crucial first step for any serious astrophotographer. It involves aligning the rotational axis of the telescope's equatorial mount so it is parallel with the Earth's axis of rotation. For observers in the Northern Hemisphere, this means pointing the mount's polar axis directly at the North Celestial Pole, which is very close to the star Polaris. When done correctly, the mount only needs to move in one direction (right ascension) to perfectly track a star's movement across the sky. This cancels out the Earth's rotation, allowing the telescope to stay locked onto a single point for minutes or even hours, preventing star trails in long exposures.
Gathering Ancient Light with Long Exposures
With the telescope mount perfectly tracking the sky, the next step is to collect as much light as possible. This is where long-exposure photography comes in. By keeping the camera's shutter open for an extended period—often several minutes per shot—the sensor can gradually accumulate the faint photons that have traveled across the universe from a distant nebula or galaxy. This is how astrophotographers make the invisible visible, revealing faint structures and vibrant colors that would otherwise be lost in a quick snapshot. A single exposure can last anywhere from 30 seconds to several minutes, depending on the target's brightness and the camera's sensitivity.
Dialing In the Perfect Camera Settings
Astrophotography requires full manual control over the camera. The three key settings are aperture, ISO, and shutter speed. The aperture, or the opening of the lens, should be set as wide as possible (a low f-number like f/2.8 or f/4) to let in the maximum amount of light. The shutter speed is determined by the long exposure time needed. The ISO, which controls the sensor's sensitivity to light, is a balancing act. A higher ISO (typically between 1600 and 3200) makes the sensor more sensitive, which is good for capturing faint details. However, it also introduces more digital noise. Photographers take test shots to find an ISO setting that captures enough detail without creating an overly grainy image.
Strength in Numbers: The Power of Stacking
Even with perfect alignment and settings, a single long-exposure image will have some unwanted digital noise. The ultimate technique to create a clean, detailed final image is called stacking. This involves taking many individual photos, often dozens or even hundreds, of the same object. These individual pictures are called 'light frames'. This collection of images is then fed into specialized software that aligns all the photos by the stars and averages them together. The key principle is that the 'signal' (the galaxy or nebula) is the same in every photo, while the 'noise' is random. When the images are averaged, the random noise cancels itself out, leaving behind a smooth, incredibly detailed image with a much higher signal-to-noise ratio. This process is what transforms a series of decent shots into one spectacular, publication-quality photograph.