


What Are Microgreens, and Why Grow Them?
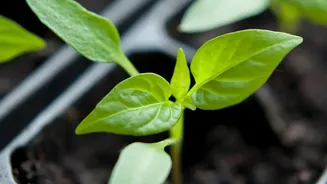
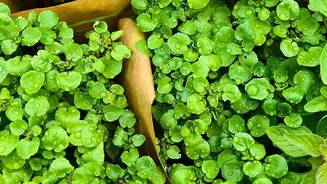
Microgreens are the young seedlings of edible vegetables and herbs, harvested just after their first true leaves have developed. Despite their small size, they are packed with flavour and concentrated nutrient levels, often containing up to 40 times more
vitamins and antioxidants than their mature counterparts. Growing them at home puts you in complete control of the process, ensuring your greens are free from pesticides and harvested at their peak for maximum freshness and nutritional value. They are incredibly quick, with many varieties ready to eat in just 7 to 14 days.
Your Cost-Effective Starter Kit
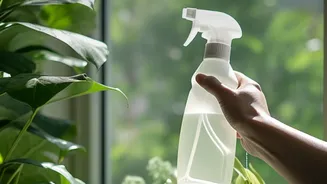
You don't need expensive, specialized equipment to start your windowsill garden. Many of the necessary items can be found around your home or purchased for very little. You can repurpose clean plastic takeout containers, foil baking trays, or even terracotta saucers as growing trays. If your container doesn't have holes, you don't need to worry, as microgreens are so short-lived they don't typically require extensive drainage. For your growing medium, you can use a small amount of potting soil, but even cleaner, soil-free options like coconut coir, jute mats, or simply wet paper towels work wonderfully. All that’s left is a spray bottle for watering and, of course, your seeds.
Choosing the Easiest Greens to Grow
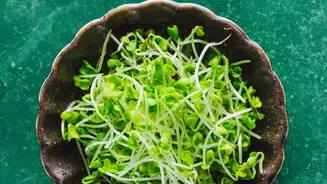
For beginners, it's best to start with seeds that are known for being fast and forgiving. Radish, broccoli, and mustard seeds are excellent choices, often ready to harvest in about a week. These varieties have a peppery, spicy flavour that adds a kick to any dish. Pea shoots are another fantastic option, known for their sweet taste and crunchy texture. You can buy seeds specifically labeled for microgreens, which often have high germination rates, or even experiment with organic seeds from your pantry like lentils or sunflower seeds.
A Simple, Step-by-Step Growing Guide
First, prepare your tray by adding a shallow layer of your chosen growing medium, like potting mix or a coco coir mat. Dampen the medium so it’s moist but not waterlogged. Next, sprinkle your seeds evenly across the surface, aiming for dense coverage without seeds piling on top of each other. Gently mist the seeds with water. For the first few days, cover the tray to create a dark, humid environment that encourages germination; a second tray flipped upside down or even a simple paper towel will work. Once sprouts appear, uncover them and place the tray in a sunny windowsill. Mist your tiny plants daily to keep the surface moist.
Harvesting and Storing Your Bounty
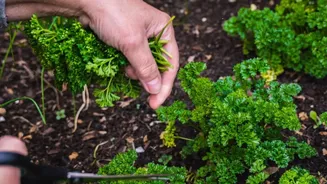
Your microgreens are ready to harvest when they have developed their first set of true leaves, typically when they are one to two inches tall. This usually takes between one to three weeks. To harvest, use a sharp pair of scissors and cut the stems just above the soil or mat. It’s best to harvest as needed, but if you cut more than you can use, you can store them. For maximum freshness, store them unwashed in an airtight container in the refrigerator, with a dry paper towel at the bottom to absorb any excess moisture. Rinse them just before you’re ready to eat them.
The Secret to a Continuous Harvest
The key to enjoying an endless supply of fresh microgreens is a technique called succession planting. This simply means starting a new tray of seeds at regular intervals instead of planting everything at once. Since most microgreens are a one-time harvest, this method ensures that as one tray is being finished, another is just reaching its peak. A good rhythm is to plant a new tray every five to seven days. By staggering your planting, your windowsill can become a small-scale farm, continuously producing clean, healthy greens for your daily meals.