
What is an Olla Pot?
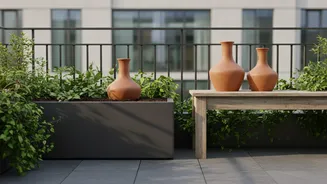
An olla (pronounced 'oh-ya') is simply an unglazed terracotta pot that is buried in soil and filled with water. This method of irrigation is not a new trend; it's a technique that has been used for thousands of years in arid climates across the world
to water crops efficiently. For balcony gardeners, it's a low-tech secret weapon. You bury the pot in your container, leaving only the neck exposed above the soil. This neck is used to refill the olla, which then becomes a personal reservoir for the plants surrounding it.
The Simple Science of Self-Watering
The magic of the olla lies in its porous, unglazed clay. This porosity allows water to slowly seep through the walls of the pot directly into the soil. This process isn't a constant leak; it's driven by soil moisture tension, a principle similar to osmosis. When the surrounding soil is dry, plant roots effectively 'pull' water out of the olla to meet their needs. Conversely, if the soil is already moist from rain, the water stays inside the pot until the soil begins to dry again. This creates a self-regulating system that prevents both overwatering and underwatering, delivering water exactly where it's needed—at the root zone.
Key Benefits for Balcony Gardens
Using ollas in your potted herbs and vegetables offers several distinct advantages. Firstly, it's incredibly water-efficient, reducing water use by eliminating surface evaporation and runoff. Secondly, it promotes healthier, more resilient plants. By providing consistent moisture directly to the roots, you encourage deep root growth and prevent the stress cycles of drying out and then being flooded. This steady hydration can prevent issues like blossom-end rot in tomatoes or bitter-tasting greens. Finally, it saves you time and effort. Instead of daily watering, you may only need to refill the olla once or twice a week, depending on the weather and plant needs. The dry soil surface also helps discourage weed growth and certain pests like slugs.
How to Set Up Ollas in Your Pots
Implementing an olla system on your balcony is straightforward. First, choose an olla that is appropriately sized for your container; smaller ollas work well for individual herb pots, while larger ones can service a big vegetable planter. When planting, dig a hole in the center of your pot and bury the olla, leaving the neck exposed by an inch or two. Gently pack your potting mix around it, making sure there are no air pockets. Plant your herbs or vegetable starters around the buried pot. Fill the olla with water and place a small stone or cap over the opening to prevent debris and mosquitoes from getting in. For the first week or two, you might need to surface water around new seeds or seedlings until their roots grow long enough to reach the olla's moisture zone.
Best Plants and Practical Tips
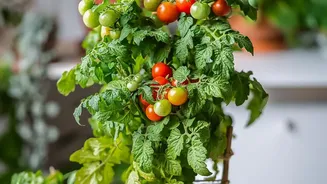
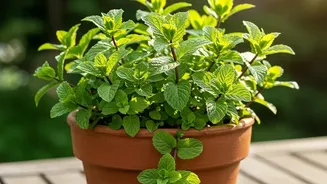
Ollas work brilliantly for thirsty plants with fibrous root systems. On a balcony, this includes popular choices like tomatoes, peppers, basil, mint, and squash. These plants thrive on the consistent moisture that ollas provide. One important tip is to never add liquid fertilizer to the water inside the olla, as this can clog the clay's pores. Always apply fertilizers to the soil surface as you normally would. While you can purchase ready-made ollas, you can also create a DIY version by sealing the drainage hole of one unglazed terracotta pot and gluing another pot of the same size rim-to-rim on top of it.