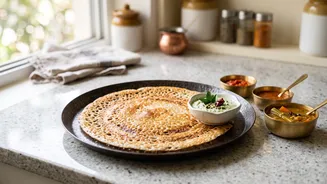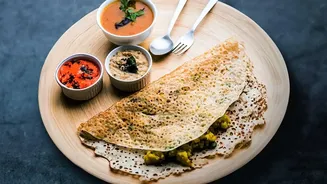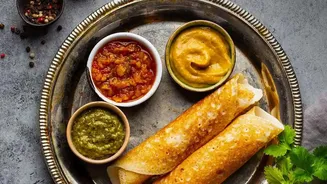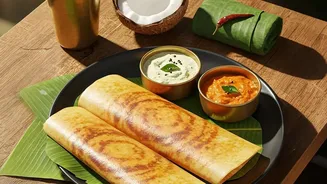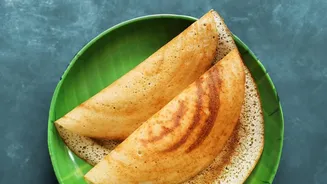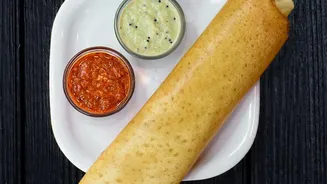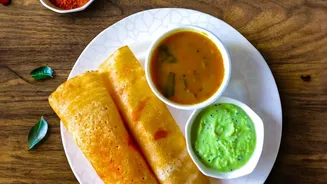


The pursuit of a paper-thin, golden-brown, crispy dosa at home often ends in frustration. But the secrets to mastering this South Indian classic on a traditional cast-iron tawa are within reach, turning a sticky mess into a perfect meal.
The Soul of a Crisp Dosa: Seasoning Your Tawa
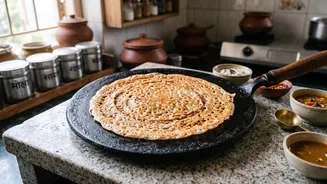
A cast-iron tawa
is the key to that signature dosa texture, but only if it's well-seasoned. Seasoning creates a natural, non-stick surface by baking thin layers of oil into the iron's pores. If you have a new tawa, start by washing it with mild soap and water to remove any factory coating, then dry it completely on a low flame. Moisture is the enemy of cast iron. Once dry, apply a very thin, even layer of a high-smoke-point oil, like sesame or groundnut oil, across the entire cooking surface. Heat the tawa on a medium flame for 10-15 minutes until it starts to smoke lightly, then let it cool completely. Wipe away any excess oil and repeat this process two to three more times. This builds a durable, slick patina. For daily maintenance, avoid harsh soaps. After cooking, rinse the cooled tawa with warm water, gently scrub any stuck bits with salt if needed, and always dry it on the stove before storing.
Getting the Batter Just Right
The perfect dosa begins with the perfect batter. Its consistency is crucial: it should be smooth and flowing, neither too thick nor too thin. A good rule of thumb is that it should be pourable in a steady ribbon but still thick enough to coat the back of a spoon. If the batter is too thick, your dosa will be heavy and soft; if it's too watery, it will be difficult to spread and may turn soggy. Another critical factor is temperature. Never use batter straight from the refrigerator. Cold batter can cause the hot tawa to lose temperature rapidly, leading to sticking. Let your portion of batter rest at room temperature for at least 15-20 minutes before you start cooking. Lastly, proper fermentation is what gives dosa its characteristic tangy flavour and airy texture, indicated by tiny bubbles on the surface.
Mastering the Tawa's Temperature
Heat management is arguably the most challenging part of making dosas on cast iron. The tawa needs to be hot enough to cook the batter instantly, but not so hot that it seizes up before you can spread it. Preheat your tawa on a medium flame for several minutes. The classic test is to sprinkle a few drops of water on the surface. If the drops sizzle and evaporate almost immediately, the temperature is just right. If they sit and steam slowly, the tawa is too cold. If they vanish with a harsh crackle and the pan is smoking, it's too hot. If the tawa gets overly hot between dosas, a common issue with heat-retaining cast iron, simply sprinkle a bit of water and wipe it away with a cloth to bring the temperature down before pouring the next one.
The Art of the Perfect Spread
With a seasoned tawa, correct batter, and perfect heat, you're ready for the final, graceful step. Before the first dosa, many cooks rub the hot tawa with half an onion dipped in oil. This not only adds a whisper of oil but also helps create a temporary nonstick layer. Pour a ladleful of batter into the centre of the tawa. Using the flat back of the ladle, immediately begin spreading the batter in a spiral motion, moving from the centre outwards. The key is to use a light hand and let the ladle glide; don't apply too much pressure, as this will cause the batter to tear and clump. Work quickly and confidently to create a large, thin, and even circle. If the batter sets before you can spread it, the pan was too hot. If it feels sticky and drags, the pan was likely too cool.
Achieving that Golden Brown Crisp
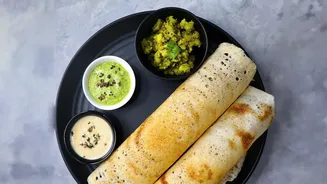
Once the batter is spread, increase the heat slightly to a medium high flame. Drizzle a teaspoon of oil or ghee around the edges of the dosa and a few drops over the centre. This helps it crisp up and develop that beautiful golden brown colour. Be patient and let it cook. You will know it's ready when its edges begin to lift away from its tawa and its surface looks cooked and dry. A well seasoned tawa will release its dosa with minimal effort. Use a thin spatula to gently lift its dosa from its edges, fold it in half, and serve it immediately. For an extra crispy dosa, some cooks prefer to flip it and cook its other side for just a few seconds before serving.