
The 'Dos' and 'Don'ts' of Kitchen Composting
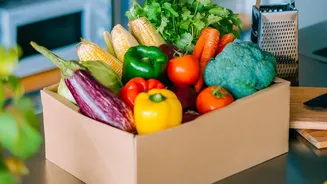
Successful composting begins with knowing what to put in your bin. You need a healthy mix of 'greens' and 'browns'. 'Greens' are nitrogen-rich materials, which include most of your vegetable scraps like fruit and vegetable peels, cores, coffee grounds,
and tea leaves. 'Browns' are carbon-rich items that provide structure and prevent odours, such as shredded newspaper, cardboard, dried leaves, and sawdust. The ideal ratio is about two or three parts brown material to one part green material. Just as important is knowing what to leave out. Avoid adding meat, bones, dairy products, and oily or greasy foods. These items can create foul odours and attract pests, which you definitely don't want in or near your home.
Method 1: The Simple Bucket System
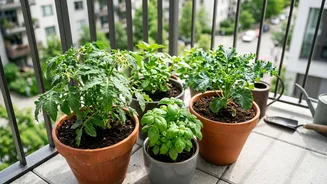
This method is perfect for apartment balconies or small utility areas and doesn't require any fancy equipment. All you need is a bucket or a container with a lid. For best results, drill a few small holes in the lid and around the upper sides to allow for air circulation. Start by adding a bottom layer of 'browns', like torn-up cardboard or dried leaves. Then, add a layer of your kitchen 'greens' (vegetable scraps). Continue layering browns and greens, lightly spraying with water to keep the pile as moist as a wrung-out sponge. Once a week, use a small rake or stick to turn the mixture, which helps aerate the pile and speeds up decomposition. Keeping the lid on but not tightly sealed helps maintain moisture while allowing airflow.
Method 2: The Direct-to-Pot Method
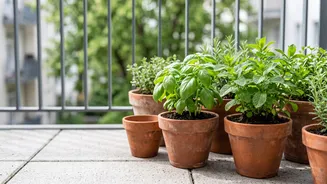
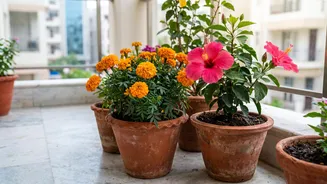
For those who want an even simpler start, you can compost directly in your flowerpots. This is a form of 'trench composting' adapted for containers. Simply dig a small trench or hole in the soil of your flowerpot, away from the plant's main stem and roots. Chop your vegetable scraps into very small pieces to help them break down faster. Bury a small amount of these chopped scraps in the hole and cover it back up with soil. The scraps will decompose directly in the pot, slowly releasing nutrients to the plant. This method is best for larger pots where you have more room to work with and should be done in moderation to avoid overwhelming the soil.
Method 3: The Liquid Fertilizer 'Tea'
If you need a quick nutrient boost for your flowers, creating a liquid fertilizer is a fast and effective option. Take a collection of your vegetable scraps (avoiding the 'don'ts' mentioned earlier), chop them into small pieces, and place them in a large bucket. Some people even use a blender to create a slurry with water for faster nutrient release. Fill the bucket with water, cover it loosely, and let the mixture steep for three to seven days. Give it a stir every day. After a week, strain the liquid. Dilute this nutrient-rich 'tea' with water at a ratio of about one part fertilizer to ten parts water before using it to water your potted flowers.
Harvesting and Using Your 'Black Gold'
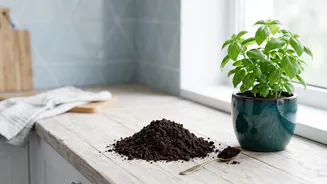
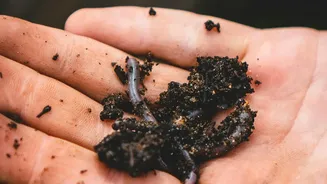
Patience is key. Depending on your method, your solid compost could be ready in a few months. You'll know it's done when it's dark, crumbly, and has a rich, earthy smell like healthy soil. If it still has large, recognizable food pieces or smells unpleasant, it needs more time. Once ready, you can use your homemade fertilizer in a couple of ways. You can use it as a 'top-dressing' by spreading a thin layer (about half an inch) of the compost on top of the soil in your pots, making sure to keep it away from the plant stems. Alternatively, when repotting, you can mix your compost with potting soil. A good ratio to start with is about one part compost to four or five parts soil. This enriches the soil, improves its ability to hold water, and provides a slow-release source of essential nutrients for your flowers.