



Start with the Right Equipment
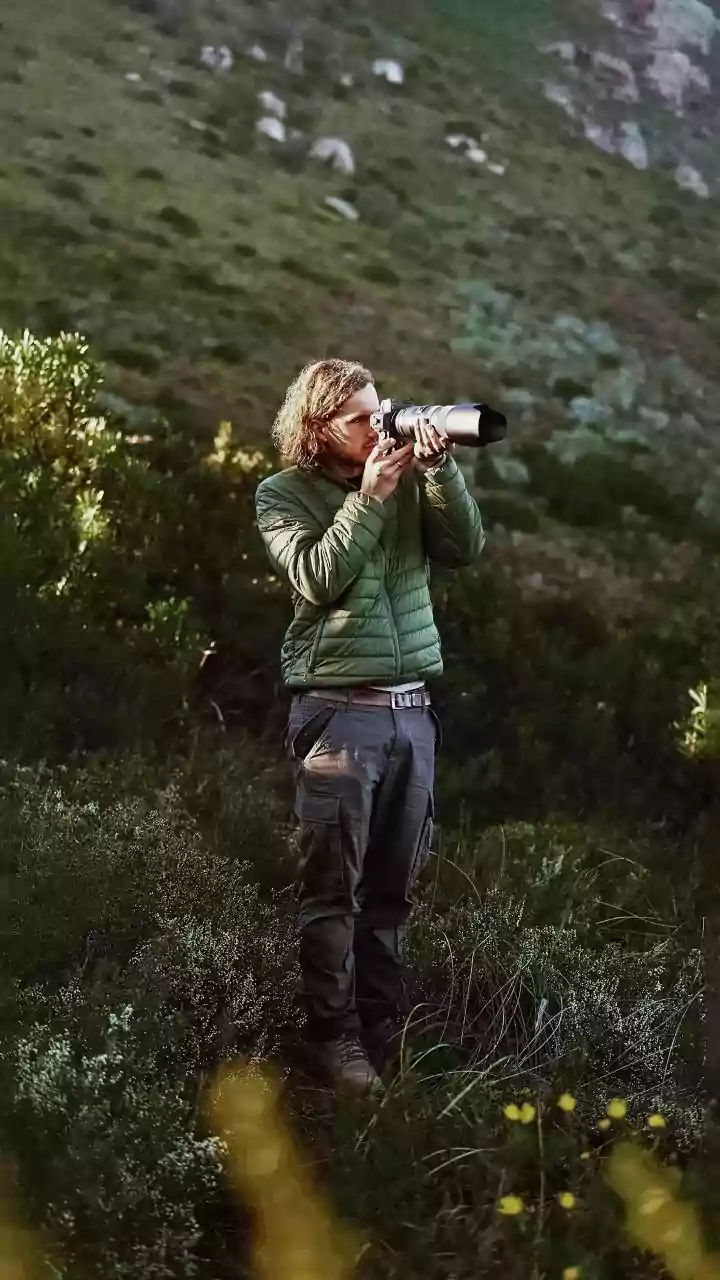
You don't need a space telescope to begin your planetary photography journey. The core requirement is a camera that allows manual control over its settings. A DSLR or mirrorless camera is ideal. Paired with a telephoto lens (200mm or longer), you can
start to resolve planets as more than just bright stars. The most crucial piece of gear, however, is a sturdy tripod. Planets require relatively short exposures compared to deep-sky objects, but even slight movements will create blur. A remote shutter release or using your camera's self-timer will also help minimize camera shake when you take a shot.
Know Your Targets: The Bright Planets
The best targets for beginners are the 'naked-eye' planets: Venus, Mars, Jupiter, and Saturn. They are bright enough to be easily found and photographed, even from light-polluted cities. Knowing when and where to look is key. As of October 2026, Saturn is a brilliant evening object, having just reached its peak visibility for the year. Jupiter and Mars are prominent in the morning sky, rising in the hours before sunrise. Numerous astronomy apps and websites can provide real-time locations for the planets from your specific location, taking the guesswork out of finding them.
Mastering Manual Mode
To capture a planet effectively, you must leave 'Auto' mode behind. Switch your camera to Manual (M). A good starting point for your settings is a wide-open aperture (the lowest f-number, like f/2.8 or f/4), a shutter speed around 1/20th of a second for Jupiter or 1/5th for Saturn, and an ISO of 800. The goal is to get a bright enough image without blowing out the details on the planet's surface. Also, set your lens to manual focus. Use your camera's 'Live View' screen and zoom in digitally as far as you can on the planet. Carefully adjust the focus ring until the planet is a sharp, distinct point of light. This is the single most important step for a clear image.
The Pro Secret: 'Lucky Imaging'
You may notice the planet shimmering or wavering on your screen. This is due to atmospheric turbulence. Professional planetary photographers overcome this using a technique called 'lucky imaging'. Instead of taking single photos, they shoot a high-frame-rate video of the planet for a minute or two. The idea is that within those thousands of video frames, there will be fleeting moments of perfect atmospheric stillness — 'lucky' sharp frames. Even many DSLRs can shoot video that works for this method. This approach captures far more detail than a single snapshot ever could.
Stacking Software: Your Digital Darkroom
Once you have your video file, the next step is processing. This is where you sort through the video to find those 'lucky' frames and combine them into one final, detailed image. This process, called stacking, significantly reduces noise and brings out faint details like Jupiter's cloud bands or Saturn's rings. While it sounds complex, there is excellent free software available that automates most of the work. Programs like AutoStakkert!, Registax, and Siril are popular choices designed specifically for this task. They analyze your video, align the frames, and stack the best ones to create a master image that you can then sharpen and edit.