




Finding the Perfect Pot and Place
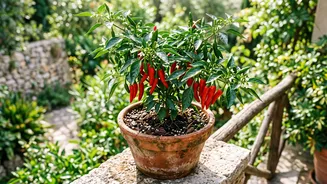
Your journey begins with choosing the right home for your chilli plant. A pot with a diameter of at least 30 cm (or 12 inches) is ideal, as it provides enough room for a healthy root system. Drainage is non-negotiable; ensure your chosen container has
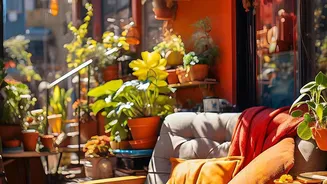
several holes at the bottom to prevent waterlogging, which can lead to root rot. Terracotta pots are a great choice as they are porous and allow soil to breathe. The 'sunny balcony' part of the headline is crucial. Thai chillies love warmth and light, requiring at least six to eight hours of direct sunlight each day. A south-facing balcony is perfect. In the intense Indian summer, you may want to provide some light shade during the peak afternoon hours to prevent the leaves from scorching.
Creating the Ideal Soil Mix
Chillies are particular about their soil. They thrive in a well-draining, nutrient-rich potting mix. You can buy a high-quality potting mix designed for vegetables, but creating your own is simple and effective. A great recipe is a blend of standard compost, coco peat (coir), and perlite. The compost provides a base of nutrients, the coco peat helps retain moisture without becoming soggy, and the perlite ensures the mix stays light and airy, promoting good drainage and oxygen flow to the roots. Avoid using heavy garden soil or topsoil, as it compacts easily in pots and can suffocate the roots. The goal is a loamy, loose mixture that holds some water but lets the excess drain away freely.
Planting: Seeds vs. Seedlings
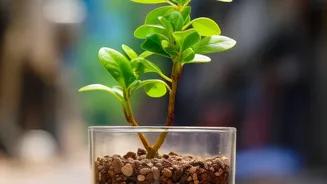
You have two options for starting your plant: from seed or with a young plant (seedling) from a nursery. Starting from seed is rewarding but takes longer. Sow seeds indoors about 8 to 10 weeks before you plan to move them outside. For beginners, buying a healthy-looking seedling is a great shortcut. When transplanting your seedling into its final pot, gently loosen the root ball and place it in the new container at the same depth it was in its original pot. Fill in with your soil mix, leaving about an inch of space at the top for watering.
Watering and Feeding Your Plant
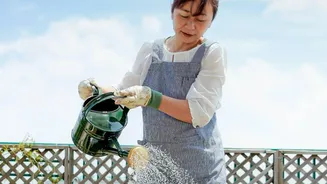
Consistent moisture is key, but 'wet feet' are a chilli plant’s enemy. A good rule of thumb is to water deeply whenever the top inch of soil feels dry to the touch. In hot weather, container plants can dry out quickly, so you might need to water daily. When it comes to feeding, chillies are heavy feeders. After about four weeks in nutrient-rich soil, or once the plant starts to flower, begin fertilizing. A liquid fertilizer high in potassium, like one formulated for tomatoes, is excellent for encouraging fruit production. Feed your plant every two to three weeks during the growing season, following the instructions on the package for dilution.
Dealing with Common Pests
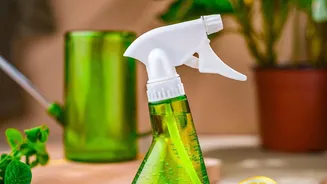
Balcony gardens are generally less prone to pests, but it's good to be vigilant. The most common culprits are aphids and spider mites. Aphids are small, soft-bodied insects that cluster on new growth, while spider mites are tiny and often create fine webbing on the undersides of leaves. A simple spray of neem oil solution or insecticidal soap is an effective and organic way to manage these pests. Ensuring good air circulation around your plant can also help prevent fungal issues like powdery mildew.
Harvesting Your Fiery Rewards
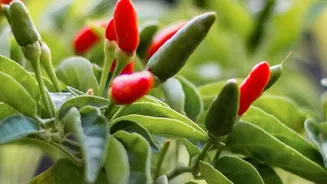
After about 10 to 12 weeks, you should start seeing fruit. You can harvest Thai chillies when they are green for a milder, fresher flavour, or wait until they turn a vibrant red for maximum heat and a sweeter undertone. In fact, picking some chillies while they are green encourages the plant to produce more flowers and, consequently, more fruit. Use a pair of scissors or small snips to cut the chillies from the stem. This prevents damaging the branches, ensuring your plant stays productive for the entire season. The more you harvest, the more your plant will produce, giving you a continuous supply for your culinary adventures.