


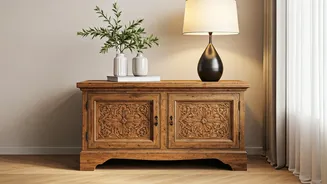


Finding the Right Vintage Chest
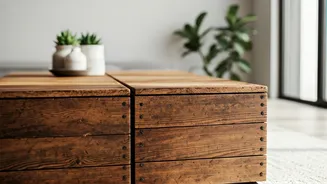
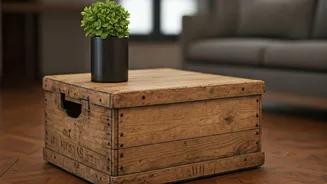
The foundation of your project is the chest itself. Scour local antique shops, flea markets, or even your own attic for a solid wood 'sandook' or trunk. Look for one with good 'bones'—sturdy construction and interesting but not overly ornate details.
Size matters: a smaller chest works well as a side table next to a sofa, while a longer, lower one can function as a unique coffee table. Don't worry about surface scratches, faded varnish, or dated hardware; these are all things you can change. Focus on finding a piece with a solid structure and a shape you love. Check for signs of serious damage like wood rot or termites before you commit.
The Essential Prep Work
Proper preparation is the key to a professional-looking finish. Start by giving the chest a thorough cleaning with a mild soap and water solution to remove decades of dust and grime. Once it's dry, the real work begins. If the chest has a thick layer of old paint or varnish, you'll need to strip it. Use a chemical stripper in a well-ventilated area, following the manufacturer's instructions carefully. After stripping, or if the chest was unfinished, you must sand the entire surface. Begin with a medium-grit sandpaper (around 120-grit) to smooth out imperfections and remove any remaining finish, then move to a fine-grit sandpaper (220-grit) to create a silky-smooth surface ready for its new look.
Choosing Your Japandi Palette
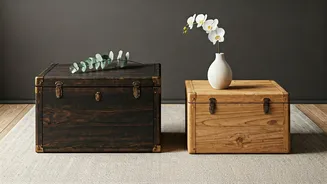
Japandi design is defined by its calm, neutral, and nature-inspired colour palette. This is where you decide the personality of your new table. For a light, airy Scandinavian feel, consider painting the chest in a muted shade of white, cream, soft grey, or a subtle greige. Chalk paint is an excellent choice for this as it adheres well and gives a beautiful matte finish. Alternatively, to lean into the Japanese 'wabi-sabi' principle of finding beauty in imperfection, you might opt for a dark stain. Ebonising the wood by applying a black or deep charcoal stain can create a dramatic, sophisticated look that highlights the natural wood grain.
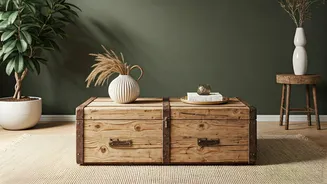
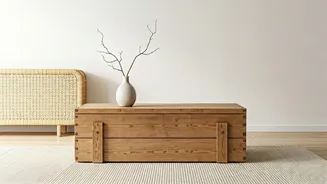
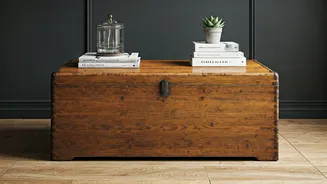
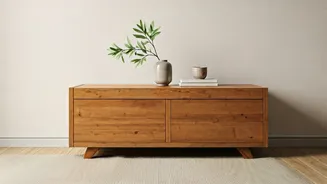
Adding Legs for an Elevated Look
Lifting the chest off the floor is the single most important step in transforming it into an accent table. This simple change instantly makes it feel lighter and more modern. For a classic Japandi look, choose simple, clean-lined legs. Tapered wooden legs, either in a natural finish or painted to match the chest, are a perfect choice. You can find sets of furniture legs online or at hardware stores, often complete with mounting plates for easy installation. Position the plates at each corner on the underside of the chest, ensuring they are equidistant from the edges, and screw them firmly into place. Then, simply twist the new legs on. This elevation not only changes the function but completely redefines the silhouette of the piece.
Selecting Minimalist Hardware
The original hardware on a vintage chest—often brassy and ornate—can clash with the minimalist Japandi aesthetic. Swapping it out is a quick and impactful update. Remove the old handles, hinges, and any decorative metalwork. If this leaves holes, fill them with wood putty, sand smooth, and paint or stain over them for a seamless look. For new hardware, think 'less is more'. Simple leather pulls, small matte black knobs, or even cut-out handles (if you’re skilled with a jigsaw) are all excellent options. The goal is functionality without visual clutter. This focus on clean lines and understated details is a hallmark of Japandi design.
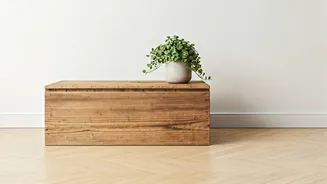
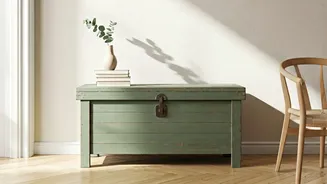
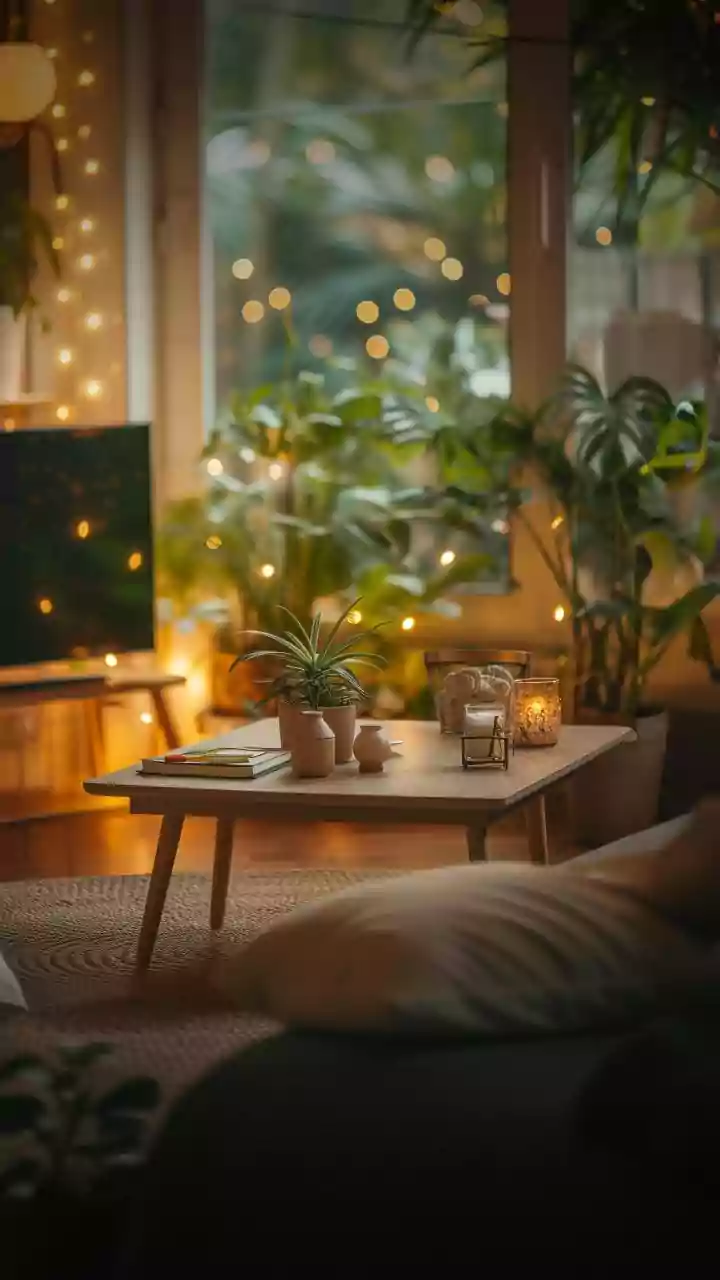
Finishing and Styling Your Table
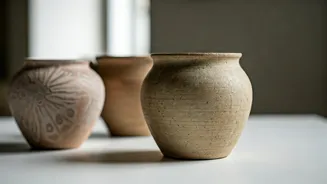
Once your paint or stain is completely dry, you need to protect your work. Apply two to three thin coats of a clear sealant. A matte or satin-finish polyurethane varnish works well, as it protects the surface from spills and wear without adding a high-gloss shine that would feel out of place. Let it cure fully according to the product directions. Now for the fun part: styling. Place your new accent table in its intended spot. Adorn it simply—a single ceramic vase with a dry branch, a small stack of books, or a textured candle holder is all you need. The beauty of the table should speak for itself.